1. Uvod
The KETOTEK KT2200 is a user-friendly plug-in humidity controller designed to manage humidity levels in various environments. It allows you to connect a humidifier or dehumidifier to maintain desired humidity conditions for comfort, plant growth, animal habitats, or sensitive equipment storage. This manual provides detailed instructions for safe and effective use of your KT2200 humidity controller.
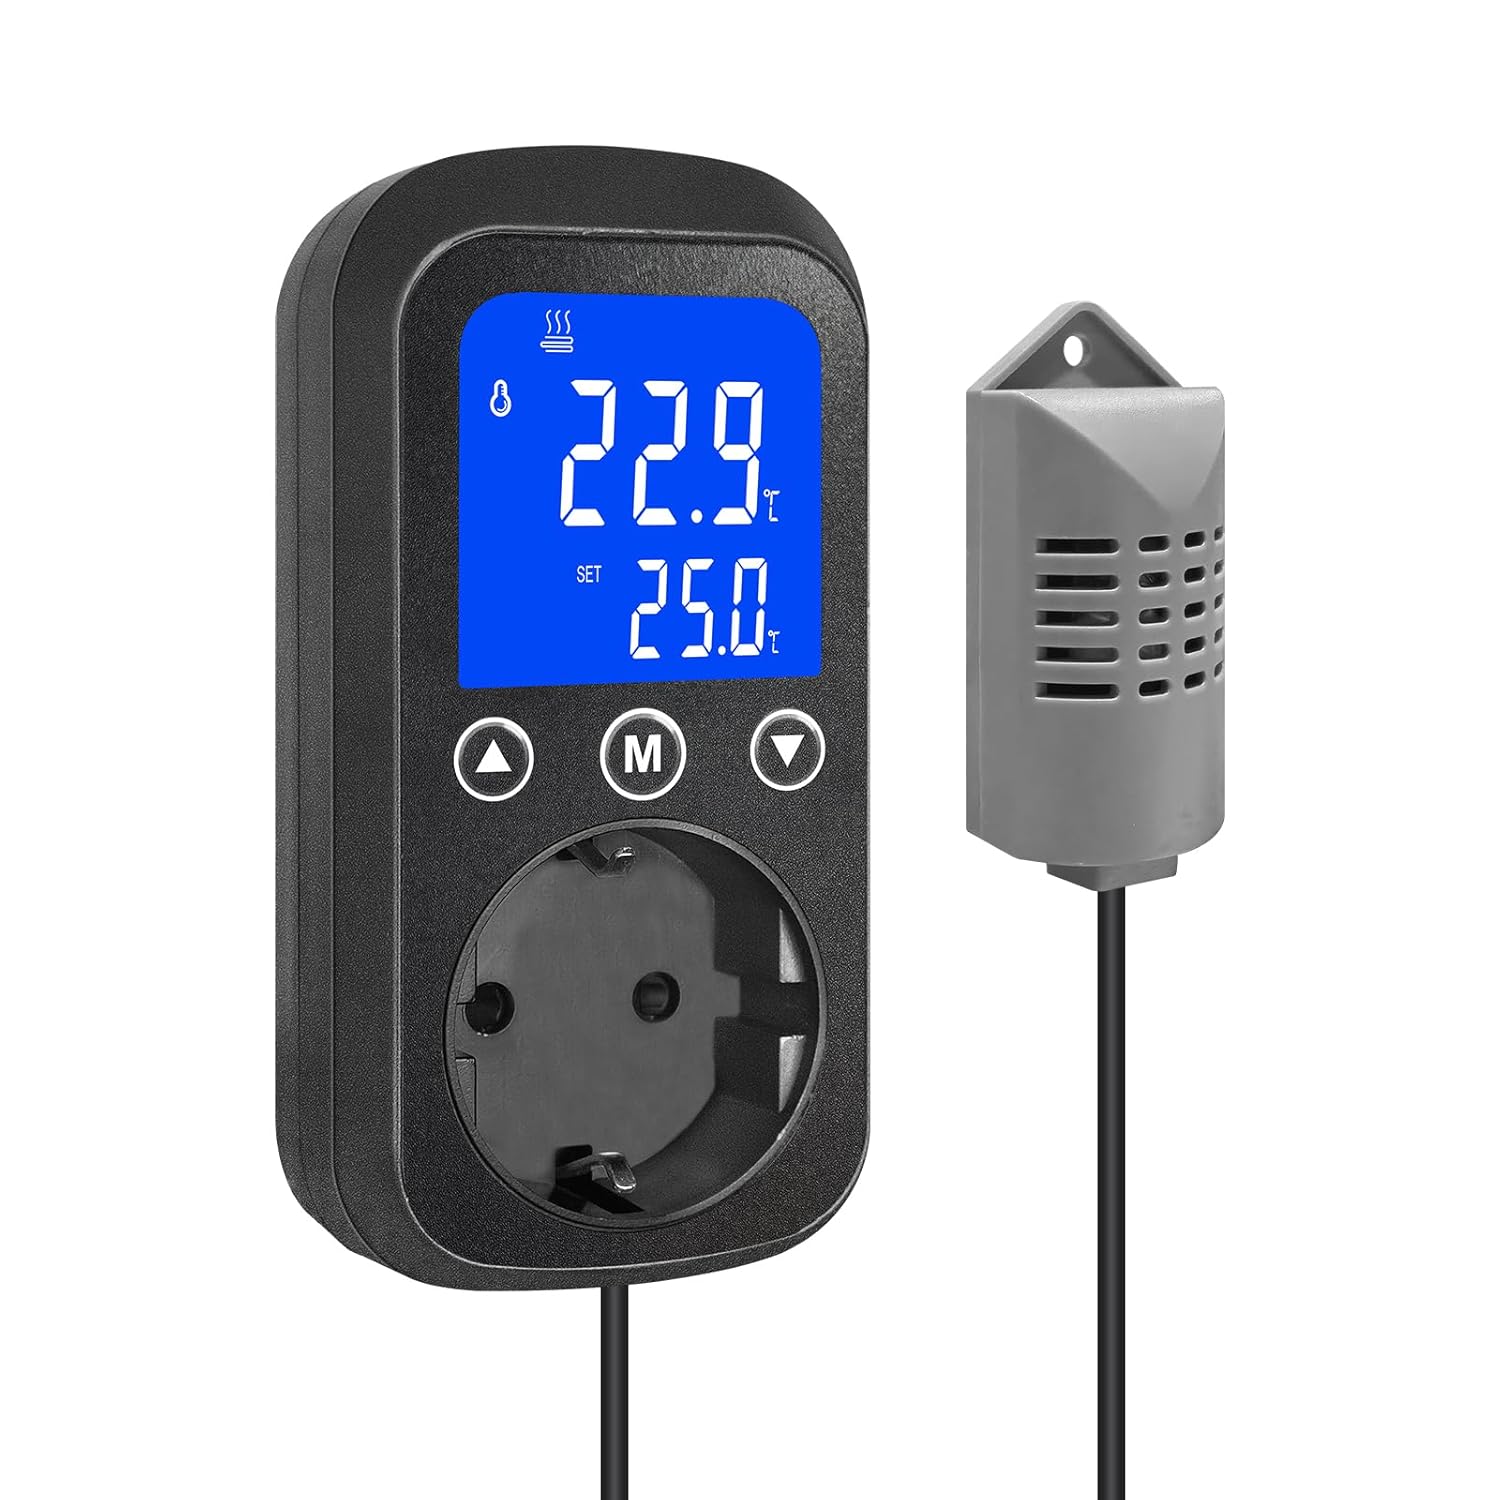
Image 1: KETOTEK KT2200 Humidity Controller and its external sensor.
2. Sigurnosne informacije
Please read all safety instructions carefully before operating the device. Failure to follow these instructions may result in electric shock, fire, or damage to the product.
- Osigurajte napajanje voltage matches the device's specifications (85-250V AC).
- Do not exceed the maximum load capacity: 2300W for resistive loads, 460W for inductive loads.
- Do not immerse the controller or sensor in water or expose them to extreme moisture.
- Držite uređaj van domašaja djece.
- Ne rastavljajte niti pokušavajte sami popraviti uređaj. Za servis se obratite kvalifikovanom osoblju.
- Utilize the high/low humidity alarm functions to prevent accidents and monitor critical conditions.
- In case of a sensor error, discontinue use and contact customer support.
3. Podešavanje
The KETOTEK KT2200 is designed for easy plug-and-play operation.
- Raspakujte uređaj: Carefully remove the humidity controller and its external sensor from the packaging.
- Postavite senzor: Place the external humidity sensor in the area where you wish to monitor and control humidity. The sensor cable is approximately 2 meters long, allowing flexible placement. Ensure the sensor is not obstructed and is away from direct heat sources or moisture outlets.
- Plug in the Controller: Insert the KETOTEK KT2200 controller into a standard electrical outlet.
- Povežite uređaj: Plug your humidifier or dehumidifier into the socket on the front of the KETOTEK KT2200 controller.
- Uključeno: The device will power on, and the blue backlit HD screen will display the current humidity and default settings.

Image 2: The KT2200 controller plugged in, highlighting its key features.
4. Uputstvo za upotrebu
The KT2200 features a clear display and intuitive buttons for setting your desired humidity levels and operational modes.
4.1 Prikaz prekoview
The blue backlit HD screen displays real-time humidity and various settings.
- Trenutna vlažnost: Large digits show the detected humidity.
- Postavite vlažnost: Displays your target humidity level.
- Indikatori: Icons for humidification, dehumidification, and alarms.
4.2 Setting Humidity Control Mode
The KT2200 supports two main modes: Humidification (H) and Dehumidification (d).
- Press the 'M' button to enter the setting mode.
- Use the Up/Down arrows to navigate through settings.
- Select 'H' for Humidification mode or 'd' for Dehumidification mode.
- Press 'M' again to confirm and proceed to set the target humidity.
4.3 Setting Target Humidity and Differential Value (Hysteresis)
The differential value (hysteresis) prevents rapid on/off cycling of your connected appliance.
- Humidification Example: If you set target humidity (H) to 50% and differential value (d) to 5%, the humidifier will activate when humidity drops below 45% (50-5) and deactivate when it reaches 50%.

Image 3: Humidification mode setup example.
- Dehumidification Example: If you set target humidity (d) to 60% and differential value (d) to 5%, the dehumidifier will activate when humidity rises above 65% (60+5) and deactivate when it reaches 60%.

Image 4: Dehumidification mode setup example.
4.4 Postavke pozadinskog osvjetljenja
The display backlight can be adjusted for visibility in different lighting conditions.
- 1: Active: Backlight remains on continuously.
- 2: Deactivated: Pozadinsko osvetljenje je isključeno.
- 3: Auto-off after 10 minutes: Backlight turns off after 10 minutes of inactivity.

Image 5: Backlight adjustment options.
4.5 Postavke alarma
Set high and low humidity alarms to be notified of critical deviations.
- HH.H: High Humidity Alarm. Set the upper limit.
- LL.L: Low Humidity Alarm. Set the lower limit.
- You can enable/disable the alarm sound and button sounds as needed.

Image 6: High and Low Humidity Alarm indicators.
4.6 Kalibracija
The humidity sensor can be calibrated from -10% to 10% RH to ensure accuracy. Refer to the detailed instructions in the included printed manual for calibration steps.

Image 7: Humidity calibration feature.
5. Održavanje
To ensure the longevity and accurate performance of your KETOTEK KT2200 humidity controller:
- čišćenje: Wipe the device and sensor with a soft, dry cloth. Do not use abrasive cleaners or solvents.
- Održavanje senzora: Keep the humidity sensor clean and free from dust, debris, or excessive moisture, which can affect readings.
- Skladištenje: If storing the device for an extended period, unplug it and store it in a dry, cool place.
6. Otkrivanje problema
If you encounter issues with your KETOTEK KT2200, refer to the following common troubleshooting steps:
| Problem | Mogući uzrok | Rješenje |
|---|---|---|
| Uređaj se ne uključuje. | Nema napajanja. | Ensure the controller is securely plugged into a live electrical outlet. Check the outlet with another appliance. |
| Connected appliance (humidifier/dehumidifier) is not turning on/off. | Incorrect settings (mode, target humidity, differential). Appliance not plugged in or faulty. | Verify the control mode (Humidification/Dehumidification), target humidity, and differential settings. Ensure the appliance is correctly plugged into the controller and is functional. |
| Humidity readings are inaccurate. | Sensor obstructed or dirty. Sensor requires calibration. | Clean the sensor and ensure it is in an unobstructed location. Perform a calibration as described in section 4.6. |
| Alarm se neočekivano oglašava. | High/low humidity limits reached. | Check the current humidity reading and compare it to your set alarm limits (HH.H, LL.L). Adjust limits if necessary. |
| "Sensor Error" message displayed. | Faulty sensor or connection. | Ensure the sensor cable is not damaged. If the error persists, the sensor may be faulty. Contact KETOTEK customer support. |
7. Specifikacije
| Model | KT2200 |
| Napajanje | 85-250V AC, 50 / 60 Hz |
| Raspon kontrole vlažnosti | 1% do 99% RH |
| Preciznost vlažnosti | ±3% RH |
| Maksimalno otporno opterećenje | 2300 W / 16 A |
| Maksimalno induktivno opterećenje | 460 W |
| Dužina kabela senzora | 200 cm (2 metara) |
| Dimenzije (kontrolor) | 6 x 6 x 11.8 cm |
| Težina | 280 grama |
| Potrebna baterija | br |
| Prijave | Mushroom grow tents, greenhouses, reptile terrariums, sensitive equipment storage, plant cultivation. |

Image 8: Dimensions of the KETOTEK KT2200 controller and sensor.

Image 9: Diverse applications of the humidity controller.
8. Garancija i podrška
KETOTEK products are designed for reliability and performance.
- garancija: Specific warranty details may vary by region and retailer. Please refer to your purchase documentation or the KETOTEK official website for the most accurate warranty information.
- Korisnička podrška: For technical assistance, troubleshooting not covered in this manual, or warranty claims, please contact KETOTEK customer service. You can typically find contact information on the KETOTEK webweb-mjestu ili putem vašeg prodavača.


