1. Uvod
This manual provides essential instructions for the safe and efficient operation of your GOWENIC N6 Portable Inkjet Printer. This handheld inkjet printer features a 4.3-inch HD LED touchscreen and a smart 4-core CPU, offering a user-friendly experience similar to a mobile phone. It is designed for versatile printing tasks on various materials.
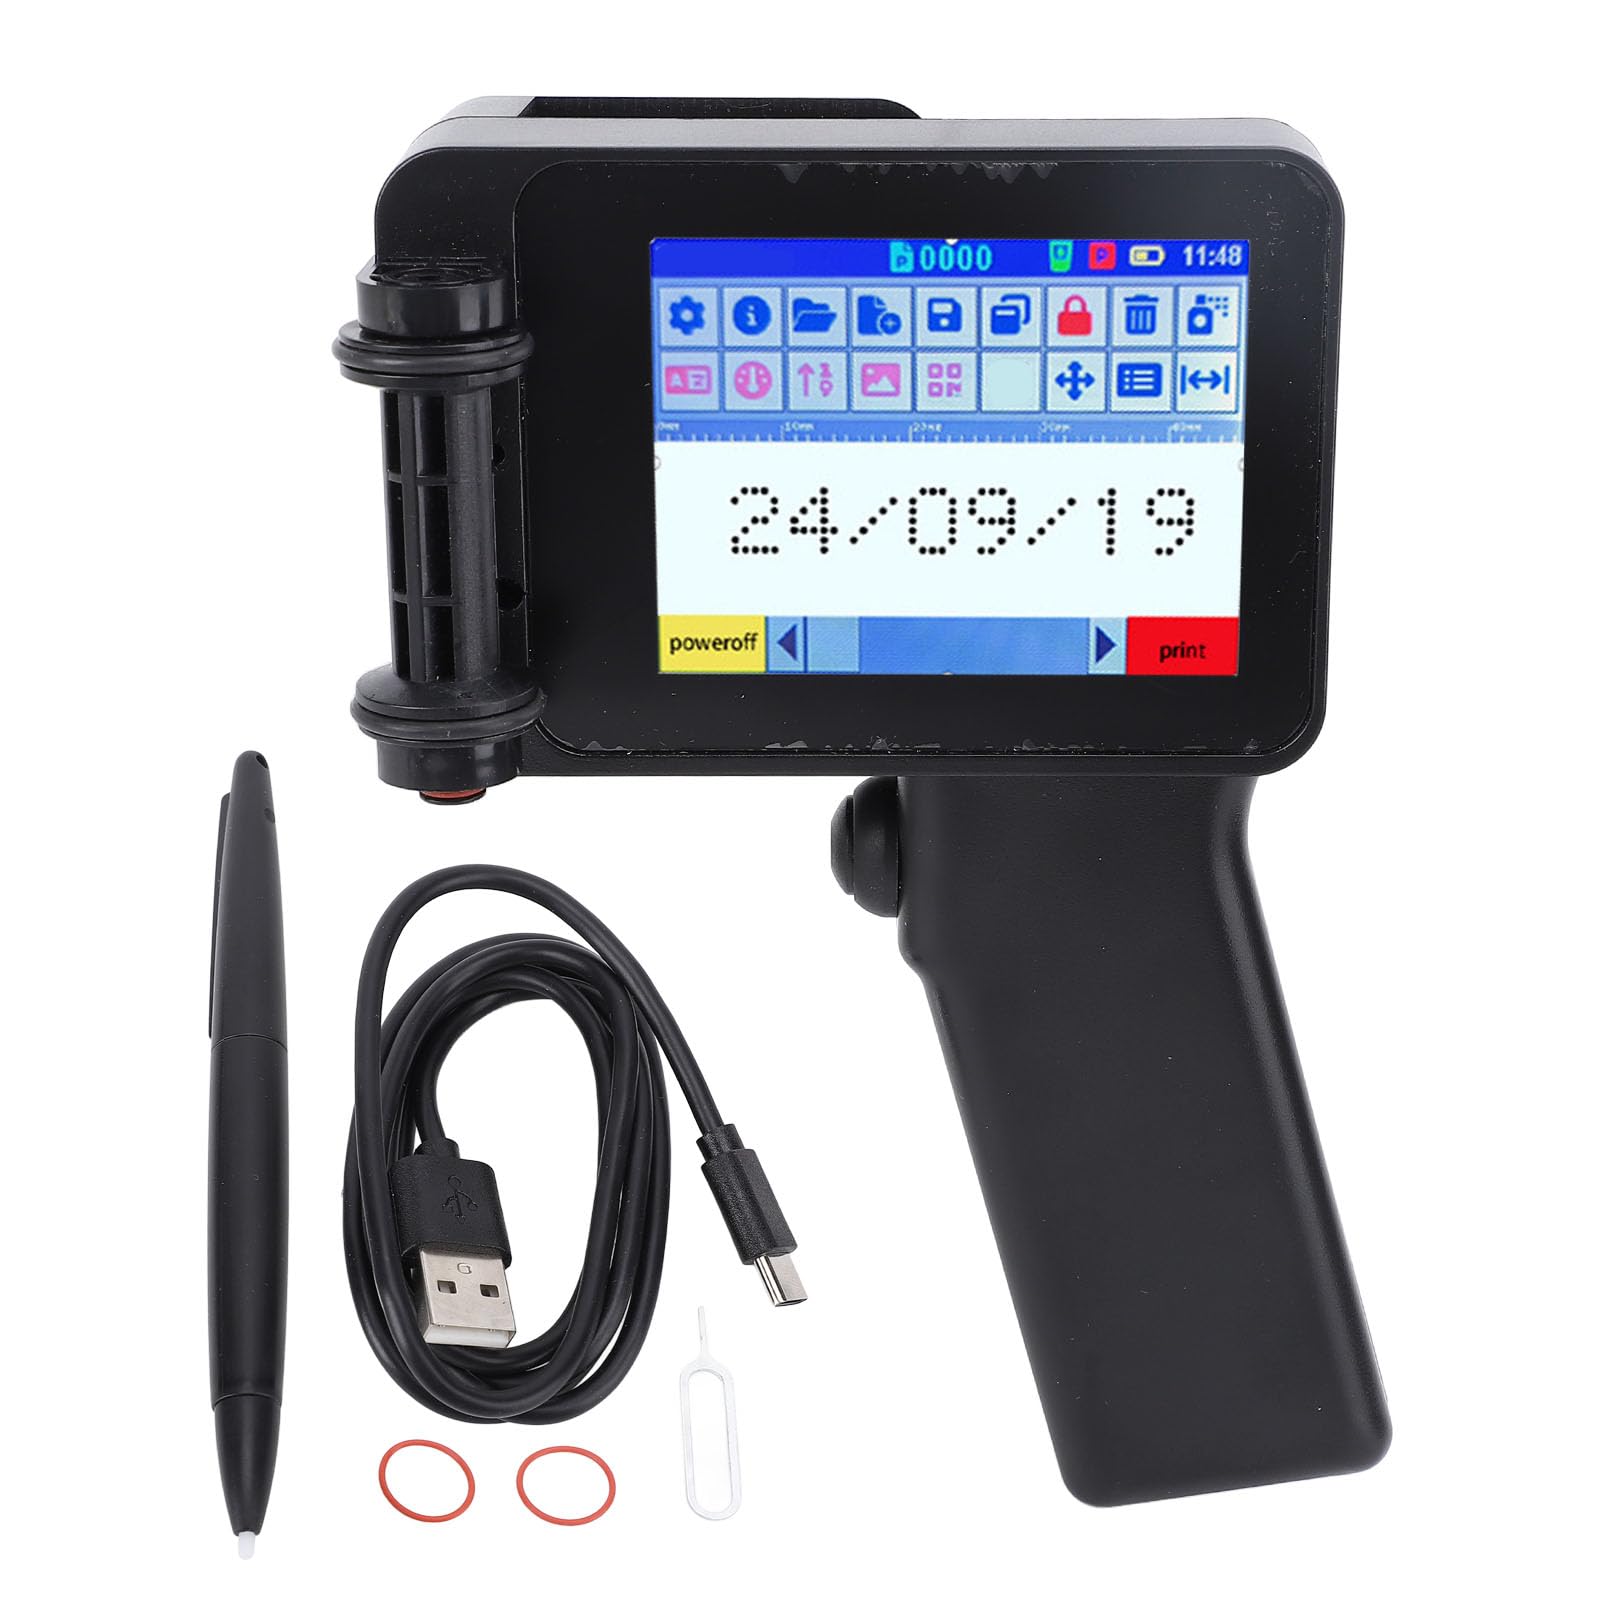
Figure 1: GOWENIC N6 Portable Inkjet Printer in operation.
Ključne karakteristike:
- HD ekran osjetljiv na dodir: 4.3-inch HD LED touchscreen with a simple UI design for intuitive operation.
- Duga izdržljivost: Equipped with a smart 4-core CPU and a large-capacity battery for smooth and continuous operation.
- Udobna ručka: Ergonomic design for a comfortable grip, reducing fatigue during extended use.
- Sistemska podrška: Supports USB flash drive input, Android, and iOS for enhanced usability.
- Široka primjena: Capable of printing numbers, 2D codes, barcodes, images, time, date, and labels on diverse materials including wood, cardboard, metal, plastic, fabric, labels, and leather.
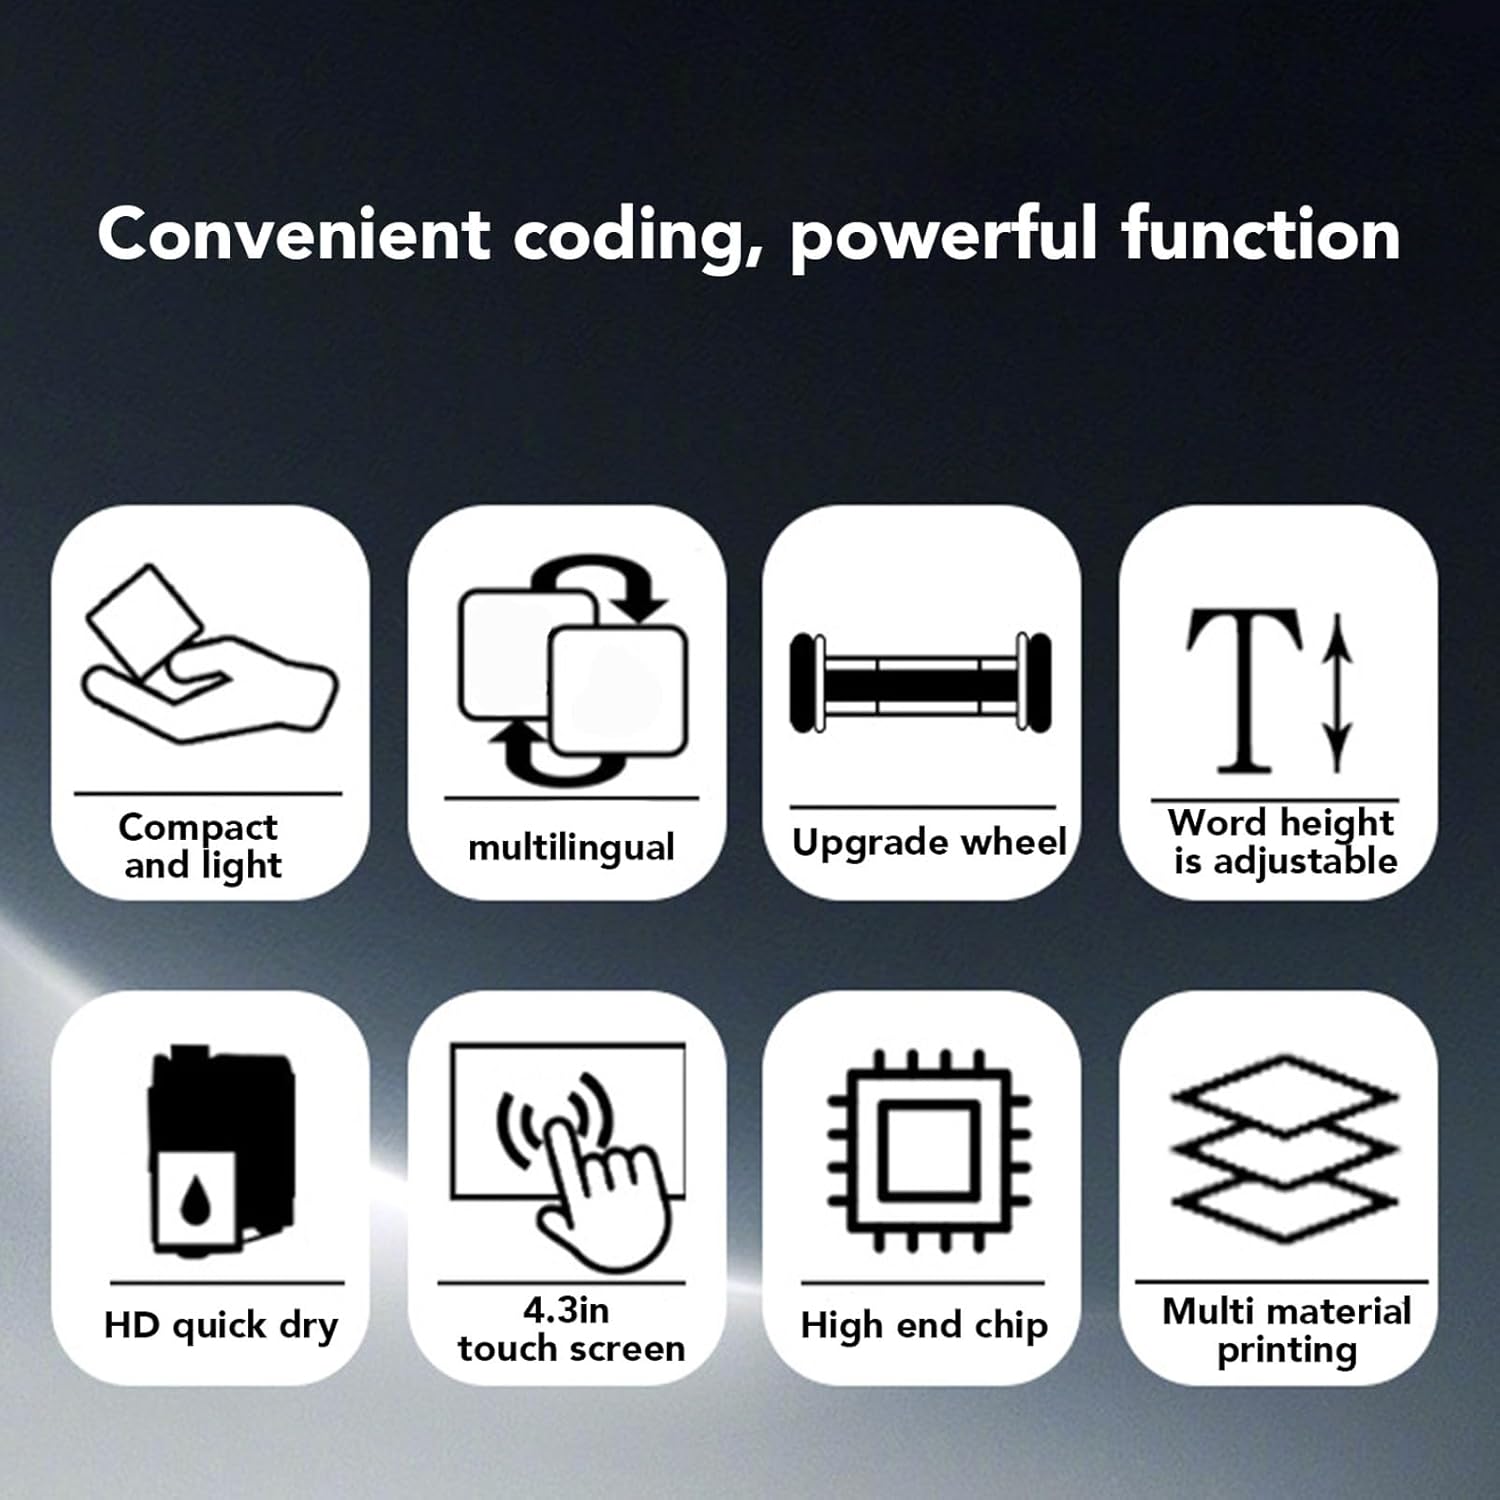
Figure 2: Icons illustrating the compact, multilingual, adjustable, and multi-material printing capabilities.
2. Šta se nalazi u kutiji
Upon opening your GOWENIC N6 Portable Inkjet Printer package, you should find the following items:
- 1 x Prijenosni štampač
- 1 x USB kabl
- 1 x Pin za karticu
- 1 x Stylus olovka
- 2 x Accessories (e.g., positioning plate, cleaning cloth)
Note: Ink cartridges are not included and must be purchased separately.
Video 1: Raspakivanje i inicijali iznadview of the portable inkjet printer, showing included accessories and basic operation.
3. Podešavanje
3.1 Installing the Ink Cartridge
- Carefully remove the protective cap from the ink cartridge.
- Hold the cartridge at approximately a 45-degree angle.
- Align the nozzle of the cartridge with the designated slot on the printer.
- Gently push the cartridge forward until it clicks securely into place.
- Ensure the cartridge is firmly seated before proceeding.

Figure 3: Proper insertion of the ink cartridge into the printer.
3.2 Powering On the Printer
To power on your GOWENIC N6 printer, locate the function/power button (usually on the side or back) and press and hold it for a few seconds. The device will boot up and display the main menu on the touchscreen.
Video 2: Detailed guide on installing the ink cartridge, powering on the printer, and navigating the basic interface.
4. Uputstvo za upotrebu
4.1 Navigating the Touchscreen and Editing Content
The GOWENIC N6 features an intuitive 4.3-inch HD touchscreen. Use the provided stylus pen for precise interaction with the interface.
- From the main menu, select the "Edit" option to create or modify printing content.
- You can delete existing text, add new text, dates, counters, images, barcodes, or variable barcodes.
- Adjust text properties such as font, size, width, spacing, rotation, and style (bold/italic).
- Use the on-screen arrows to adjust the position of your content.

Figure 4: The 4.3-inch HD touchscreen for easy content creation and editing.
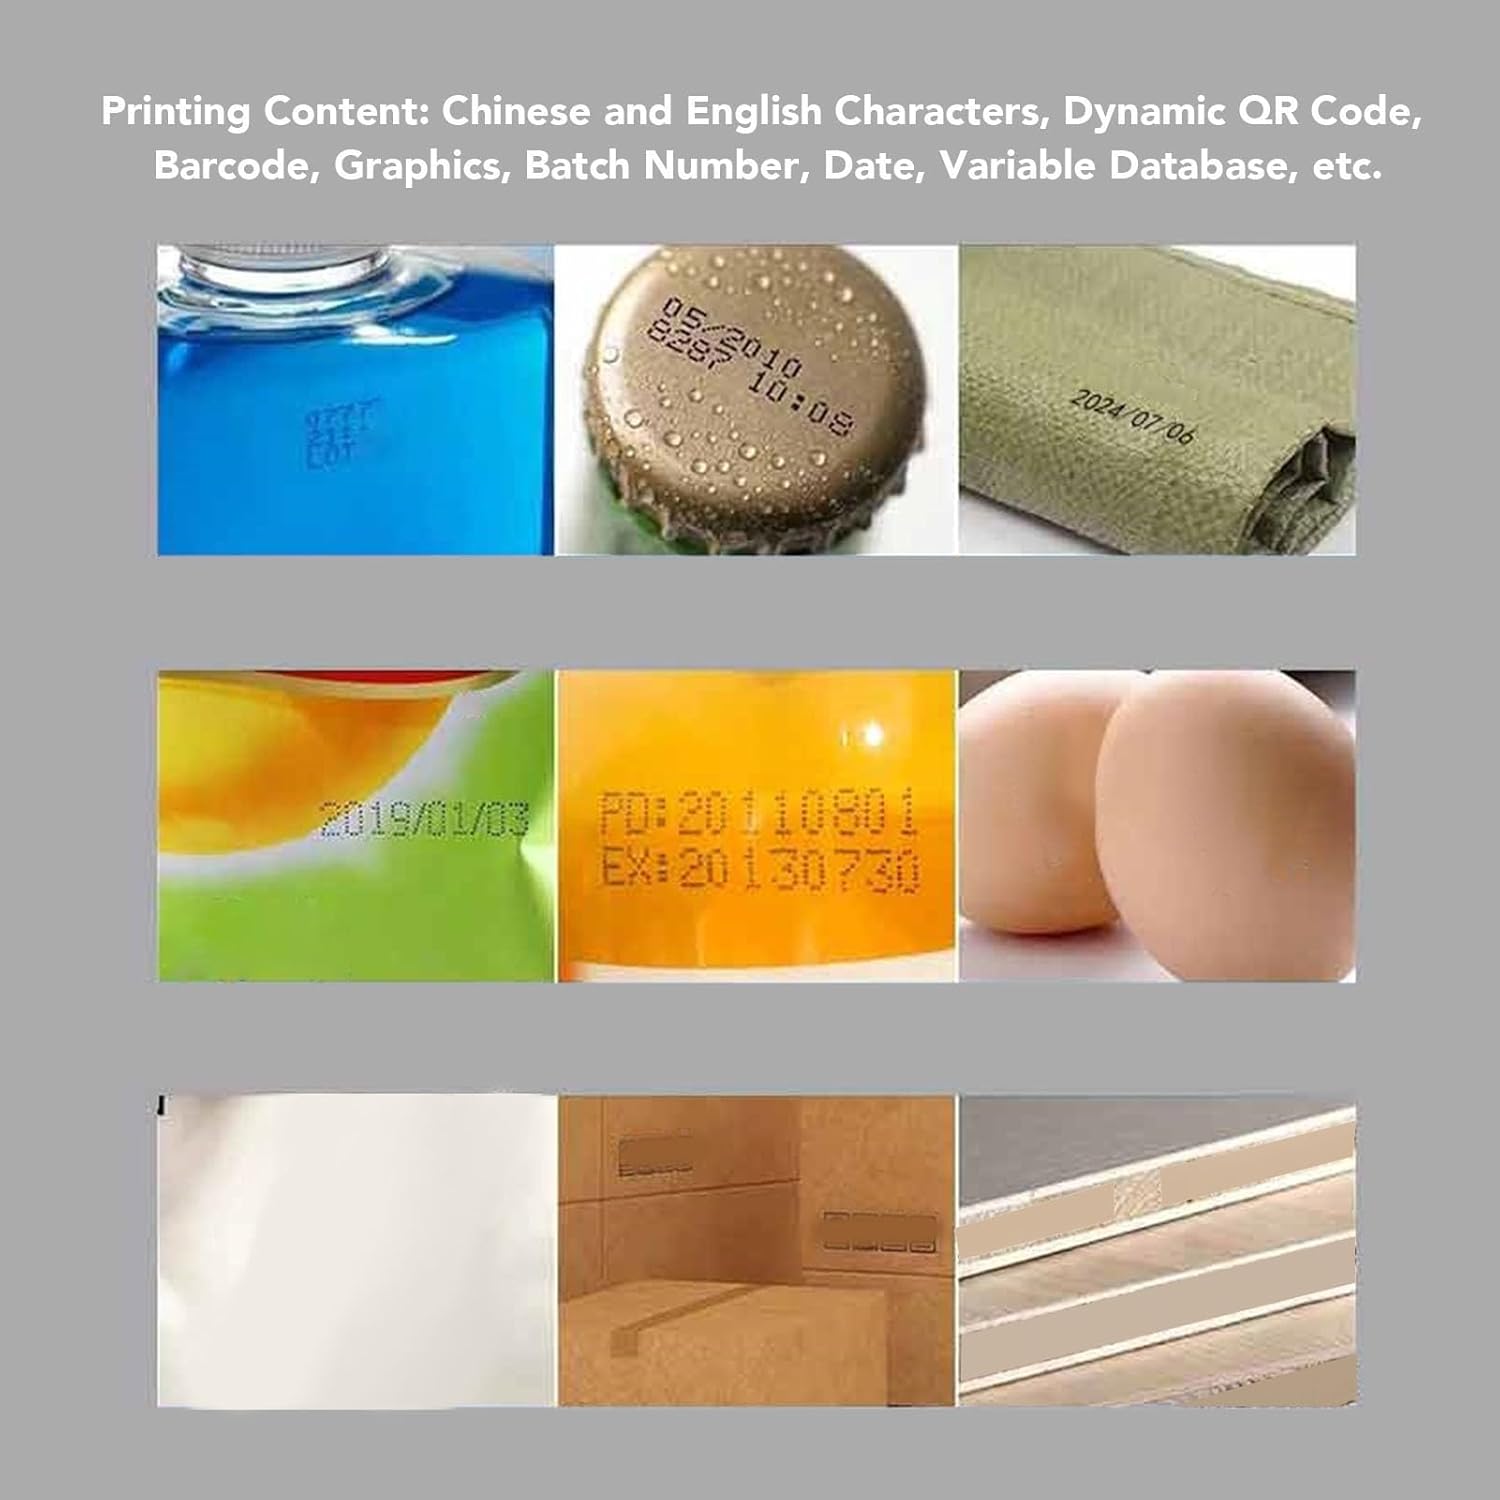
Slika 5: Pramples of various content types that can be printed, such as dates, batch numbers, and QR codes.
4.2 Performing a Print
- After creating or selecting your desired content, ensure the printer is ready.
- Press the trigger button once to prepare the printer for printing (it will show "in attesa" or "waiting").
- Press the trigger button a second time to activate the print head.
- Position the printer's rollers firmly against the surface you wish to print on.
- Smoothly swipe the printer across the surface to apply the ink. For best results, maintain a consistent speed and pressure.

Figure 6: Maintaining the correct print distance for optimal accuracy.
4.3 Switching System Languages
The GOWENIC N6 supports 28 different languages. To change the system language:
- From the main menu, tap on "Settings".
- Look for the "Language" option (often represented by a globe icon or language names).
- Select your preferred language from the list. The interface will update immediately.
Video 3: Demonstration of how to easily switch between different system languages on the printer.
5. Printing on Various Materials
The GOWENIC N6 is engineered for high adaptability, allowing you to print on a wide array of surfaces. The quick-drying ink ensures that prints are durable and resistant to smudging, even on non-porous materials.
Supported Materials Include:
- Drvo
- Karton
- Metal
- Plastic (bottles, packaging)
- Fabric
- Etikete
- Koža
- Staklo
- Stone
- Kabl
- Industrial Packaging
- Prehrambeni proizvodi

Figure 7: A selection of materials compatible with the GOWENIC N6 printer.
Video 4: Demonstrates printing on wood, cardboard, and glass, showcasing the ink's waterproof properties.
Video 5: Shows the printer applying marks on cardboard boxes, plastic bottles, and plastic packaging.
6. Održavanje
6.1 Ink Cartridge Care
To ensure the longevity and optimal performance of your ink cartridge, it is crucial to follow proper storage procedures:
- If the printer will not be used for more than 15 minutes, remove the ink cartridge from the device.
- Immediately place the protective cap back onto the cartridge nozzle. This prevents the ink from drying out and clogging the nozzle.
- Store the capped cartridge in a cool, dry place away from direct sunlight.
Video 6: This video demonstrates the correct procedure for removing the ink cartridge and capping it for storage.
7. Otkrivanje problema
7.1 Screen Unresponsive or Calibration Issues
If your printer's touchscreen becomes unresponsive or exhibits incorrect touch registration, you may need to calibrate it.
- If the screen is unresponsive, press and hold the power button for approximately 15 seconds to force a shutdown. Alternatively, you can wait for the machine to automatically shut down after a few minutes of inactivity.
- Power the printer back on.
- During the boot-up process, or immediately after the main menu appears, long-press on the screen with the stylus pen. This should initiate the calibration mode.
- Follow the on-screen instructions, which typically involve tapping on a series of "+" symbols that appear in different corners of the screen.
- Once all points are tapped, the screen should be recalibrated and responsive again.
Video 7: Step-by-step instructions for calibrating the printer's touchscreen.
8. Specifikacije
| Feature | Detalj |
|---|---|
| Vrsta proizvoda | Prenosni inkjet štampač |
| Model | N6 |
| Baterija | 1 set of Li-ion batteries (1500 mAh) |
| Visina štampanja | Approx. 2 ~ 12.7 mm (0.08 ~ 0.5 inches) |
| Napajanje | Quick Charge 3.0 Adapter |
| Print Accuracy | Maximum 600 dpi |
| Print Distance | Approx. 2 ~ 5 mm (0.08 ~ 0.2 inches) |
| Power Input | 5V2A |
| Interfejs za punjenje | Tip C |
| Printing Content | Time, date, count, two-dimensional code, barcode, logo, images |
| Image Input Method | Data cable connect to the computer |
| Format slike | BMP format 24-bit image, height less than 160 pixels |
| Sistemski jezici | Chinese, Traditional Chinese, English, Russian, Thai, Spanish, German, French, Japanese, Arabic, Turkish, Italian, Portuguese, Vietnamese, Bulgarian, Ukrainian, Hebrew, Hungarian, Greek, Polish, Indonesian, Dutch, Serbian, Malaysian, Filipino, Persian |
| Podržani materijali | Wood, cardboard, metal, plastic, fabric, labels, leather, etc. |
| Maksimalni kapacitet listova | 10 |
| Maksimalna rezolucija crno-bijelog ispisa | 600 tačaka po inču |
| Dubina boje | 24 bits_per_pixel |
| Duplex Printing | br |
| Hardversko sučelje | USB |
| Ink Color | Crna |
| Rezolucija skenera | 600 x 600 |
| Dodatne karakteristike | Touch screen |
| Broj stavki | 1 |
| Baterije su potrebne | Ne (unutrašnja punjiva baterija) |
| Ukupni USB portovi | 1 |
| Težina artikla | 520 g |
| Dimenzije | 23 x 16 x 11 cm |
| Tehnologija povezivanja | USB |
| Tehnologija štampe | Inkjet |
| Max Supported Paper Size | A4 |
9. Garancija i podrška
For detailed warranty information, technical support, and customer service inquiries, please refer to the specific warranty card or documentation included with your GOWENIC N6 Portable Inkjet Printer. You may also visit the official GOWENIC webstranicu ili se direktno obratite njihovoj korisničkoj podršci za pomoć.


