1. Sigurnosne informacije
Please read this manual carefully before using the product to ensure proper operation and to avoid damage. Keep this manual for future reference.
- Ne koristite uređaj tokom vožnje. Podešavanje postavki vršite samo kada je vozilo sigurno parkirano.
- Ensure the dash cam does not obstruct your view ceste ili ometati upravljanje vozilom.
- Use only original accessories provided with the product.
- Izbjegavajte izlaganje uređaja ekstremnim temperaturama ili direktnoj sunčevoj svjetlosti tokom dužeg perioda.
- Držite uređaj dalje od vode i vlage.
2. Sadržaj paketa
Provjerite da li su sve stavke prisutne u paketu:
- Mirror Dash Camera Unit
- Zadnja kamera
- Car Charger
- Kabl za punjenje (USB-C)
- GPS modul
- 64GB Micro SD kartica
- Installation Tool (Pry Tool)
- Uputstvo za upotrebu
- Mounting Straps (for mirror)
- Adhesive Pads and Screws (for rear camera)

Image: All components included in the QOZ V969 Mirror Dual Dash Camera package.
3. Postavljanje i instalacija
3.1 Installing the Mirror Dash Camera
- Attach the mirror dash camera to your existing rearview ogledalo pomoću priloženih gumenih traka. Provjerite je li sigurno pričvršćeno i ne zaklanja vaše view.
- Adjust the integrated front camera lens to capture the desired view puta ispred nas.

Image: The mirror dash camera is designed to clip securely over your vehicle's existing rearview ogledalo.
3.2 Instaliranje zadnje kamere
- Mount the rear camera at the back of your vehicle, typically above the license plate or inside the rear window. Use the provided adhesive pads and screws for secure attachment.
- Route the rear camera cable to the front of the vehicle, tucking it along the headliner and A-pillar trim using the installation tool to conceal the wiring.
- Connect the rear camera cable to the designated port on the mirror dash camera.
- Connect the red wire from the rear camera cable to your vehicle's reverse light power wire. This enables the display to automatically switch to the rear camera view pri vožnji unazad.

Image: Wiring diagram for connecting the rear camera to the main unit and the vehicle's reverse light for automatic activation.
3.3 Connecting Power and GPS
- Insert the 64GB Micro SD card into the designated slot on the mirror dash camera.
- Connect the GPS module to its port on the mirror dash camera. Position the GPS module on the dashboard or near the windshield for optimal signal reception.
- Plug the car charger into your vehicle's 12V power outlet (cigarette lighter).
- Connect the USB-C charging cable from the car charger to the mirror dash camera.

Image: The dash camera package includes a 64GB SD card and a GPS module for route and speed tracking.
4. Uputstvo za upotrebu
4.1 Uključivanje/isključivanje napajanja
Kamera za automobil će se automatski uključiti i početi snimati kada se uključi kontakt vašeg vozila. Automatski će se isključiti kada se kontakt isključi.
4.2 10" IPS Touch Screen Interface
The 10-inch IPS touch screen provides a wide viewing angle and vivid color accuracy. Swipe left/right to switch between front camera view, zadnja kamera view, or a split-screen display showing both simultaneously. Swipe up/down on the screen to adjust the camera's vertical viewing kut.

Image: The 10-inch IPS touch screen offers a clear and responsive interface for managing camera viewi postavke.
4.3 Upravljanje glasom
The dash cam supports voice commands for hands-free operation. Use the following commands:
- "Turn off screen" / "Turn on screen"
- "Show front camera" / "Show rear camera" / "Show both cameras"
- "Zaključaj video"
- "Slikaj"
- "Uključi zvuk" / "Isključi zvuk"
- "Turn on Wi-Fi" / "Turn off Wi-Fi"
- "Turn off recording"
- "Open screen"

Image: Voice control allows for hands-free operation of key dash cam functions, enhancing driving safety.
Video: Demonstration of voice control features for the QOZ 4K+2.5K Mirror Dash Cam.
4.4 Built-in Wi-Fi & APP Control
Connect the dash cam to your smartphone via Wi-Fi using the dedicated app (available on iOS and Android). Through the app, you can view live footage, playback recorded videos, manage settings, and download files directly to your device. This allows for easy sharing of travel experiences.
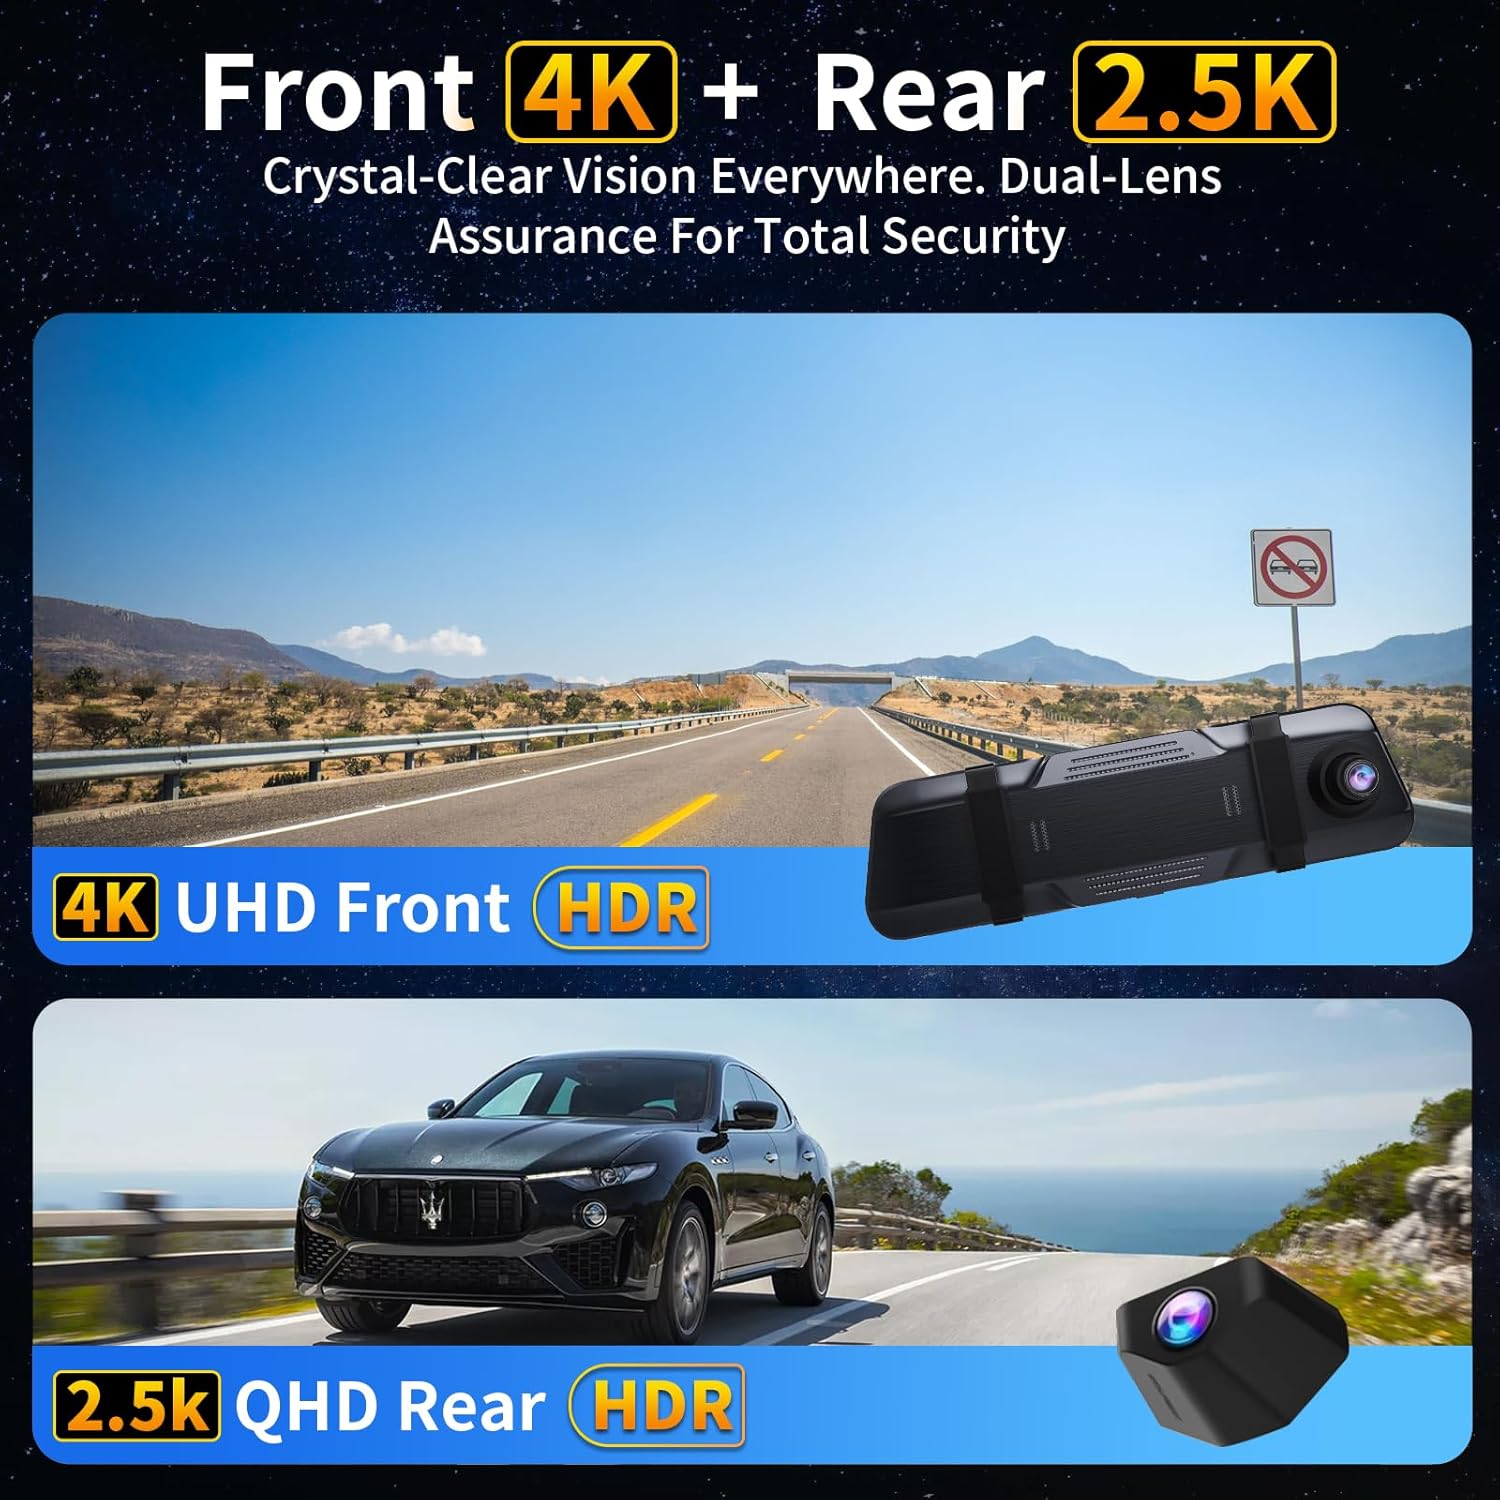
Image: The dash camera connects to a smartphone app via 5.8GHz Wi-Fi for viewing, playback, and management.
4.5 Snimanje u petlji
The dash cam continuously records video in segments (e.g., 1, 2, or 5 minutes). When the SD card is full, the oldest unlocked files are automatically overwritten to ensure uninterrupted recording. Locked files su zaštićeni od prepisivanja.

Image: Loop recording ensures continuous video capture by overwriting the oldest files kada je memorijska kartica puna.
4.6 G-senzor (Hitno snimanje)
The built-in G-Sensor detects sudden impacts or collisions. When triggered, it automatically locks the current video segment, preventing it from being overwritten by loop recording. These locked filesluže kao ključni dokaz u slučaju nesreće.

Slika: G-senzor automatski zaključava video snimketage upon detecting a collision, securing important evidence.
4.7 24-satni parking monitor
With the optional hardwire kit (ASIN: B0DCYYLL6T, sold separately), the dash cam can monitor your vehicle 24 hours a day. It detects collisions, vandalism, or suspicious activity while parked and automatically saves critical video clips to the memory card.

Image: The 24-hour parking monitor provides continuous surveillance, requiring an optional hardwire kit.
4.8 WDR & Super Night Vision
The Wide Dynamic Range (WDR) technology balances exposure in varying light conditions, preventing overexposure in bright areas and underexposure in dark areas. Super Night Vision enhances clarity in low-light environments, ensuring sharp details like license plates are captured 24/7.
Image: WDR and Super Night Vision technologies ensure clear and detailed recordings in various lighting conditions, day or night.
4.9 Adjustable Rear Cam Display
The rear camera display can be adjusted to adapt to different installation methods and vehicle types. Options include vertical flip and mirror flip to ensure the correct orientation of the rear view.

Image: The adjustable rear camera display allows for various viewing orientations, including vertical and mirror flips.
5. Održavanje
- Formatiranje SD kartice: Regularly format the Micro SD card (at least once a month) to ensure optimal performance and prevent data corruption. This can usually be done through the dash cam's settings menu.
- čišćenje: Za čišćenje ekrana i sočiva kamere koristite meku, suhu krpu. Izbjegavajte upotrebu abrazivnih sredstava za čišćenje ili rastvarača.
- Ažuriranja firmvera: Provjerite proizvođača webperiodično provjeravajte stranicu za ažuriranja firmvera kako biste osigurali da vaš uređaj ima najnovije funkcije i ispravke grešaka.
6. Otkrivanje problema
- "SD Card Full" Error: If you encounter this message, ensure loop recording is enabled. If it persists, format the SD card. If the issue continues, the SD card may be faulty and require replacement.
- Kamera za automobil se ne uključuje: Check the car charger connection and ensure the vehicle's 12V power outlet is functioning.
- Loš kvalitet videa: Ensure camera lenses are clean. Check the recording resolution settings (set to 4K front and 2.5K rear for optimal quality).
- GPS ne prati: Ensure the GPS module is properly connected and placed in an area with clear sky view.
7. Specifikacije
| Naziv modela | V969-Voice Control Mirror Dash Cam |
| Dimenzije proizvoda | 10 x 1 x 4 inča |
| Težina artikla | 1.98 funte |
| Rezolucija video snimanja | 4K Front + 2.5K Rear |
| Field Of View | 170 Degrees (Front) + 150 Degrees (Rear) |
| Tehnologija povezivanja | Wi-Fi (5.8GHz) |
| Posebne karakteristike | App Control, Built-In Display, Built-In GPS, Night Vision, Parking Monitor, Voice Control, Loop Recording, G-Sensor, WDR |
| Uključene komponente | Car Charger, Charging Cable, Installation Tool, User Manual, 64GB Card, GPS Module |
8. Garancija i podrška
For warranty information, technical support, or any inquiries regarding your QOZ V969 Mirror Dual Dash Camera, please contact the manufacturer directly. Refer to the contact information provided in the product packaging or on the official QOZ website.


