1. Uvod
This manual provides instructions for the safe and proper installation, operation, and maintenance of your suptek Single Monitor Mount MD01AW. Please read this manual thoroughly before installation and keep it for future reference.
The suptek MD01AW is a single monitor desk mount featuring a gas spring arm for smooth and effortless adjustments. It is designed to enhance your ergonomic workspace by allowing flexible positioning of your monitor.
Kompatibilnost
- Veličina ekrana: 13 do 32 inča
- Kapacitet težine: 4.4 do 19.8 lbs (2 do 9 kg)
- VESA kompatibilnost: 75x75mm i 100x100mm

Figure 1: suptek Single Monitor Mount MD01AW with a monitor. This image illustrates the product's load capacity (2-9kg), screen size compatibility (13"-32"), and VESA pattern (75x75/100x100mm).
2. Sadržaj paketa
Please verify that all parts are present and undamaged before installation. If any parts are missing or damaged, contact suptek customer support.
- Sklop kraka za monitor
- Desk Clamp Baza
- Grommet Mount Base (optional)
- VESA tanjir
- Komplet hardvera (vijci, podloške, odstojnici)
- Allen Keys
- Uputstvo za upotrebu
3. Sigurnosne informacije
UPOZORENJE: Failure to read and follow these instructions may result in serious personal injury, property damage, or voiding of your warranty.
- Ne prekoračujte maksimalnu nosivost od 9 kg (19.8 lbs).
- Ensure your desk surface is strong enough to support the combined weight of the mount and your monitor.
- Use only the provided hardware. If you are unsure about any part of the installation, consult a qualified professional.
- Držite djecu i kućne ljubimce podalje tokom instalacije.
- Povremeno provjeravajte sve vijke i spojeve kako biste bili sigurni da su sigurni.
4. Postavljanje i instalacija
The suptek MD01AW offers two installation methods: C-clamp and Grommet mount.

Figure 2: Two installation options for the monitor mount. The C-clamp option is suitable for desk thicknesses of 10-70mm, and the grommet mount option is for desk thicknesses of 10-70mm with a hole diameter of 10-60mm.
4.1 C-Clamp Instalacija
- Pričvrstite C-clamp base to the edge of your desk. Ensure the clamp is securely tightened to prevent movement. The C-clamp fits desks with a thickness of 10-70mm.
- Insert the main pole of the monitor arm into the C-clamp base. Tighten the securing screw.
4.2 Grommet Mount Installation
- If your desk has a grommet hole (10-60mm diameter) and a thickness of 10-70mm, use the grommet mount option.
- Thread the grommet base through the desk hole. Secure it from underneath the desk using the provided plate and nut.
- Insert the main pole of the monitor arm into the grommet base. Tighten the securing screw.
4.3 Pričvršćivanje monitora
- Attach the VESA plate to the back of your monitor using the appropriate screws and spacers from the hardware kit. Ensure the screws are tightened securely but do not overtighten.
- Slide the monitor (with the attached VESA plate) onto the VESA head of the monitor arm. Ensure it clicks into place or is secured with the locking screw.
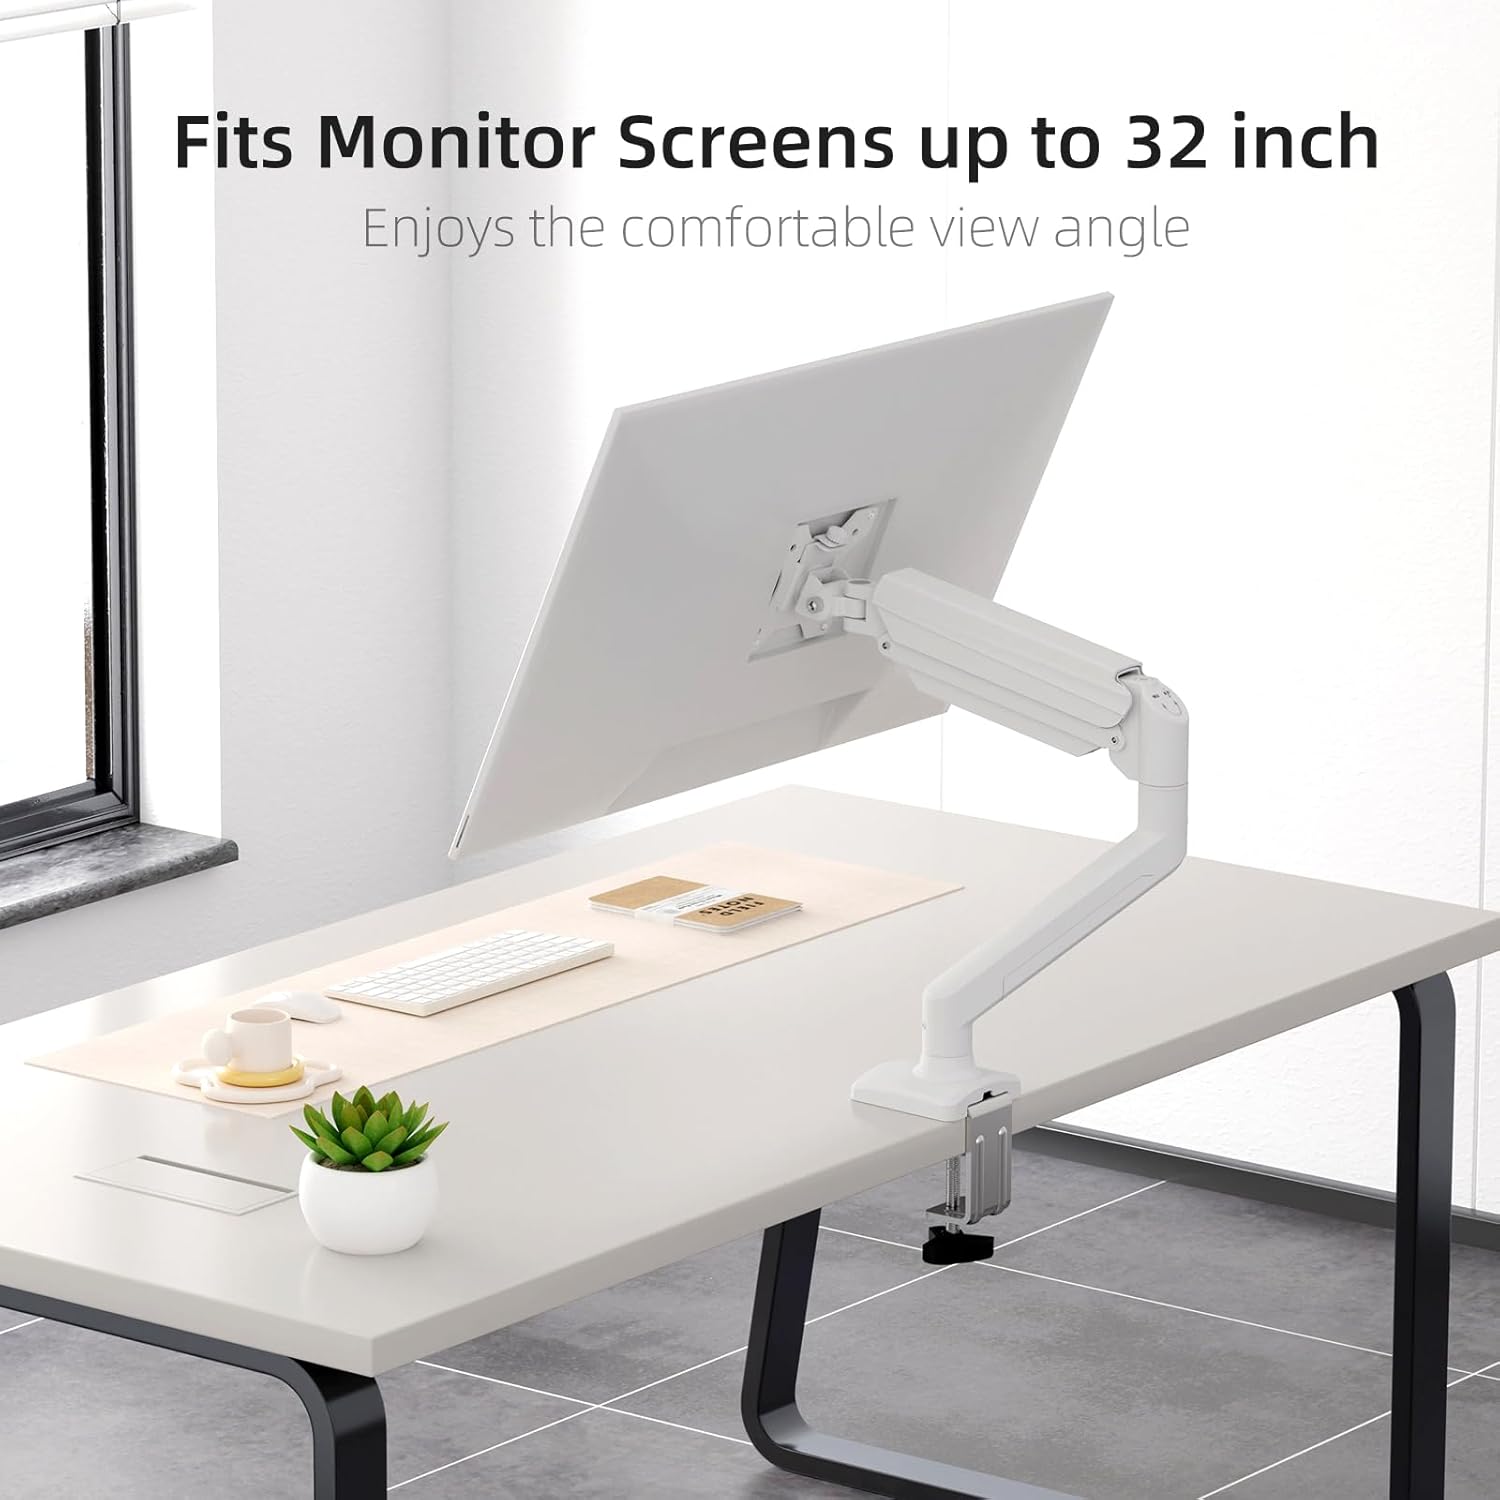
Figure 3: Monitor attached to the suptek monitor arm. This image demonstrates how the mount accommodates monitor screens up to 32 inches, providing a comfortable viewing kut.
5. Rad i podešavanja
The gas spring arm allows for flexible and smooth adjustments to achieve your desired monitor position.

Figure 4: Full adjustability of the monitor arm. The arm allows for tilt (±90°), swivel (±90°), and 360° rotation for optimal viewing.
5.1 Podešavanje napetosti plinske opruge
The gas spring tension needs to be adjusted according to the weight of your monitor. Use the provided Allen key to adjust the tension screw located on the arm.
- If the monitor falls down, turn the screw clockwise (+) to increase tension.
- If the monitor rises up too easily, turn the screw counter-clockwise (-) to reduce tension.

Figure 5: Easy gas spring adjustment. Turn the screw clockwise (+) to increase tension if the equipment falls down, or counter-clockwise (-) to reduce tension if the equipment raises up too easily.
5.2 Height, Tilt, Swivel, and Rotation
- Podešavanje visine: Gently push or pull the monitor to the desired height. The gas spring will hold it in place once tension is correctly set.
- Nagib: Tilt the monitor screen up or down (±80°) to reduce glare and optimize viewing kut.
- Okretni: Swivel the monitor left or right (±90°) to share your screen or adjust your viewing position.
- rotacija: Rotate the monitor 360° between landscape and portrait orientations.
5.3 Upravljanje kablovima
Route your monitor cables through the integrated cable management clips on the arm to maintain a tidy workspace.

Figure 6: Integrated cable management. Cables can be routed along the arm to keep the workspace neat and prevent wire entanglement.
6. Održavanje
Redovno održavanje osigurava dugotrajnost i siguran rad vašeg nosača monitora.
- čišćenje: Obrišite nosač mekom krpomamp krpom. Izbjegavajte abrazivna sredstva za čišćenje ili rastvarače.
- Provjerite veze: Periodically check all screws and bolts, especially those securing the mount to the desk and the monitor to the VESA plate, to ensure they are tight.
- Plinska opruga: If the gas spring tension feels off, re-adjust it according to Section 5.1.
7. Otkrivanje problema
If you encounter issues with your monitor mount, refer to the following common problems and solutions.
| Problem | Mogući uzrok | Rješenje |
|---|---|---|
| Monitor sags or falls down | Napetost plinske opruge je preniska za težinu monitora. | Increase gas spring tension by turning the adjustment screw clockwise (+). Refer to Section 5.1. |
| Monitor floats up or is hard to push down | Napetost plinske opruge je prevelika za težinu monitora. | Decrease gas spring tension by turning the adjustment screw counter-clockwise (-). Refer to Section 5.1. |
| Mount is wobbly or unstable | Desk clamp/grommet mount is not tightened sufficiently. | Osigurajte radni sto klamp or grommet mount is securely fastened to the desk. Check all connection points. |
| Monitor does not attach to VESA plate | Incorrect VESA screws or plate orientation. | Ensure you are using the correct VESA screws for your monitor and that the VESA plate is oriented correctly. |
8. Specifikacije
- Brand: suptek
- Model: MD01AW
- Materijal: legirani čelik
- Boja: Bijelo
- Vrsta montaže: Nosač za sto (C-clamp ili ušica)
- Vrsta pokreta: Rotate, Tilt, Swivel, Height Adjustment
- Kompatibilni uređaji: Monitors 13-32 inches
- Kapacitet težine: 4.4 - 19.8 funti (2 - 9 kg)
- VESA kompatibilnost: 75x75mm, 100x100mm
- Maksimalni ugao nagiba: 80 stepeni
- Debljina stola (C-clamp): 10-70mm
- Debljina stola (ušica): 10-70mm
- Prečnik otvora za ušicu: 10-60mm
- Težina artikla: Otprilike 4.76 funti (2.16 kg)
- Dimenzije paketa: Približno 15.12 x 7.99 x 4.25 inča
9. Garancija i podrška
suptek products are manufactured with quality and care. For warranty information or technical support, please refer to the contact details provided with your purchase or visit the official suptek website. Please have your model number (MD01AW) and purchase date available when contacting support.


