Uvod
This manual provides detailed instructions for the installation, operation, and maintenance of your LaView 8MP 4K Wired Home Security Camera System. Please read this manual thoroughly before using the product to ensure proper setup and functionality. Keep this manual for future reference.
Sigurnosne informacije
- Ensure all power connections are secure and meet local electrical codes.
- Do not expose the camera to extreme temperatures outside the specified operating range (14°F to 122°F / -10°C to 50°C).
- Izbjegavajte duže izlaganje kamere direktnoj sunčevoj svjetlosti, jer to može utjecati na performanse.
- Keep the camera lens clean to ensure optimal image quality.
- Ne pokušavajte rastavljati ili modificirati kameru, jer će to poništiti garanciju.
Sadržaj paketa
Before setting up your LaView 8MP 4K Wired Security Camera, please verify that all components are included in the package:
- LaView 8MP 4K Wired Security Camera(s)
- Adapter(i) za napajanje
- Montažni nosač(i)
- Šesterokutni ključ
- Screw Sets (screws and wall anchors)
- Priručnici za korisnike
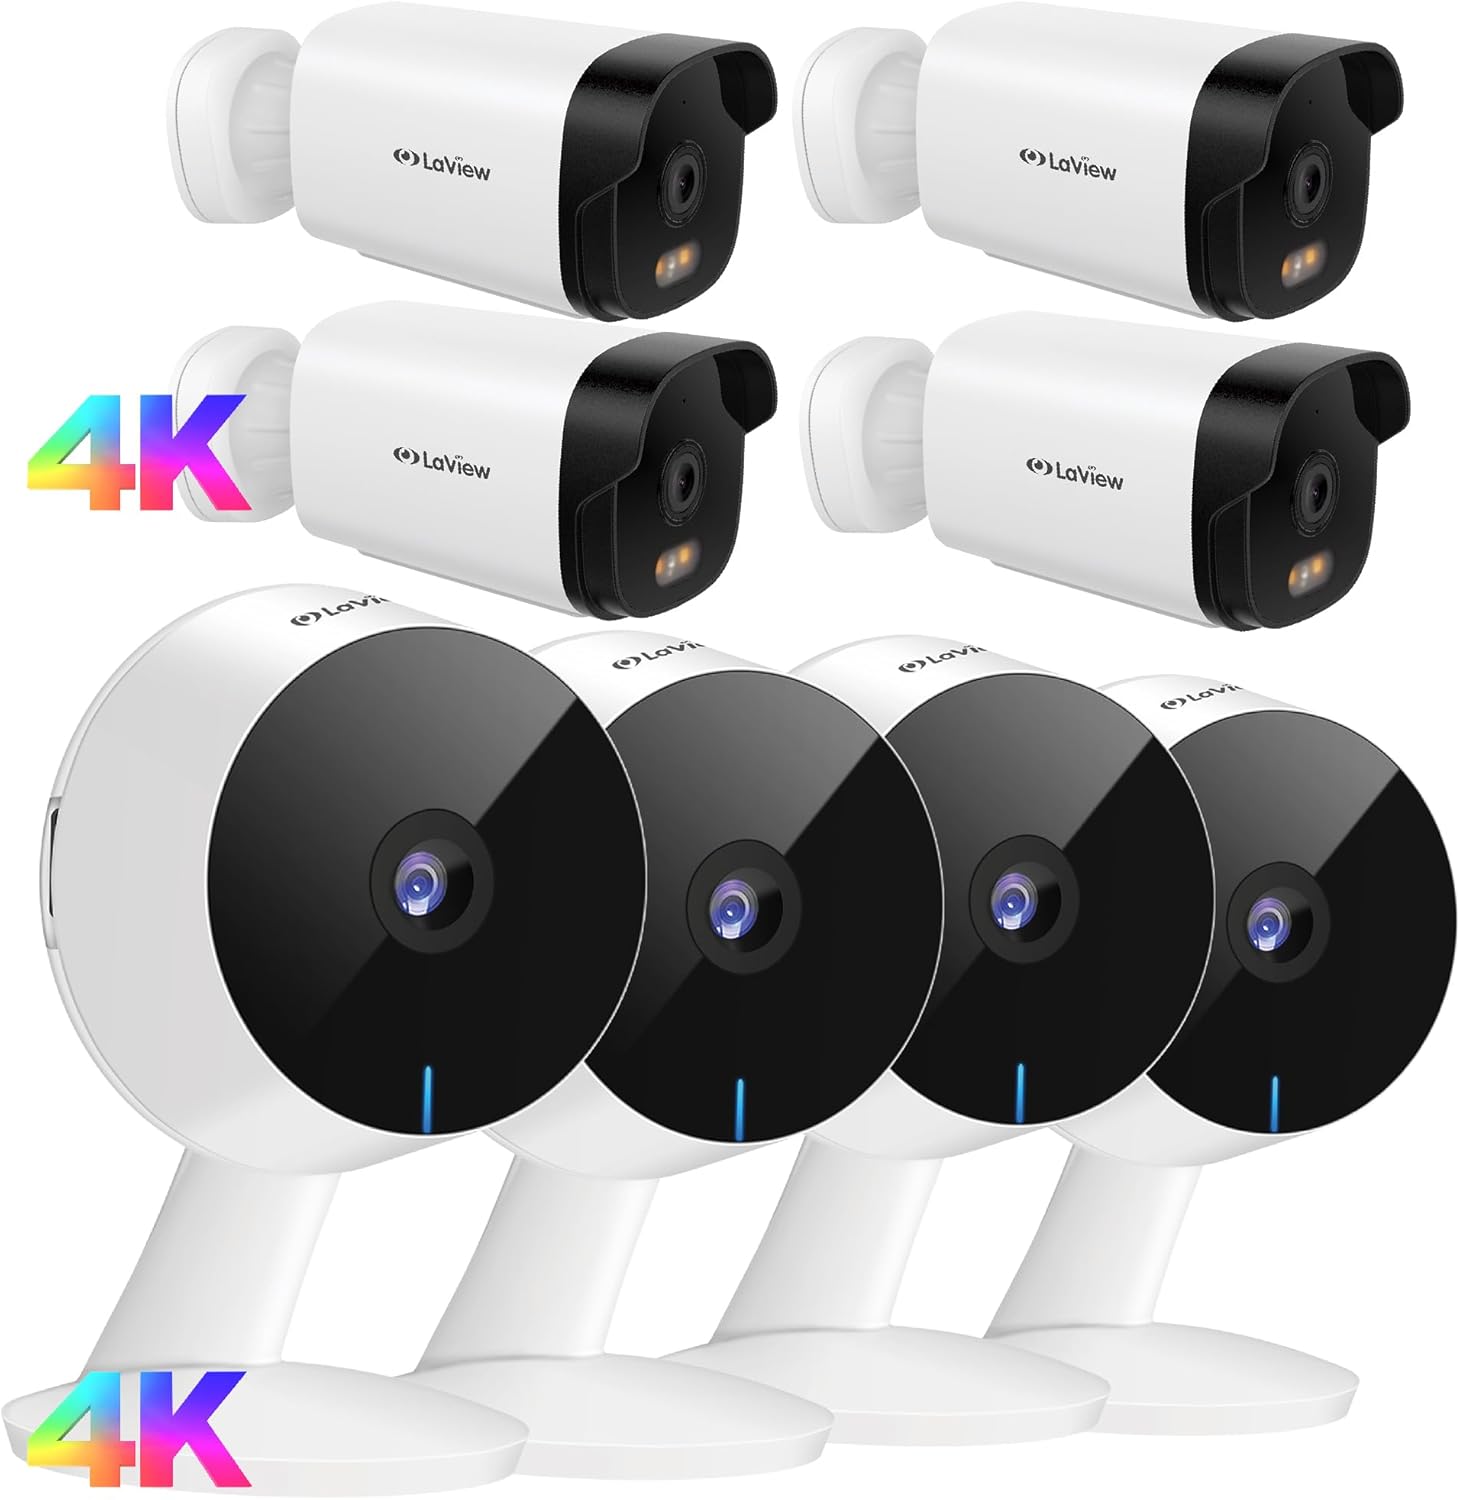
Slika: Prekoview of the LaView 8MP 4K Wired Security Camera system, showing multiple cameras, power adapters, mounting hardware, and user manuals.
Setup
1. Fizička instalacija
- Pozicioniranje: Choose a suitable location for your camera. Use the mounting bracket to mark the drilling points on the wall or ceiling with a pencil. Ensure the correct side of the bracket faces up.
- bušenje: Drill holes at the marked positions. Insert the wall anchors if necessary, then secure the mounting bracket with the provided screws.
- Pričvršćivanje kamere: Attach the camera onto the mounting bracket.
- Podešavanje ugla: Reposition the camera to achieve the desired viewing kut.
- Zaključavanje: Use the hex key to securely lock the camera in place on the bracket.
Video: A LaView seller video demonstrating the physical installation steps for a LaView B10 Security Camera, including marking, drilling, attaching, and locking the camera.
2. Instalacija MicroSD kartice
For local storage, you can install a MicroSD card (not included).
- Uklonite poklopac: Locate and remove the rubber cover on the bottom of the camera to access the MicroSD card slot.
- Umetnite karticu: Insert a MicroSD card (16-128GB, Class 10 rated, formatted to FAT32) into the slot.
- Format kartice: After insertion, you may need to format the card within the camera menu of the LaView app.
3. App Setup & Wi-Fi Connection
- Preuzmi aplikaciju: Preuzmite i instalirajte LaView app from your mobile device's app store (Google Play Store for Android, App Store for iPhone). Complete the registration process.
- Wi-Fi mreža: Ensure your phone is connected to a 2.4GHz Wi-Fi network. The cameras require a 2.4GHz network for connection.
- Uključeno: Connect the power cable to the camera and plug the power adapter into an electrical outlet. The camera's LED indicator will flash in red after about 1 minute.
- Resetiraj kameru (ako je potrebno): If the LED indicator is not flashing red or is in an incorrect status, press and hold the reset button on the camera for 5 seconds to reset it.
- Dodajte kameru u aplikaciju: U LaView app, click the "+" icon to add a new device. Select "Video Surveillance" then "Smart Camera".
- Unesite lozinku za Wi-Fi: Enter your 2.4GHz Wi-Fi password to generate a QR code containing your Wi-Fi information.
- Skenirajte QR kod: Use the camera to scan the QR code displayed on your phone. Hold the phone 8-12 inches away from the camera lens. Ensure the camera lens is clean and the QR code on the phone is complete and clearly visible. The camera will emit a voice prompt when the QR code is successfully read.
- Uparivanje: After the camera beeps, press "I heard a beep" in the app. The camera will begin pairing.
- Završetak: Wait until the camera is connected online and registered to your account. Once added, you can start using the camera.
Video: A LaView seller video demonstrating the app setup and Wi-Fi connection process for a LaView B10 Security Camera, including downloading the app, connecting to 2.4GHz Wi-Fi, and scanning the QR code.
Uputstvo za upotrebu
1. Uživo View i nadzor s više kamera
Access 24/7 live streams via the LaView app on your mobile device or web browser. The system supports up to 9 simultaneous live feeds, allowing you to monitor multiple areas of your home at once.

Image: A smartphone displaying live feeds from multiple LaView cameras, showing different rooms and outdoor views.
2. Dvosmjerni audio
The built-in microphone and speaker enable easy communication with family members or visitors. Use the LaView app to listen in or speak through the camera.

Image: A LaView camera with a baby crying in the background, illustrating the AI Sound Processing and two-way audio capabilities via the mobile app.
3. Detekcija pokreta i upozorenja
Receive instant alert notifications on your phone if abnormal motion is detected. You can adjust the sensitivity (Low/Medium/High) and monitoring range within the app to minimize false notifications.
4. Noćni vid u boji
The 8MP outdoor security camera delivers ultra-clear views with full-color night vision, even in low-light conditions. The F/1.4 aperture captures significantly more light for high-quality night surveillance.

Image: A split image comparing the clear, full-color night vision of a LaView 4K UHD Starlight camera with a blurry, black and white image from a traditional camera, both showing a baby sleeping.
Održavanje
- Čišćenje sočiva: Regularly clean the camera lens with a soft, dry cloth to prevent dirt or stains from affecting image clarity.
- Ažuriranja firmvera: Check the LaView app periodically for firmware updates to ensure optimal performance and security.
- Ciklus napajanja: If the camera experiences issues, try power cycling it by unplugging and replugging the power adapter.
- Zaštita životne sredine: Although IP65 waterproof, avoid direct high-pressure water jets or prolonged submersion.
Rješavanje problema
1. Kamera se ne povezuje na Wi-Fi
- Ensure your Wi-Fi network is 2.4GHz. These cameras do not support 5GHz networks.
- Verify that your router, mobile phone, and camera are in close proximity during the setup process.
- Check that the plastic film is removed from the camera lens and there are no dirt or stains on the lens.
- Make sure the QR code on your phone screen is complete and not broken. Use a phone with a large screen for better scanning.
- Move your phone slightly back and forth towards the camera when scanning the QR code to find the optimal distance (8-12 inches).
2. Resetovanje kamere
If the camera's indicator light is not in the correct status (e.g., not flashing red for pairing), you may need to reset it:
- Locate the reset button on the camera (often under a rubber cover).
- Press and hold the reset button for 5 seconds. The camera will typically indicate a successful reset with a voice prompt or a change in the LED light pattern.
Specifikacije
- rezolucija: 8MP 4K Ultra-clear HD
- noćni vid: Full-color night vision with F/1.4 aperture
- audio: Two-way audio (built-in microphone & speaker)
- Skladištenje: Micro SD card slot (supports up to 128GB, Class 10, FAT32), Cloud storage option available
- Povezivanje: Wired Wi-Fi (2.4GHz only)
- Otpornost na vremenske uvjete: IP65 vodootporan i otporan na prašinu
- Radna temperatura: 14°F do 122°F (-10°C do 50°C)
- Polje of View: 130°

Slika: Detaljna view of the LaView camera lens, emphasizing its 8MP Ultra HD resolution, color night vision capabilities, and 3X digital zoom.

Image: A LaView camera mounted outdoors, with rain falling, illustrating its IP65 waterproof and durable design, suitable for various weather conditions.

Image: A visual representation comparing the wide 130-degree field of view of a LaView camera against a narrower 90-degree view, showing more comprehensive coverage.
Garancija i podrška
For warranty information, technical support, or further assistance, please visit the official LaView website or contact LaView customer service. Details can typically be found in the included user manual or on the product packaging.
LaView Prodavnica: Visit the LaView Trgovina na Amazonu


