1. Uvod
This manual provides comprehensive instructions for the safe and efficient operation, maintenance, and troubleshooting of your U.S. Solid Electric Strapping Machine. Please read this manual thoroughly before operating the machine to ensure proper usage and to prevent damage or injury.
The U.S. Solid Electric Strapping Machine is a battery-powered automatic banding tool designed for securing various packages and pallets using PP (polypropylene) and PET (polyester) straps. It integrates tensioning, welding, and cutting functions into a single portable device, enhancing work efficiency and reducing manual effort.
2. Šta se nalazi u kutiji
Prilikom raspakivanja, molimo Vas da provjerite da li su uključene sve sljedeće stavke:
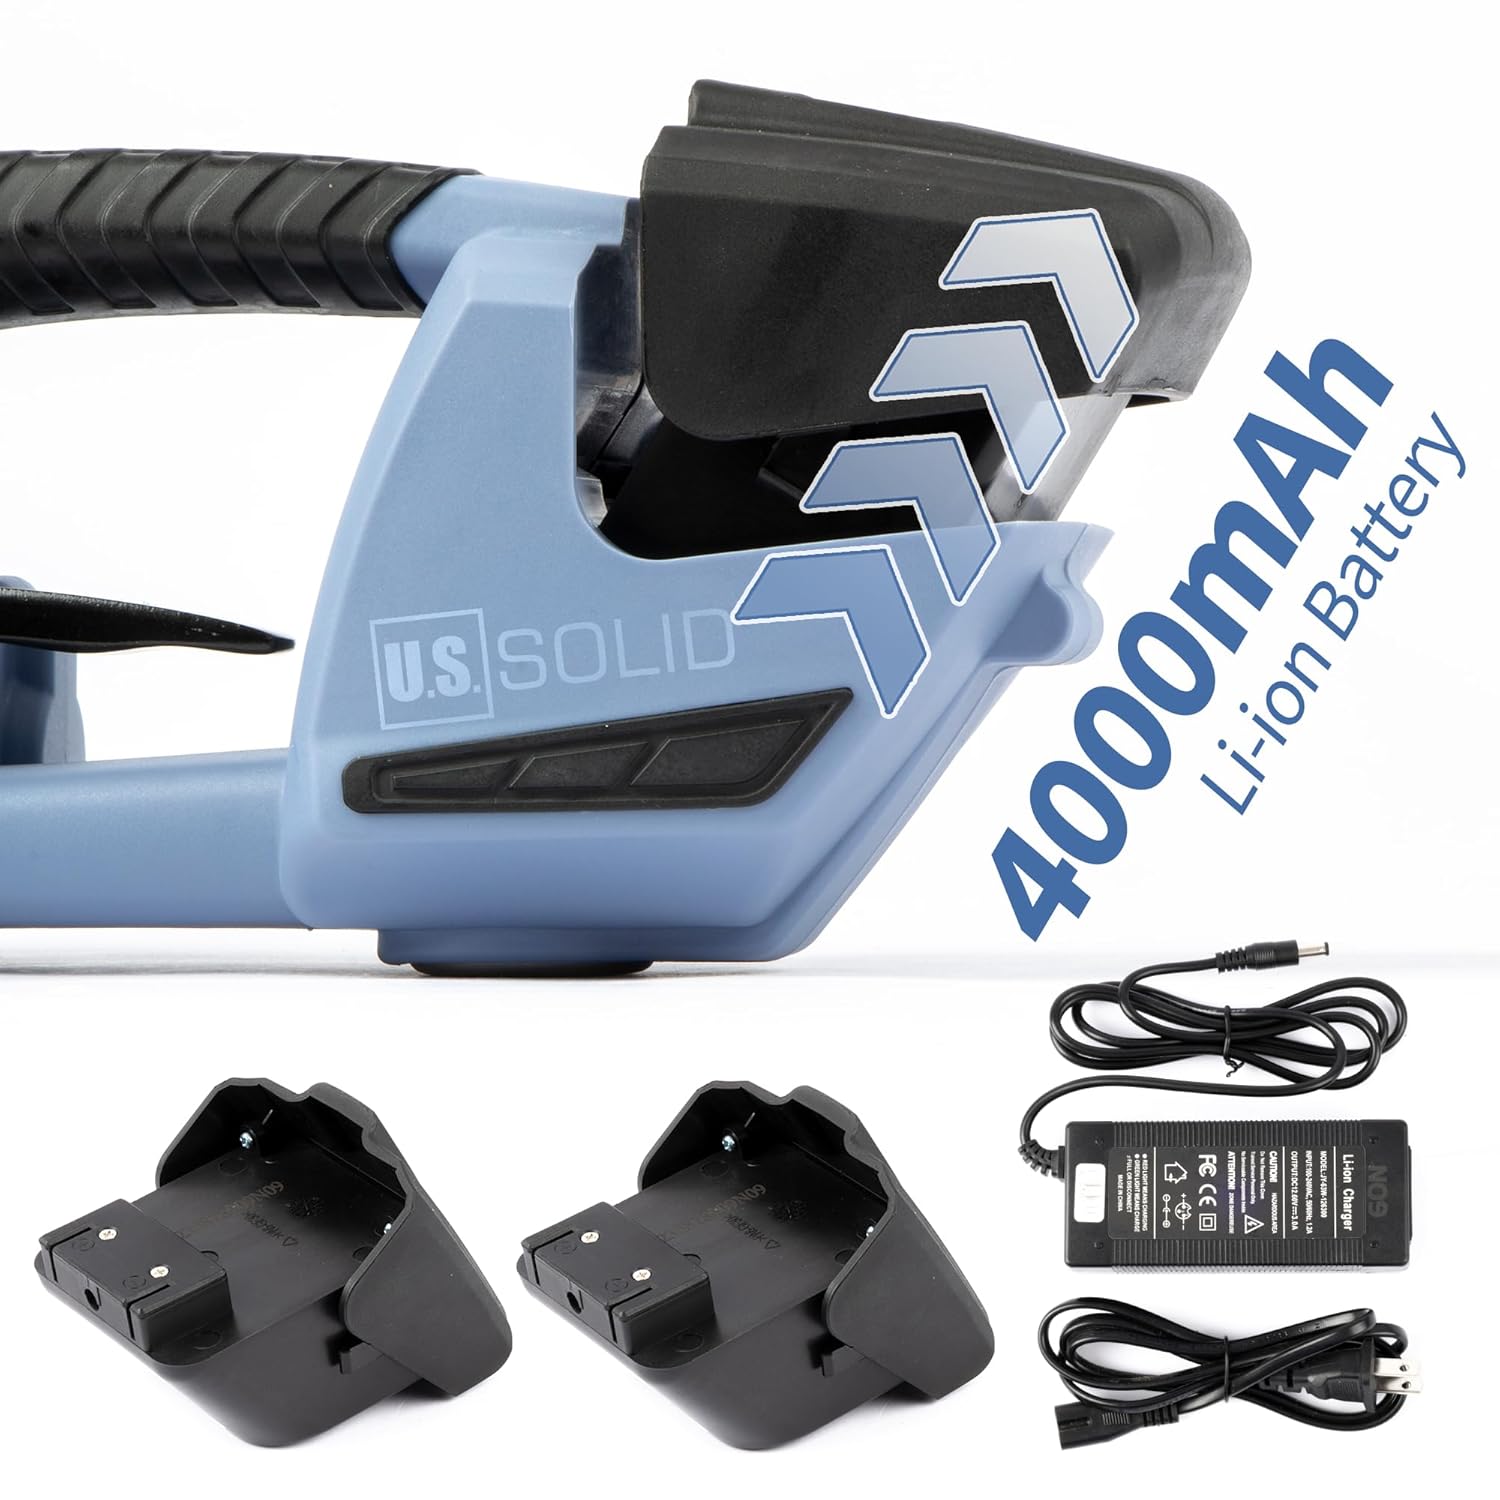
- 1 x Electric Strapping Machine
- 2 x 4000mAh Li-ion baterije
- 1 x punjač baterije
- 1 x Uputstvo za upotrebu
- Necessary tools for maintenance (e.g., wrench, screwdriver, hex key, spare parts as shown in image)

Slika 2.1: The U.S. Solid Electric Strapping Machine along with its two batteries, charger, and various tools including a wrench, screwdriver, and hex key.
3. Karakteristike i komponente proizvoda
The U.S. Solid Electric Strapping Machine is designed with several key features for efficient and reliable operation:
- Adjustable Tensile Force: Manually adjustable from 600N to 2800N, suitable for various strapping materials and applications.
- Produženi vijek trajanja baterije: Equipped with two 4000mAh Li-ion batteries, each capable of approximately 250 strapping cycles per full charge.
- Wide Strap Compatibility: Compatible with PP/PET straps ranging from 1/2 to 5/8 inch (12-16mm) in width and 0.4-1.2mm in thickness.
- Visoka efikasnost: Combines tensioning, welding, and cutting functions, eliminating the need for separate buckles or seals.
- Izdržljiva konstrukcija: Features a brushless motor and wear parts crafted from durable titanium alloy for extended tool lifespan.
3.1. Identifikacija komponente

Slika 3.1: Key operational components including the LED Indicator Light, Tensioning Button, Welding Button, and Handle.

Slika 3.2: Adjustment dials for Tightening Force and Welding Time.
4. Tehničke specifikacije

Slika 4.1: Visual summary of the strapping machine's technical parameters.
| Parametar | Vrijednost |
|---|---|
| Broj modela | USS-ESM00029 |
| Dimenzije proizvoda (D x Š x V) | 15.35 x 5.12 x 4.72 inča (390 x 130 x 120 mm) |
| Težina (sa baterijom) | 9.04 funti (4.1 kg) |
| Strap Material Compatibility | PP (Polypropylene) / PET (Polyester) |
| Širina trake | 1/2 - 5/8 inch (12 - 16 mm) |
| Strap Thickness | 0.4 - 1.2 mm |
| Zatezna čvrstoća | 600 - 2800 N (Adjustable) |
| Tensioning Speed | 100 - 200 mm/s |
| Vrsta baterije | 4000mAh Li-ion (2 included) |
| Vrijeme punjenja baterije | Otprilike 90 minuta za potpuno punjenje |
| Cycles per Charge | Approximately 250 belts per battery |
| Radna temperatura | 5°C to 45°C (Optimum: 15°C to 20°C) |
5. Sigurnosne informacije
Always observe the following safety precautions to reduce the risk of injury or damage to the machine:
- Pročitajte i razumite sva uputstva prije upotrebe stroja.
- Nosite odgovarajuću ličnu zaštitnu opremu (LZO), uključujući zaštitne naočale i rukavice.
- Osigurajte da je radni prostor čist, dobro osvijetljen i bez prepreka.
- Ne koristite mašinu u damp ili vlažnim uslovima.
- Držite ruke i široku odjeću dalje od pokretnih dijelova.
- Only use the specified PP/PET strapping material within the recommended width and thickness ranges.
- Do not attempt to strap objects that are unstable or exceed the machine's capabilities.
- Disconnect the battery before performing any maintenance, adjustments, or when the machine is not in use.
- Use only the charger and batteries supplied or approved by U.S. Solid.
- Store the machine and batteries in a dry, secure location, away from extreme temperatures.
6. Podešavanje
6.1. Punjenje baterije
Before first use, fully charge both batteries. The charging process takes approximately 90 minutes per battery.
- Priključite punjač na standardnu utičnicu.
- Insert a battery into the charger. The indicator light on the charger will show the charging status (e.g., red for charging, green for fully charged).
- Once fully charged, remove the battery and store it safely. Repeat for the second battery.
Slika 6.1: The 4000mAh Li-ion batteries and charger.
6.2. Instaliranje baterije
- Uvjerite se da je mašina isključena.
- Align the fully charged battery with the battery compartment at the rear of the machine.
- Gurnite bateriju u odjeljak dok se sigurno ne učvrsti na svom mjestu.
6.3. Loading the Strap
Proper strap loading is crucial for effective operation.
- Ensure the machine is off and the battery is securely installed.
- Open the strap guide lever (if present, typically a small lever near the strap entry point).
- Feed the strap into the machine from the front, ensuring it passes through the tensioning mechanism and under the welding plate.
- Close the strap guide lever to secure the strap in place.
- Pull a sufficient length of strap through the machine to wrap around your package.
7. Operacija
7.1. Adjusting Tensioning Force and Welding Time
The machine allows for manual adjustment of both tightening force and welding time to suit different strap types and application requirements.
- Sila zatezanja: Use the adjustment dial labeled "Tightening Force" (refer to Figure 3.2) to set the desired tension. Rotate clockwise for increased tension, counter-clockwise for decreased tension. The range is 600N to 2800N.
- Vrijeme zavarivanja: Use the adjustment dial labeled "Welding Time" (refer to Figure 3.2) to set the duration of the heat weld. Adjust based on strap material and thickness. Longer times for thicker straps, shorter for thinner.
Napomena: Always test settings on a scrap piece of strap before applying to critical packages to ensure optimal weld strength and tension.
7.2. Strapping a Package
- Postavite remen: Wrap the strap around the package, ensuring it is flat and properly aligned. Overlap the two ends of the strap.
- Insert Strap Ends: Insert the bottom strap end into the machine's lower strap guide. Then, insert the top strap end into the machine's upper strap guide, overlapping the lower strap. Ensure both straps are seated correctly.
- Zatezanje: Pritisnite i držite Tensioning Button (refer to Figure 3.1). The machine will begin to pull the strap tight. Release the button once the desired tension is achieved. The LED indicator light may provide feedback during this process.
- zavarivanje: After tensioning, press and hold the Welding Button (refer to Figure 3.1). The machine will perform a heat weld to join the strap ends and then cut the excess strap. Hold the button for the set welding time.
- Izdanje: Once the welding and cutting process is complete, release the welding button. Carefully remove the machine from the strapped package.

Slika 7.1: Various usage scenarios demonstrating the application of strapping to different types of packages and pallets.
8. Održavanje
Regular maintenance ensures the longevity and optimal performance of your strapping machine.
- čišćenje: Regularly clean the strap guides, welding plate, and cutter blade to remove any strap residue or debris. Use a brush or compressed air. Ensure the battery is removed before cleaning.
- Potrošni dijelovi: Inspect the welding base and cutter blade for wear. These parts are made from durable titanium alloy but may require replacement over time depending on usage. Refer to the included tools for replacement.
- Održavanje baterije: Store batteries in a cool, dry place. Avoid fully discharging batteries for extended periods. Charge them periodically if not in use.
- Skladištenje: When not in use, store the machine in its original packaging or a protective case in a dry environment.

Slika 8.1: Close-up of the welding mechanism, showing the area that requires regular cleaning and inspection for wear.
9. Otkrivanje problema
This section addresses common issues you might encounter with your strapping machine.
| Problem | Mogući uzrok | Rješenje |
|---|---|---|
| Mašina se ne uključuje. | Baterija nije pravilno instalirana ili je prazna. | Ensure battery is fully charged and properly seated. Try a different charged battery. |
| Strap does not tension properly. | Incorrect strap loading; tension setting too low; strap material incompatible. | Re-load strap correctly. Increase tension setting. Verify strap type and dimensions. |
| Poor weld quality or strap breaks at weld. | Welding time too short; welding plate dirty; incorrect strap material. | Increase welding time. Clean the welding plate. Ensure correct strap material is used. |
| Strap gets stuck or machine jams. | Strap residue in guides; cutter blade dull or damaged. | Clean strap guides and cutter area. Inspect and replace cutter blade if necessary. |
| Baterija se brzo prazni. | Battery nearing end of life; operating in extreme temperatures. | Replace battery if old. Operate within recommended temperature range. |
10. Garancija i podrška
For warranty information, technical support, or to order replacement parts, please contact U.S. Solid customer service. Refer to your purchase documentation or the U.S. Solid official webstranicu za najnovije kontakt podatke.
Please have your model number (USS-ESM00029) and purchase date available when contacting support.


