1. Uvod
This manual provides detailed instructions for the installation, operation, and maintenance of your SilverStone FARA R1 V2 Mid-Tower ATX Case. The FARA R1 V2 is designed for high compatibility and efficient thermal performance, featuring a tempered glass side panel and a perforated mesh front panel for optimal airflow. Please read this manual thoroughly before beginning assembly to ensure proper setup and functionality.

Figure 1: SilverStone FARA R1 V2 Mid-Tower ATX Case (SST-FAR1B-G-V2)
2. Sadržaj paketa
Provjerite da li su sve komponente prisutne u paketu:
- SilverStone FARA R1 V2 Mid-Tower ATX Case
- Kutija s priborom (vijci, odstojnici, vezice za kablove)
- Korisnički priručnik (ovaj dokument)
- Pre-installed 120mm rear fan (quantity may vary by model)
3. Specifikacije
| Naziv modela | FARA R1 V2 |
| Broj modela | SST-FAR1B-G-V2 |
| Tip slučaja | Mid Tower |
| Kompatibilnost matične ploče | ATX, Micro ATX, Mini ITX |
| Materijal | Čelik, kaljeno staklo, plastika |
| Dimenzije (DxŠxV) | 15.35 x 8.15 x 17.56 inča (390 x 207 x 446 mm) |
| Težina | 15.92 funte (7.22 kg) |
| Slotovi za proširenje | 7 |
| Prednji I / O portovi | 2x USB 3.0, 1x USB 2.0, 1x Audio Jack (combined) |
| Metoda hlađenja | Vazduh |
| Montaža napajanja | Bottom Mount |
| Maksimalna dužina GPU-a | 340mm (with front fan), 365mm (without front fan) |
| Maksimalna visina CPU hladnjaka | 161mm |

Figure 2: Component Compatibility Overview
4. Postavljanje i instalacija
4.1 Priprema slučaja
- Uklonite bočne ploče: Unscrew the thumbscrews on the rear of the case to remove the tempered glass side panel and the solid steel side panel.
- Kutija za pribor: Locate the accessory box inside the case, which contains all necessary screws, standoffs, and cable ties for installation.

Slika 3: Unutrašnjost View of the Case
4.2 Instalacija matične ploče
- Instalirajte Standoffs: Align the motherboard with the pre-drilled holes in the motherboard tray. Install additional standoffs as required for your specific motherboard form factor (ATX, Micro-ATX, Mini-ITX).
- Sigurna matična ploča: Place the motherboard onto the standoffs and secure it with the provided screws.
4.3 Instalacija napajanja
- Mount PSU: Slide the power supply unit (PSU) into the dedicated compartment at the bottom rear of the case.
- Sigurno napajanje: Secure the PSU to the case with screws from the rear.

Figure 4: Rear Panel and PSU Mounting Area
4.4 Instalacija diska za pohranu podataka
- 2.5" SSD diskovi: Two 2.5" drive mounts are located behind the motherboard tray. Secure SSDs using the provided screws.
- 3.5" tvrdi diskovi: The drive cage at the bottom of the case supports two 3.5" HDDs. Slide drives into the trays and secure them.

Figure 5: 2.5" SSD Mounting Locations

Figure 6: 3.5" HDD Drive Cage
4.5 Instalacija grafičke kartice i kartice za proširenje
- Remove PCI-E Slot Covers: Remove the necessary PCI-E slot covers from the rear of the case. Note that some covers are punch-out type and cannot be reinstalled.
- Instalacijska kartica: Insert your graphics card or other expansion cards into the motherboard's PCI-E slots and secure them with screws.
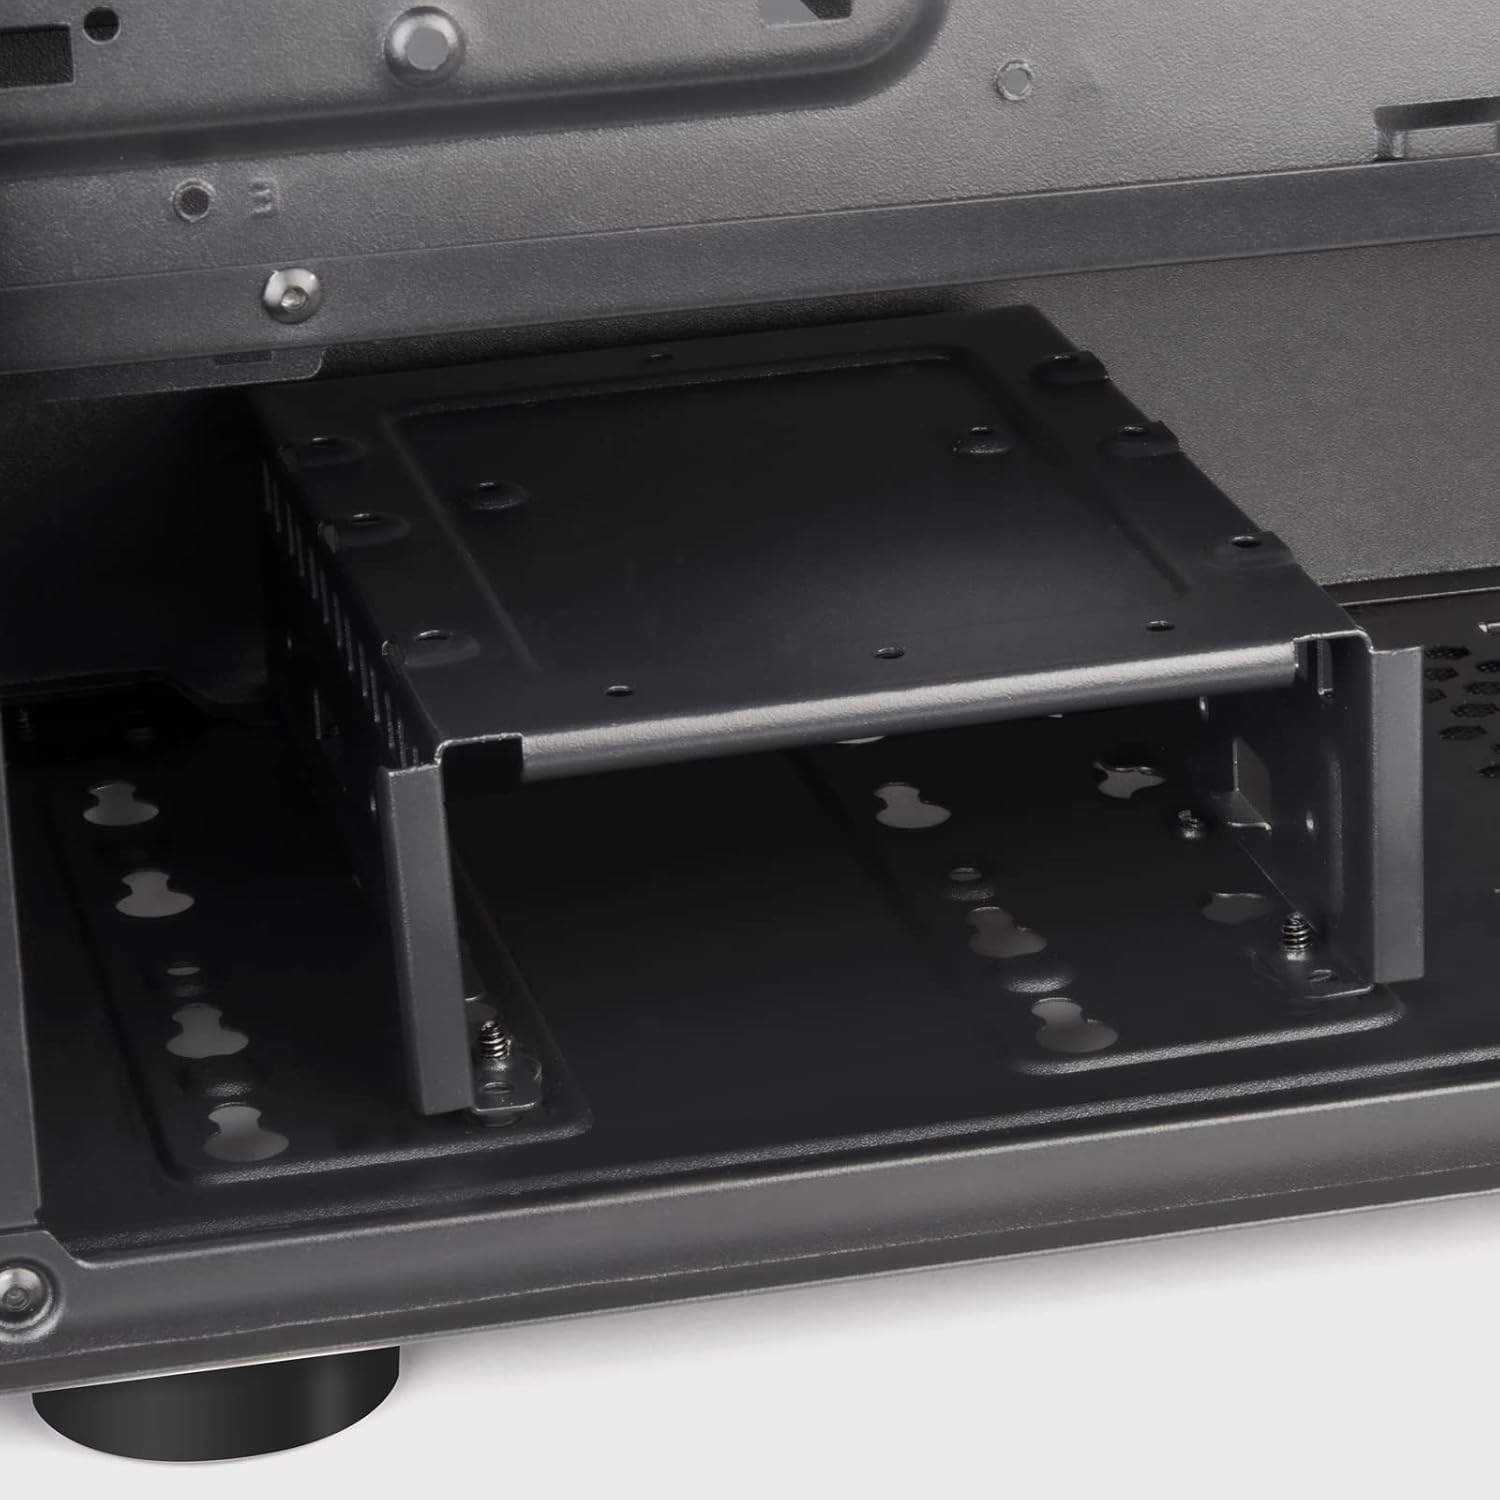
Figure 7: Expansion Slots
4.6 Ugradnja ventilatora i radijatora
The FARA R1 V2 supports various fan and radiator configurations for optimal cooling.
- Prednji dio: 3 x 120mm or 2 x 140mm fans / 240mm, 280mm, 360mm radiators
- Vrh: 2 x 120mm or 2 x 140mm fans / 240mm, 280mm radiators
- pozadi: 1 x 120mm fan (pre-installed)

Figure 8: Fan and Radiator Support

Figure 9: Internal Fan Mount
4.7 Upravljanje kablovima
Iskoristite izreze za usmjeravanje kablova i tačke za vezivanje iza ležišta matične ploče da biste organizovali kablove. Ovo poboljšava protok vazduha i estetiku.
5. Upravljanje kućištem
Once all components are installed and secured, and the side panels are reattached, your system is ready for operation.
5.1 Prednja I/O ploča
Prednja I/O ploča omogućava praktičan pristup bitnim portovima:
- Dugme za napajanje: Located at the top right of the front panel.
- Dugme za resetiranje: Small button below the power button.
- USB 3.0 portovi (x2): Za brzi prijenos podataka.
- USB 2.0 priključak (x1): Za standardne USB uređaje.
- Audio priključak (x1): Combined headphone/microphone port.

Figure 10: Front I/O Panel
5.2 Optimizacija protoka zraka
The FARA R1 V2 features a fully meshed front panel to maximize air intake. Ensure proper fan configuration (intake at front, exhaust at rear/top) for optimal cooling performance.
6. Održavanje
Regular maintenance helps ensure the longevity and performance of your PC case.
- Filteri za prašinu: The case includes removable dust filters on the top and bottom (for the PSU intake). Regularly remove and clean these filters with water and mild soap, or by vacuuming, to prevent dust buildup and maintain airflow.
- Eksterijerno čišćenje: Obrišite vanjske površine mekom krpom, damp tkanina. Izbjegavajte abrazivna sredstva za čišćenje.
- Čišćenje unutrašnjosti: Povremeno, dok je sistem isključen iz struje, koristite komprimirani zrak za uklanjanje prašine s unutrašnjih komponenti i lopatica ventilatora.
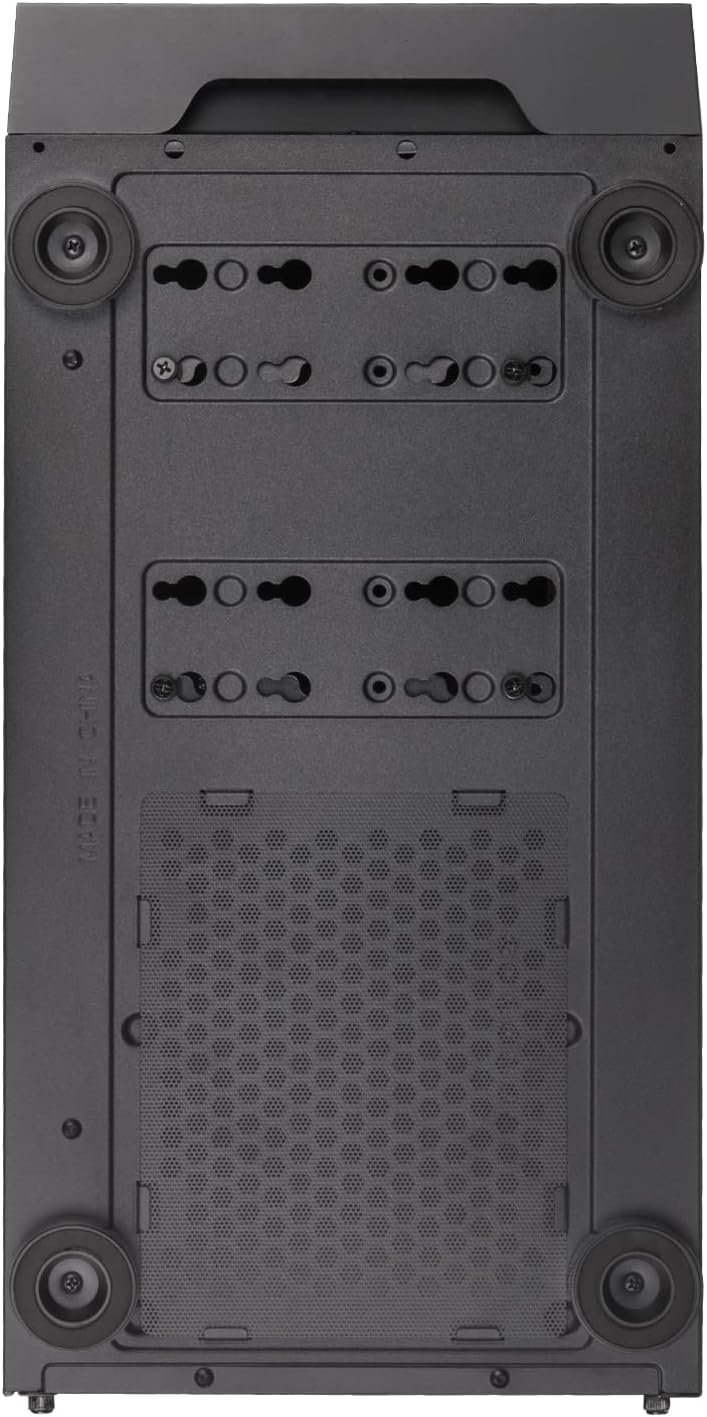
Figure 11: Bottom Dust Filter
7. Otkrivanje problema
Ovaj odjeljak se bavi uobičajenim problemima s kojima se možete susresti.
- Sistem se ne uključuje:
- Ensure all power cables (24-pin ATX, 8-pin CPU, GPU power) are securely connected.
- Provjerite je li prekidač za napajanje u položaju "UKLJUČENO".
- Provjerite je li kabel dugmeta za napajanje na prednjoj ploči ispravno spojen na F_PANEL priključak matične ploče.
- Slab protok zraka/pregrijavanje:
- Očistite sve filtere za prašinu i unutrašnje komponente.
- Ensure fans are installed in the correct orientation (intake/exhaust).
- Verify fan cables are properly connected to the motherboard or fan controller.
- Front USB/Audio Ports Not Working:
- Check that the USB 3.0, USB 2.0, and HD Audio cables from the front panel are correctly connected to the corresponding headers on the motherboard.
- Tempered Glass Panel Issues:
- Handle the tempered glass panel with care to prevent damage.
- Ensure thumbscrews are tightened sufficiently but not overtightened.
8. Garancija i podrška
SilverStone Technology provides a limited warranty for its products. For detailed warranty information, technical support, or to inquire about replacement parts, please visit the official SilverStone webstranice ili kontaktirajte njihov odjel za korisničku podršku.
Službeno Webstranica: www.silverstonetek.com
Molimo sačuvajte svoj dokaz o kupovini za zahtjeve u vezi s garancijom.


