1. Uvod
Thank you for choosing the Prechen 19.5-inch 1600x900 LED Monitor. This monitor is designed to provide a high-quality visual experience for various applications, including office work, multimedia, and gaming. Featuring a 1600x900 resolution TN panel, 60Hz refresh rate, and built-in speakers, it offers a versatile display solution. This manual provides detailed instructions for setup, operation, maintenance, and troubleshooting to ensure optimal performance and longevity of your device.

Slika 1: Prednja strana view of the Prechen 19.5-inch LED Monitor.
2. Važne informacije o sigurnosti
Please read all safety warnings and instructions carefully before using this monitor to prevent damage or injury.
- Ne izlažite monitor kiši ili vlazi kako biste izbjegli požar ili strujni udar.
- Ne otvarajte monitor casing. Unutra nema dijelova koje korisnik može sam servisirati. Za sve servisne radove obratite se kvalifikovanom servisnom osoblju.
- Postavite monitor na stabilnu, ravnu površinu kako biste spriječili njegov pad.
- Osigurajte odgovarajuću ventilaciju oko monitora. Ne blokirajte ventilacijske otvore.
- Koristite samo adapter za napajanje koji dolazi s monitorom.
- Isključite utikač iz utičnice ako monitor nećete koristiti duži period.
- Avoid placing the monitor near heat sources such as radiators, heat registers, stoves, or other products (including ampLifiers) koji proizvode toplotu.
3. Sadržaj paketa
Molimo Vas da provjerite sadržaj paketa kako biste bili sigurni da su svi artikli prisutni i neoštećeni:
- Prechen 19.5-inch LED Monitor
- Adapter za napajanje
- HDMI kabl
- Uputstvo za upotrebu

Figure 2: Included accessories: Monitor, Power Adapter, HDMI Cable, and User Manual.
4. Vodič za postavljanje
4.1 Sastavljanje postolja
- Pažljivo izvadite komponente monitora i postolja iz ambalaže.
- Attach the stand base to the stand neck, securing it with the provided screw (if applicable).
- Align the assembled stand with the mounting slot on the back of the monitor and gently push until it clicks into place or secure with screws as per the stand design.
4.2 Povezivanje monitora
The monitor supports both HDMI and VGA connections.
- Priključak za napajanje: Connect the power adapter to the monitor's DC IN port, then plug the adapter into a power outlet.
- Video priključak (HDMI): Connect one end of the HDMI cable to the HDMI port on your computer or device, and the other end to the HDMI port on the monitor.
- Video priključak (VGA): Connect one end of the VGA cable to the VGA port on your computer or device, and the other end to the VGA port on the monitor.
- Audio veza: If using a VGA connection and external speakers, connect an audio cable from your computer's audio output to the monitor's audio input port. The built-in speakers will function automatically with HDMI.

Figure 3: Monitor back panel with input ports and control buttons.

Figure 4: Multiple connection options for the monitor.
5. Uputstvo za upotrebu
5.1 Uključivanje/isključivanje
Pritisnite dugme za napajanje koje se nalazi na zadnjoj strani monitora da biste ga uključili ili isključili. Indikator napajanja će svijetliti kada je monitor uključen.
5.2 Korišćenje menija na ekranu
The On-Screen Display (OSD) menu allows you to adjust various monitor settings. The control buttons are located on the back of the monitor (refer to Figure 3).
- MENI: Pritisnite da biste otvorili OSD meni.
- UP/DOWN (Volume Up/Down): Koristite za navigaciju kroz opcije menija ili podešavanje vrijednosti.
- ENTER (Switch): Pritisnite za potvrdu odabira ili ulazak u podmeni.
- EXIT (Return): Press to exit the current menu or return to the previous level.
5.3 Podešavanje postavki ekrana
Navigate the OSD menu to adjust settings such as:
- Svjetlina/kontrast: Podesite ukupnu svjetlinu i kontrast ekrana.
- Postavke boja: Promijenite temperaturu boja, RGB nivoe ili odaberite unaprijed postavljene načine rada boja.
- Odaberite ulaz: Ručno prebacivanje između HDMI i VGA ulaznih izvora.
- Omjer širine i visine: Choose between 16:9 (widescreen) or 4:3 (standard) display modes.
- Oštrina: Adjust the clarity of the image.
5.4 Audio postavke
The monitor features two built-in speakers. You can adjust the volume using the OSD menu or the dedicated volume buttons on the back of the monitor.
6. Održavanje i njega
Pravilna njega i održavanje produžit će vijek trajanja vašeg monitora.
- Čišćenje ekrana: Pažljivo obrišite ekran mekom krpom koja ne ostavlja dlačice. Za tvrdokorne mrlje, dampLagano navlažite krpu vodom ili sredstvom za čišćenje ekrana na bazi amonijaka ili alkohola. Nikada ne prskajte sredstvo za čišćenje direktno na ekran.
- Čišćenje C-aasing: Koristite meku, suhu krpu za brisanje monitora casing. Izbjegavajte upotrebu abrazivnih sredstava za čišćenje ili rastvarača.
- Skladištenje: Ako monitor skladištite duži period, isključite ga iz struje i čuvajte ga na hladnom i suhom mjestu, po mogućnosti u originalnom pakovanju.
7. Otkrivanje problema
If you encounter problems with your monitor, please refer to the following table for common issues and solutions.
| Problem | Mogući uzrok | Rješenje |
|---|---|---|
| Nema struje | Kabl za napajanje nije priključen; Utičnica je neispravna; Monitor je isključen. | Ensure power cable is securely connected. Try a different power outlet. Press the power button on the monitor. |
| Nema signala | Video kabl nije povezan; Odabran je pogrešan ulazni izvor; Računar ne šalje signal. | Check HDMI/VGA cable connection. Select the correct input source via the OSD menu. Ensure your computer is on and outputting video. |
| Nema zvuka iz ugrađenih zvučnika | Volume too low/muted; Incorrect audio output selected on PC; Audio cable not connected (for VGA). | Increase monitor volume. Check PC audio settings to ensure monitor is selected as output. For VGA, ensure audio cable is connected. |
| Slika je mutna ili iskrivljena | Incorrect resolution; Cable issue. | Set your computer's display resolution to 1600x900. Try a different video cable. |
8. Specifikacije proizvoda
| Feature | Specifikacija |
|---|---|
| Brand | Prechen |
| Veličina ekrana | 19.5 inča |
| Display Type | LED |
| Maksimalna rezolucija ekrana | 1600 x 900 |
| Refresh Rate | 60 Hz |
| Vrijeme odgovora | 5 milisekundi |
| Aspect Ratio | 16:9 |
| Tehnologija povezivanja | HDMI, VGA |
| Posebne karakteristike | Ugrađeni zvučnici |
| Kompatibilnost VESA nosača | 100 x 100 mm |
9. VESA montaža
The Prechen monitor supports VESA standard mounting (100 x 100 mm), allowing you to mount it on a wall or an articulating arm for flexible viewing options. This feature makes the monitor lightweight and easy to install in various setups.
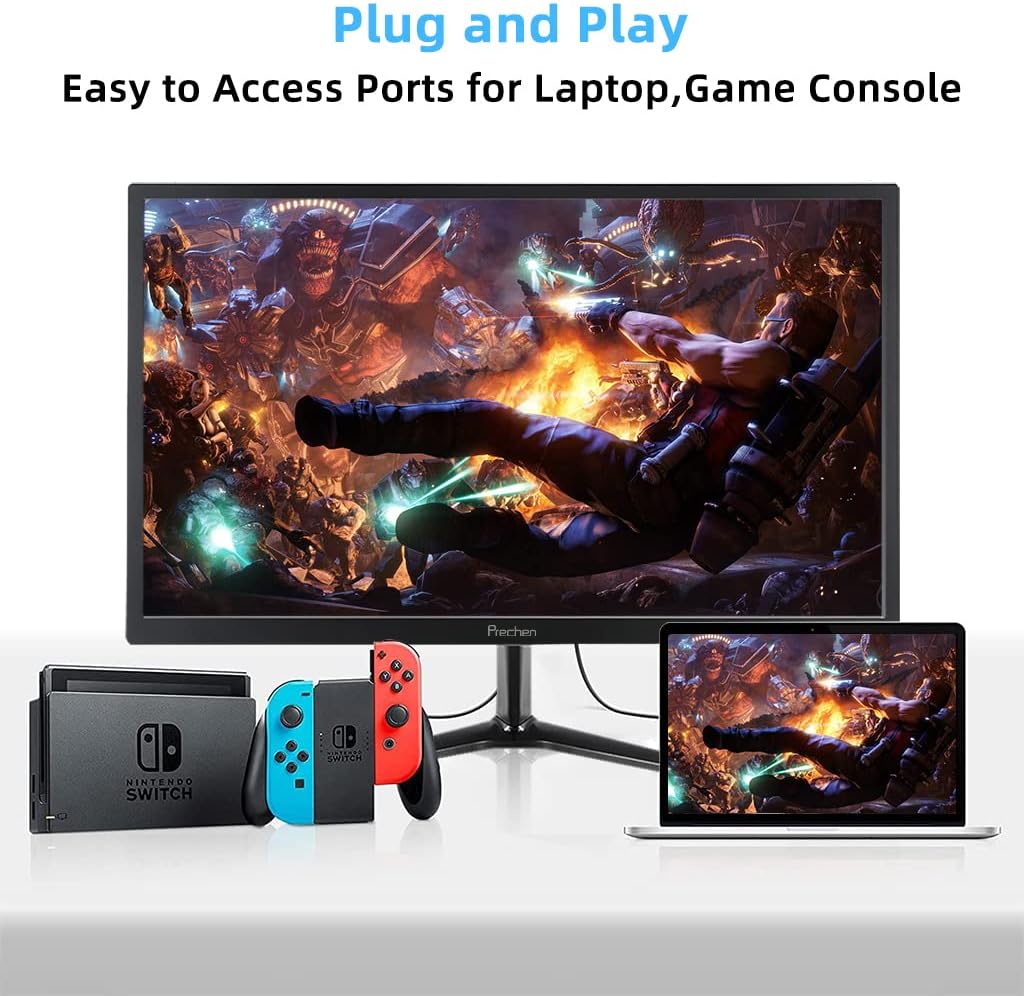
Figure 5: VESA mount dimensions on the monitor back.

Slika 6: Prample of VESA mounting with an articulating arm.
10. Garancija i podrška
Each Prechen product is covered by a one-year warranty from the date of purchase, which includes a one-month refund and exchange policy. This warranty covers manufacturing defects and issues arising from normal use.
For any questions, technical support, or warranty claims, please contact Prechen customer service. Please have your product model and purchase information ready when contacting support.
Contact information for customer service can typically be found on the product packaging or the official Prechen website.


