Uvod
Thank you for choosing the Midea Hd559Fwen Top Mount Refrigerator. This manual provides essential information for the safe installation, efficient operation, and proper maintenance of your appliance. Please read these instructions thoroughly before using your refrigerator to ensure optimal performance and longevity. Keep this manual for future reference.
Sigurnosne informacije
Your safety and the safety of others are very important. Please read all safety instructions before operating your refrigerator to prevent personal injury or property damage.
- Osigurajte da je frižider pravilno uzemljen.
- Nemojte koristiti električne uređaje u odjeljcima za skladištenje hrane, osim ako su oni preporučeni od proizvođača.
- Isključite uređaj iz struje prije čišćenja ili održavanja.
- Otvore za ventilaciju držite dalje od prepreka.
- Nemojte oštetiti krug rashladnog sredstva.
- Ovaj uređaj nije namijenjen za upotrebu od strane osoba (uključujući djecu) sa smanjenim fizičkim, senzornim ili mentalnim sposobnostima, ili nedostatkom iskustva i znanja, osim ako im je dat nadzor ili upute o korištenju uređaja od strane osobe odgovorne za njihovu sigurnost.
Product Overview
The Midea Hd559Fwen is a top-mount refrigerator designed for efficient food preservation. It features a freezer compartment located above the fresh food compartment.
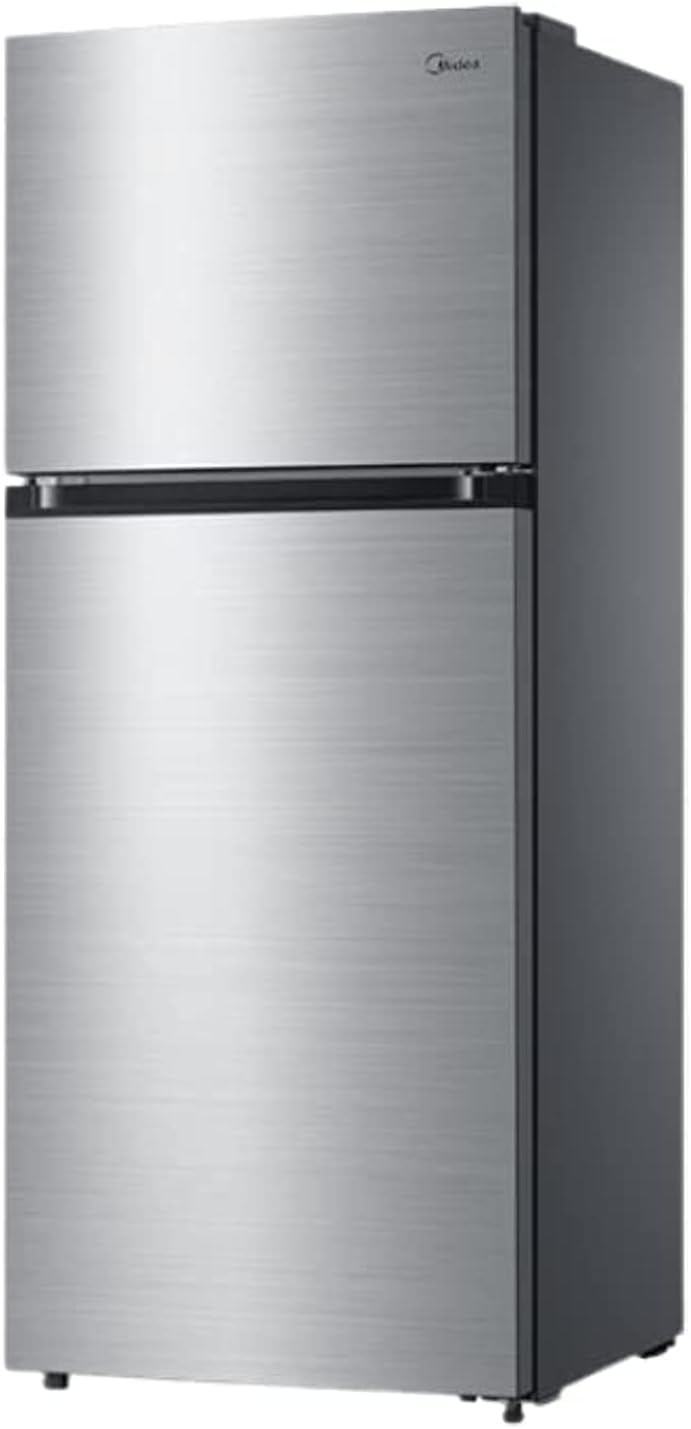
Slika 1: Front view of the Midea Hd559Fwen Top Mount Refrigerator. This image displays the overall design, including the top freezer door and the lower refrigerator door, both in a silver finish.

Slika 2: Midea Hd559Fwen Top Mount Refrigerator with key dimensions. The image indicates a height of 172.3 cm, a width of 70 cm, and a depth of 67 cm.
Postavljanje i instalacija
1. Raspakivanje
- Uklonite sav materijal za pakovanje, uključujući pjenu i ljepljivu traku.
- Pregledajte frižider da li ima oštećenja prilikom transporta. Odmah prijavite bilo kakvu štetu prodavcu.
- Držite materijale za pakovanje van domašaja dece.
2. Zahtjevi za lokaciju
- Postavite frižider na čvrstu, ravnu podlogu. Koristite podesive nožice za nivelisanje kako biste osigurali stabilnost.
- Ostavite dovoljno prostora oko frižidera za pravilnu ventilaciju (najmanje 10 cm sa strane i pozadi, 30 cm na vrhu).
- Avoid direct sunlight or proximity to heat sources like stoves, ovens, or radiators.
- Ensure the ambient temperature is within the recommended range for optimal operation.
3. Električni priključak
- Priključite frižider na namjensku, uzemljenu električnu utičnicu.
- Nemojte koristiti produžne kablove ili adapterske utikače.
- Ostavite frižider da stoji uspravno najmanje 2-4 sata prije nego što ga uključite u struju kako bi se rashladna sredstva istaložila.
4. Početno čišćenje
- Before first use, clean the interior and exterior of the refrigerator with a soft cloth and a mild detergent solution. Rinse and dry thoroughly.
Uputstvo za upotrebu
1. Kontrola temperature
The refrigerator and freezer compartments have separate temperature controls. Adjust the thermostat dial to your desired setting. A medium setting is usually recommended for general use.
- Odeljak frižidera: Typically maintains temperatures between 0°C and 5°C (32°F and 41°F).
- Pretinac zamrzivača: Typically maintains temperatures around -18°C (0°F) or lower.
2. Smjernice za skladištenje hrane
- Hladnjak: Store fresh foods, dairy products, fruits, and vegetables. Use the crisper drawer for produce to maintain freshness.
- zamrzivač: Store frozen foods. Ensure food is properly sealed to prevent freezer burn.
- Ne stavljajte vruću hranu direktno u frižider ili zamrzivač; prvo je ostavite da se ohladi.
- Izbjegavajte prepunjavanje odjeljaka kako biste omogućili pravilnu cirkulaciju zraka.
Održavanje i njega
1. Čišćenje
- unutrašnjost: Clean regularly with a solution of mild detergent and warm water. Wipe dry with a soft cloth. Remove shelves and drawers for thorough cleaning.
- Eksterijer: Obrišite mekom, damp krpa. Za završnu obradu od nehrđajućeg čelika koristite specijalizirano sredstvo za čišćenje nehrđajućeg čelika.
- Brtve za vrata: Redovno čistite zaptivke vrata kako biste osigurali dobro zaptivanje.
- Prije čišćenja uvijek isključite frižider iz struje.
2. Odmrzavanje
This Midea refrigerator features an automatic defrost system, eliminating the need for manual defrosting of the freezer compartment. Ensure the drain hole for defrost water is not blocked.
3. Power Outage
- Tokom napajanjatage, keep the refrigerator and freezer doors closed as much as possible to maintain internal temperatures.
- Izbjegavajte nepotrebno otvaranje vrata.
Rješavanje problema
Prije kontaktiranja servisa, molimo provjerite sljedeće uobičajene probleme i rješenja:
| Problem | Mogući uzrok | Rješenje |
|---|---|---|
| Frižider se ne hladi | Power cord unplugged; thermostat set too high; door left open; poor ventilation. | Check power connection; adjust thermostat; ensure door is closed; clear obstructions around appliance. |
| Neobični zvukovi | Appliance not level; objects vibrating against the back; compressor noise (normal). | Adjust leveling feet; move objects away; normal compressor sounds are expected. |
| Voda na podu | Defrost drain blocked; water supply line leaking (if applicable). | Clear defrost drain; check water line connections. |
| Vrata se ne zatvaraju pravilno | Door gasket dirty or damaged; appliance not level; food packages obstructing closure. | Clean or replace gasket; level the appliance; rearrange food items. |
Specifikacije
| Feature | Detalj |
|---|---|
| Brand | MIDEA |
| Broj modela | Hd559Fwen |
| Konfiguracija | Freezer-on-Top (Top Mount) |
| Kapacitet | 14.6 kubnih stopa |
| Dimenzije proizvoda (D x Š x V) | 70 x 67 x 172.3 cm |
| Težina artikla | 60 kilograma |
| Boja | Srebro |
| Broj vrata | 2 |
| Sistem za odmrzavanje | Automatski |
| Vrsta instalacije | Samostojeći |
Garancija i podrška
For warranty information and customer support, please refer to the warranty card included with your product or contact your local Midea service center. Ensure you have your model number (Hd559Fwen) and purchase date available when seeking support.
You may also visit the official Midea webstranicu za daljnju pomoć i registraciju proizvoda.


