
Uvod
Ovaj priručnik pruža sveobuhvatne upute za postavljanje, rad, održavanje i rješavanje problema vašeg Avision AD340G kompaktnog skenera dokumenata velike brzine za obostrano korištenje. Molimo vas da pažljivo pročitate ovaj priručnik prije upotrebe skenera kako biste osigurali pravilan i siguran rad.
Sigurnosne informacije
Pridržavajte se sljedećih sigurnosnih mjera opreza kako biste spriječili ozljede i oštećenje skenera:
- Koristite samo adapter za napajanje koji dolazi sa skenerom.
- Ne izlažite skener vodi ili prekomjernoj vlazi.
- Postavite skener na stabilnu, ravnu površinu.
- Držite skener dalje od direktne sunčeve svjetlosti i izvora toplote.
- Isključite skener iz struje prije čišćenja ili ako ga nećete koristiti duži period.
Sadržaj paketa
Provjerite da li su sve stavke prisutne u paketu:
- Avision AD340G skener dokumenata
- Adapter za napajanje
- USB kabel
- Vodič za brzi početak
- CD sa softverom (ili upute za preuzimanje)
Product Overview
Upoznajte se s glavnim komponentama skenera Avision AD340G.
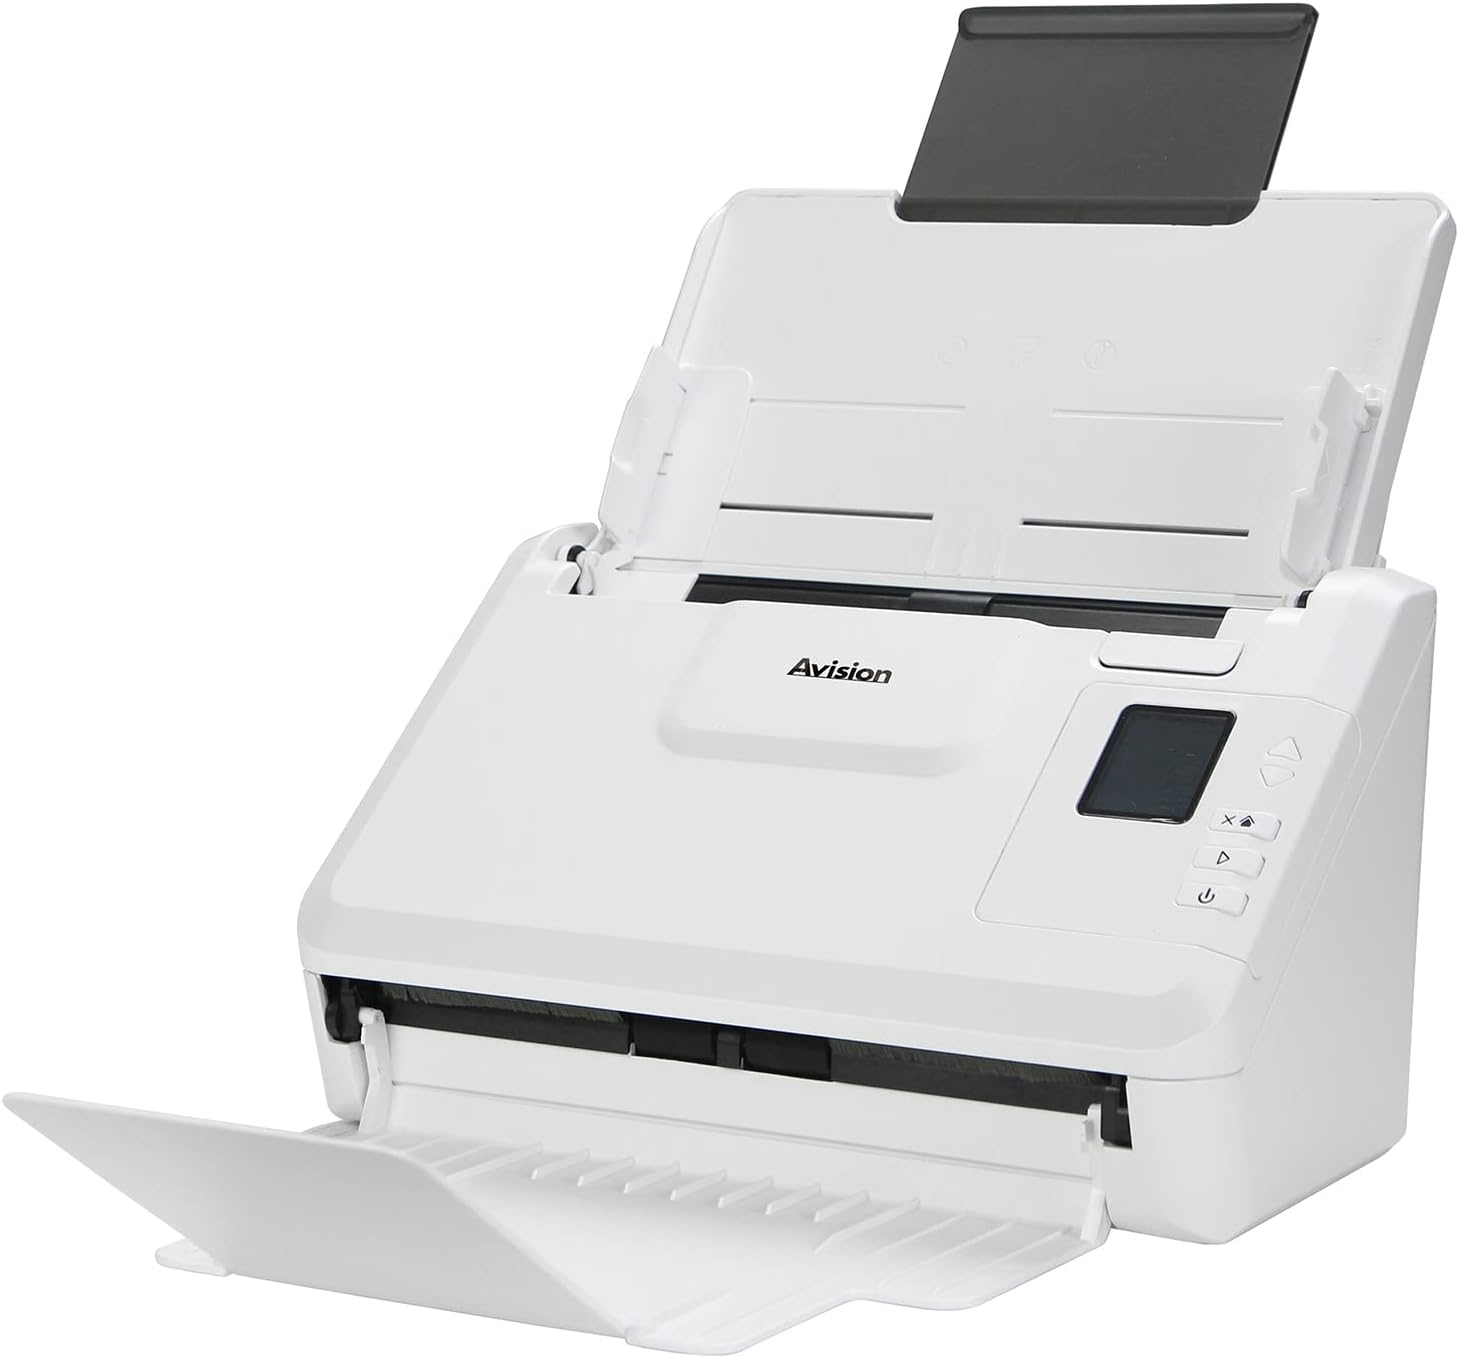
slika: Skener Avision AD340G prikazan je sa izvučenim ulaznim i izlaznim ladicama, spremnim za uvlačenje dokumenata. view ističe kompaktan dizajn i pristupačan put papira.
- Ladica za uvlačenje dokumenata: Gdje se dokumenti učitavaju za skeniranje.
- Izlazno ležište: Gdje se izbacuju skenirani dokumenti.
- Kontrolna tabla: Dugmad i ekran za rad skenera.
- USB port: Za povezivanje sa računarom.
- Napajanje: Za povezivanje strujnog adaptera.
Setup
1. Fizička postavka
- Raspakujte skener: Pažljivo izvadite skener i svu dodatnu opremu iz ambalaže.
- Postavite skener: Postavite skener na ravnu, stabilnu površinu s dovoljno prostora za ulaznu i izlaznu ladicu.
- Priključite napajanje:
- Spojite adapter za napajanje na priključak za napajanje skenera.
- Uključite adapter za napajanje u električnu utičnicu.
- Povežite se na računar:
- Spojite jedan kraj USB kabela na USB priključak skenera.
- Povežite drugi kraj USB kabla na slobodan USB port na računaru.
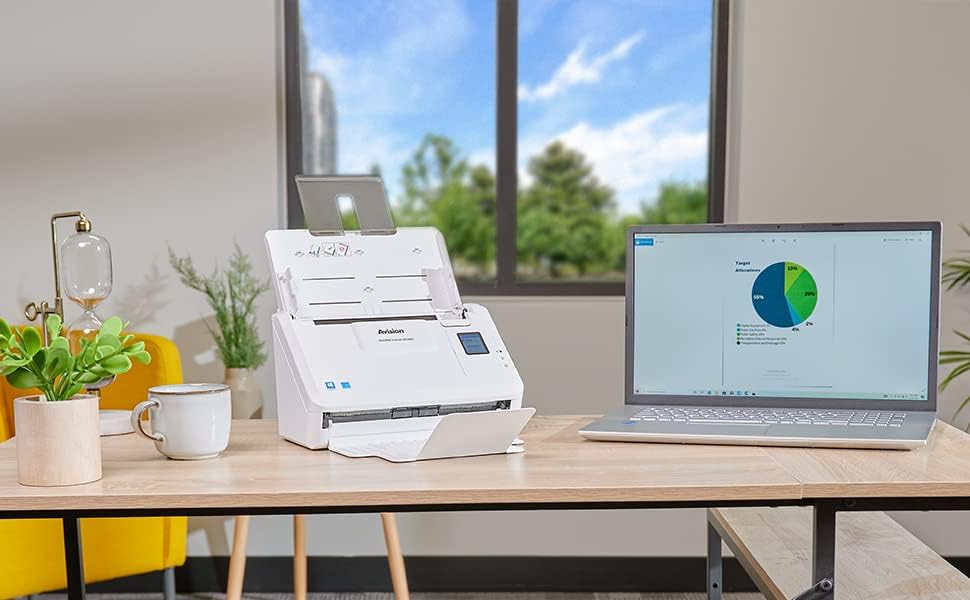
slika: Skener Avision AD340G postavljen na stol pored laptopa, ilustruje tipično povezano okruženje. Ovo pokazuje kompaktne dimenzije skenera tokom upotrebe.
2. Instalacija softvera
Instalirajte potrebne upravljačke programe i softver za skeniranje sa priloženog CD-a ili preuzimanjem sa službene Avision stranice. website.
- Umetnite CD sa softverom u CD/DVD uređaj vašeg računara ili idite na Avision podršku webstranicu za preuzimanje najnovijih upravljačkih programa i uslužnih programa za model AD340G.
- Slijedite upute na ekranu da biste dovršili instalaciju. To obično uključuje instaliranje TWAIN/ISIS upravljačkih programa i Avision softvera za skeniranje.
- Ponovo pokrenite računar ako se to od vas zatraži.
Rukovanje skenerom
1. Učitavanje dokumenata
- Otvorite ladicu za ubacivanje dokumenata i produžite izlaznu ladicu.
- Podesite vodilice papira tako da odgovaraju širini vaših dokumenata.
- Postavite dokumente licem prema dolje u ulaznu ladicu, pazeći da su uredno složeni i poravnati. Skener podržava do 50 listova.

slika: Ruka pažljivo stavlja hrpu dokumenata u ulaznu ladicu skenera Avision AD340G, demonstrirajući ispravan postupak ubacivanja.
2. Postupak skeniranja
- Uključite skener pritiskom na dugme za napajanje.
- Pokrenite Avision softver za skeniranje na računaru.
- Odaberite željenog profesionalca za skeniranjefile (npr. u boji, u sivim tonovima, crno-bijelo, rezolucija). AD340G podržava dvostrano skeniranje (obe strane istovremeno).
- Kliknite na dugme "Skeniraj" u softveru ili pritisnite dugme za skeniranje na kontrolnoj tabli skenera.
- Skener će uvući i obraditi dokumente. Nakon što je skeniranje završeno, slike će se pojaviti u softveru.
- Review skenirane slike, izvršite potrebna podešavanja (npr. rotirajte, izrežite) i sačuvajte ih na željenoj lokaciji i u željenom formatu (npr. PDF, JPEG, TIFF).
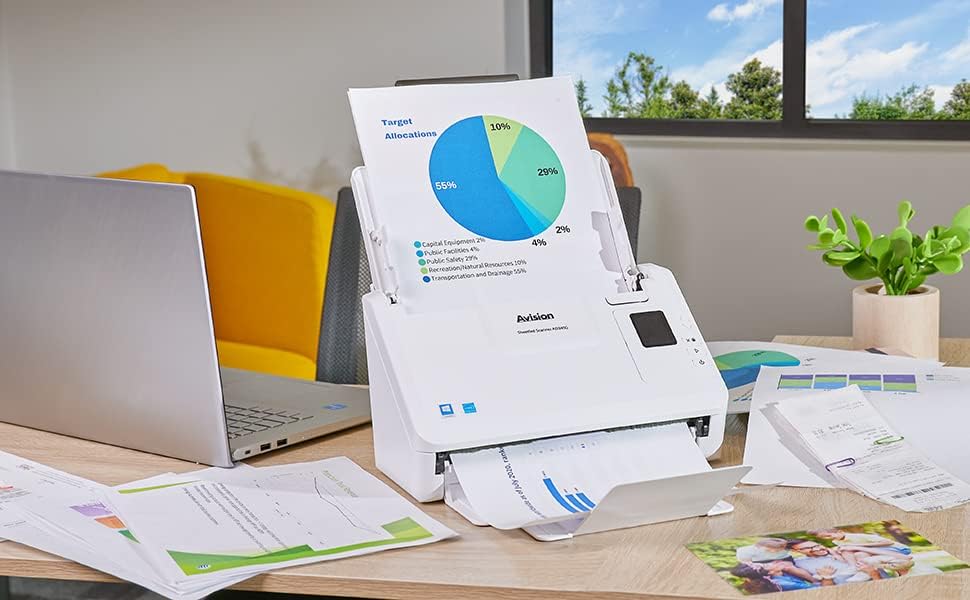
slika: Skener Avision AD340G u radu, ubacuje dokument pomoću tortnog grafikona. Ovo ilustruje sposobnost skenera da efikasno obrađuje različite vrste dokumenata.
Održavanje
Čišćenje skenera
Redovno čišćenje osigurava optimalne performanse i produžava vijek trajanja vašeg skenera.
- Isključite i izvucite utikač: Uvijek isključite skener i odspojite adapter za napajanje i USB kabel prije čišćenja.
- Čista spoljašnjost: Obrišite vanjski dio skenera mekom krpom koja ne ostavlja dlačice, laganoampoprano vodom ili blagim, neabrazivnim sredstvom za čišćenje.
- Čista unutrašnjost (valjci i staklo):
- Otvorite poklopac skenera da biste pristupili valjcima i staklenim površinama za skeniranje.
- Pažljivo obrišite valjke za uvlačenje čistom krpom koja ne ostavlja dlačice. Ako je potrebno, za tvrdokorne ostatke nanesite malu količinu izopropilnog alkohola na krpu.
- Staklene trake za skeniranje očistite mekom krpom i sredstvom za čišćenje stakla (bez amonijaka).
- Ostavite sve komponente da se potpuno osuše prije nego što zatvorite poklopac i ponovo uključite napajanje.
Rješavanje problema
| Problem | Mogući uzrok | Rješenje |
|---|---|---|
| Skener se ne uključuje. | Kabl za napajanje nije priključen; problem sa utičnicom. | Provjerite je li kabel za napajanje sigurno spojen. Pokušajte s drugom utičnicom. |
| Dokumenti se često zaglavljuju. | Nepravilno poravnate vodilice papira; istrošeni valjci; prljavi valjci. | Podesite vodilice papira. Očistite valjke za uvlačenje papira. Ako problem i dalje postoji, možda je potrebno zamijeniti valjke. |
| Skenirane slike su mutne ili imaju linije. | Prljavo staklo za skeniranje; neispravne postavke rezolucije. | Očistite staklo za skeniranje. Podesite rezoluciju skeniranja u softveru. |
| Računar nije prepoznao skener. | USB kabel je isključen; upravljački program nije instaliran ili je oštećen. | Provjerite USB kabelsku vezu. Ponovo instalirajte upravljačke programe skenera. Pokušajte s drugim USB priključkom. |
Specifikacije
Ključne tehničke specifikacije za skener dokumenata Avision AD340G:
- Model: AD340G
- Vrsta skenera: ADF dvostrani skener dokumenata
- Povezivanje: USB
- rezolucija: 600 dpi (optička)
- Brzina skeniranja: 40 ppm (stranica u minuti) / 80 ipm (slika u minuti)
- Dubina boje: 48 bita ulaz / 24 bita izlaz
- Standardni kapacitet listova: 50 listova
- Tehnologija optičkog senzora: CIS (senzor slike za kontakt)
- Dimenzije proizvoda: 11 x 6.1 x 6.5 inča
- Težina artikla: 8 funte
- Minimalni sistemski zahtjevi: Windows XP/7/8/10
Garancija i podrška
Za informacije o garanciji, tehničkoj podršci ili upite o servisiranju, molimo pogledajte garantni list koji dolazi uz vaš proizvod ili posjetite službenu web stranicu Avisiona. webweb-mjesto. Kontakt informacije za korisničku podršku obično se mogu pronaći na proizvođačevoj website.
Službenik Avisiona Webstranica: www.avision.com


