Uvod
Welcome to the user manual for your new Astro Men's Digital Watch, model A9916-PPHB. This guide provides comprehensive instructions on how to set up, operate, and maintain your watch to ensure optimal performance and longevity. Please read this manual carefully before using your watch.
Product Overview i Funkcije dugmadi
Your Astro digital watch features a clear display and intuitive button controls for various functions.
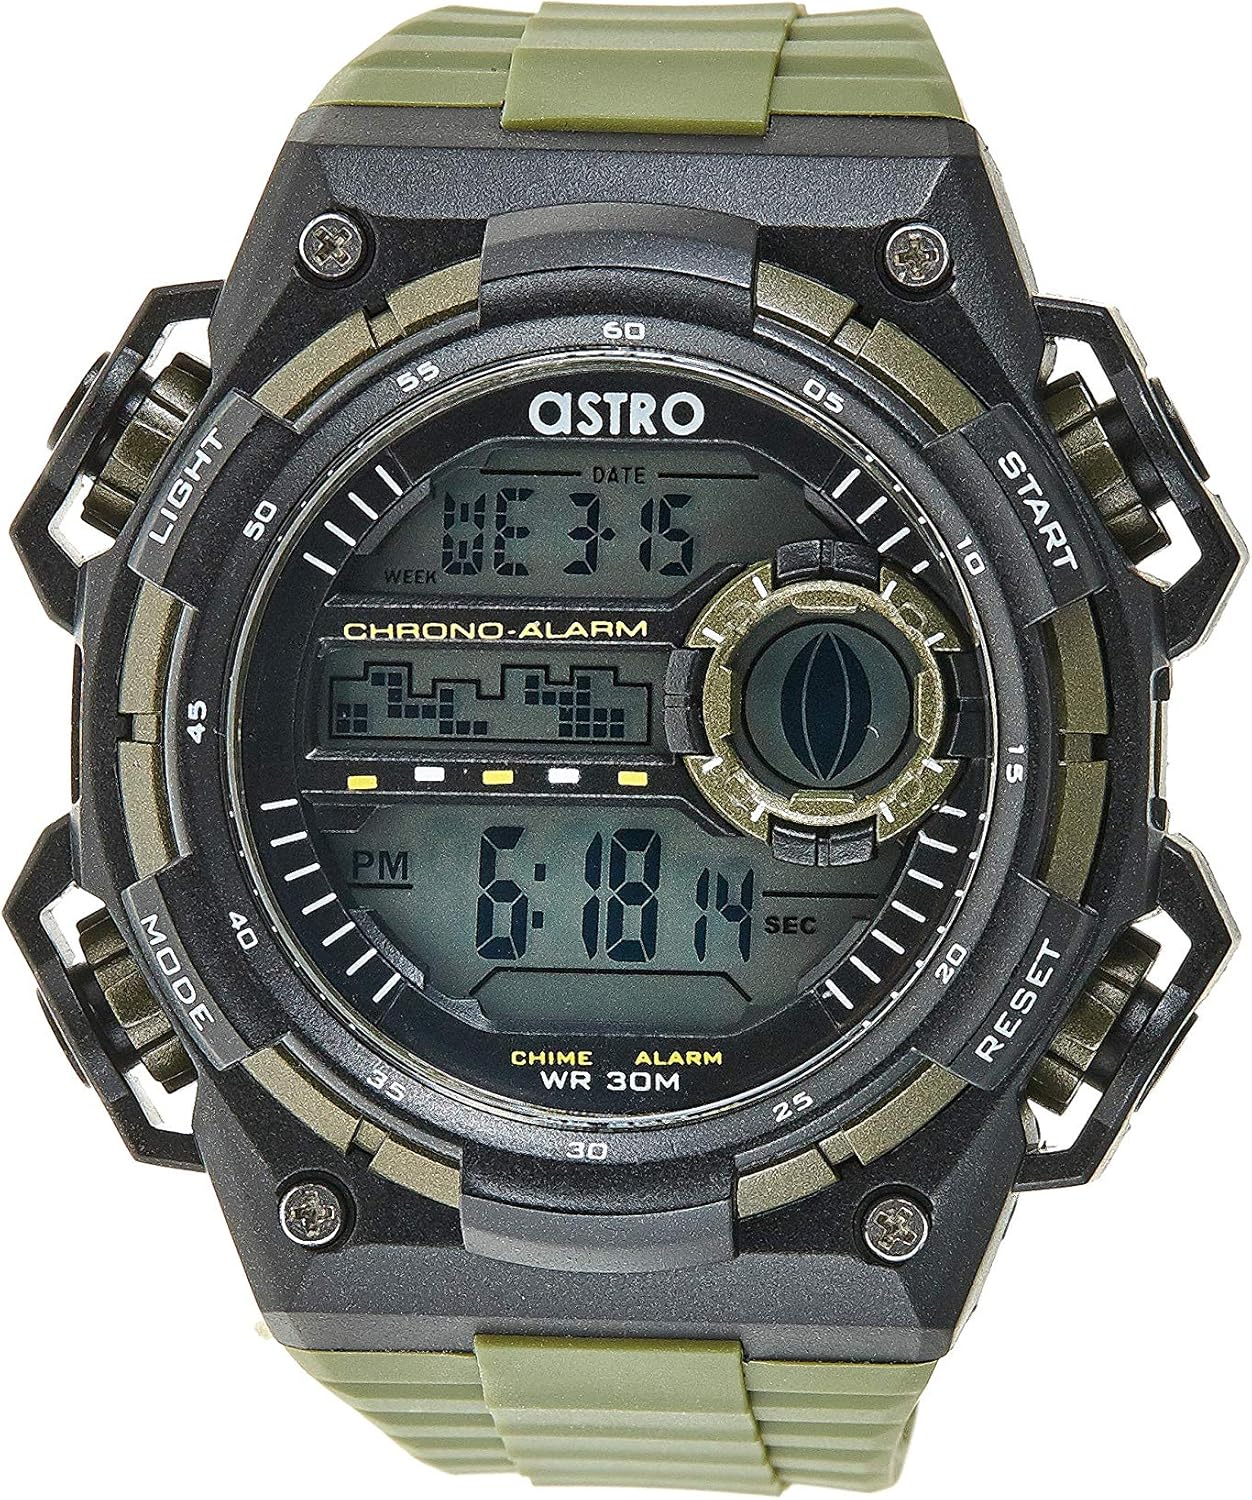
Slika 1: Prednja strana View Straži. This image displays the watch face, highlighting the digital display and the four primary control buttons: LIGHT (top left), MODE (bottom left), START (top right), and RESET (bottom right). The display shows the time, day of the week, and date, along with indicators for chronograph and alarm functions.

Slika 2: Bočna strana View Straži. Ova slika pruža profesionalnufile view of the watch, clearly showing the placement and design of the "LIGHT" and "MODE" buttons on the left side of the watch case. These buttons are essential for navigating through the watch's functions and activating the backlight.

Slika 3: Natrag View Straži. This image shows the reverse side of the watch, featuring the stainless steel case back secured by four screws. The durable olive green plastic strap, with its buckle closure, is also visible, indicating the watch's robust construction.
Funkcije dugmadi:
- Dugme za SVJETLO (gore lijevo): Activates the backlight for viewing the display in low-light conditions.
- Dugme MODE (dolje lijevo): Cycles through different modes: Time Display, Alarm Setting, Chronograph (Stopwatch), and Date Setting.
- Dugme START (gore desno): Used to start/stop the chronograph, adjust values during setting, or activate the alarm.
- Dugme RESET (dolje desno): Used to reset the chronograph, confirm settings, or switch between 12/24-hour format.
Podešavanje i početna konfiguracija
1. Raspakivanje i pregled
Upon receiving your watch, carefully unbox it and inspect for any visible damage. Ensure all components, including the watch and any accompanying documentation (like the guarantee card), are present.

Figure 4: Watch Packaging and Guarantee Card. This image shows the watch's protective tin packaging and the included guarantee card, which is important for warranty claims.
2. Podešavanje vremena i datuma
- Iz normalnog načina prikaza vremena, pritisnite MODE Pritisnite dugme tri puta da biste ušli u režim podešavanja vremena. Cifre sekundi će početi da trepere.
- Pritisnite RESET dugme za ciklično prebacivanje kroz postavke: Sekunde → Sat → Minuta → Mjesec → Datum → Dan u sedmici.
- Dok cifra treperi, pritisnite START dugme za povećanje vrijednosti. Držite pritisnuto START button to rapidly advance the digits.
- Nakon što su sve postavke podešene, pritisnite dugme MODE dugme za izlazak iz načina podešavanja i povratak na normalan prikaz vremena.
3. 12/24-Hour Format Selection
U normalnom režimu prikaza vremena, pritisnite RESET dugme za prebacivanje između 12-satnog (sa indikatorom 'AM'/'PM') i 24-satnog formata.
Uputstvo za upotrebu
1. Funkcija alarma
- Iz normalnog prikaza vremena, pritisnite MODE Pritisnite dugme jednom da biste ušli u režim alarma. Prikazaće se vreme alarma.
- Pritisnite RESET button to select the hour or minute to set. The selected digit will flash.
- Pritisnite START dugme za podešavanje trepćuće cifre.
- Da biste aktivirali/deaktivirali alarm, pritisnite dugme START button while in Alarm mode (without any digits flashing). An alarm icon will appear/disappear on the display.
- Pritisnite MODE dugme za povratak na normalan prikaz vremena.
2. Hourly Chime
Za aktiviranje ili deaktiviranje hourly chime (which beeps at the top of every hour):
- U režimu alarma, pritisnite dugme RESET dugme za prebacivanje hourly chime on/off. A chime icon will appear/disappear on the display.
3. Hronograf (Štoperica)
- Iz normalnog prikaza vremena, pritisnite MODE Pritisnite dva puta dugme da biste ušli u režim hronografa. Na ekranu će se prikazati "00:00:00".
- Pritisnite START dugme za početak mjerenja vremena.
- Pritisnite START ponovo pritisnite dugme da biste pauzirali mjerenje vremena.
- Pritisnite RESET dugme dok je pauzirano da biste resetovali hronograf na "00:00:00".
- Pritisnite MODE dugme za povratak na normalan prikaz vremena.
4. Funkcija pozadinskog osvjetljenja
Pritisnite LIGHT button (top left) at any time to illuminate the display for a few seconds, making it visible in dark environments.
Održavanje i njega
1. Čišćenje sata
Da bi vaš sat izgledao najbolje moguće, redovno ga brišite mekom, suhom krpom. Za tvrdokornu prljavštinu, laganoamp Može se koristiti krpa, nakon čega slijedi odmah sušenje. Izbjegavajte upotrebu jakih hemikalija ili abrazivnih materijala.
2. Water Resistance (WR 30M)
Your Astro watch is water resistant up to 30 meters (3 ATM). This means it is suitable for daily use and can withstand splashes or brief immersion in water, such as during hand washing or light rain. It is NOT suitable for showering, swimming, diving, or any water sports. Do not operate buttons when the watch is wet.
3. Zamjena baterije
When the display becomes dim or functions become erratic, it may be time to replace the battery. Battery replacement should ideally be performed by a qualified watch technician to ensure proper sealing and water resistance integrity.
Rješavanje problema
| Problem | Mogući uzrok | Rješenje |
|---|---|---|
| Ekran je prazan ili taman. | Niska baterija. | Zamijenite bateriju. |
| Vrijeme je netačno. | Vrijeme nije ispravno podešeno ili je tipka pritisnuta slučajno. | Refer to "Setting the Time and Date" section to reset the time. |
| Dugmad ne reagiraju. | Watch may be in a frozen state or battery is extremely low. | Try pressing all buttons simultaneously for a few seconds to reset. If problem persists, replace battery. |
| Alarm se ne oglašava. | Alarm nije aktiviran. | Ensure the alarm icon is displayed on the screen. Refer to "Alarm Function" section. |
Specifikacije
- Broj modela: A9916-PPHB
- Vrsta prikaza: Digital
- Materijal remena: Plastika
- Materijal kućišta: Plastic / Stainless Steel Back
- Otpornost na vodu: 30 metara (3 bankomata)
- Funkcije: Time (12/24-hour), Date, Day, Alarm, Hourly Chime, Chronograph, Backlight
- Proizvođač: Astro
Garancija i podrška
Your Astro A9916-PPHB watch comes with a manufacturer's guarantee. Please refer to the included guarantee card (Figure 4) for specific terms and conditions of your warranty. Keep your purchase receipt and guarantee card in a safe place as proof of purchase.
For technical support, warranty claims, or any inquiries not covered in this manual, please contact your retailer or the official Astro customer service channel as indicated on your guarantee card or product packaging.


