Sigurnosne informacije
Read and understand all instructions before beginning installation. Failure to follow these instructions could result in electric shock, fire, or serious personal injury.
- Osigurajte da je mjesto instalacije konstrukcijski čvrsto i da može podnijeti težinu ventilatora (približno 21 kg).
- Sve instalacije moraju biti u skladu s nacionalnim i lokalnim električnim propisima. Ako niste upoznati s instalacijama, obratite se kvalificiranom električaru.
- Isključite napajanje na prekidaču ili razvodnoj kutiji prije početka instalacije ili bilo kakvog održavanja.
- Ne koristite ventilator s oštećenim lopaticama ili kućištem.
- Maintain a minimum clearance of 7 feet from the floor to the bottom edge of the fan blades.
- Ovaj ventilator je dizajniran samo za upotrebu u zatvorenom prostoru.
Postavljanje i instalacija
This section guides you through the assembly and installation process of your Hunter ceiling fan.
1. Raspakivanje i pregled
Carefully remove all components from the packaging. Inspect all parts for any damage. Do not discard packaging materials until assembly is complete and the fan is operating correctly.
2. Montiranje ventilatora
The fan uses a standard profile mounting with included 3-inch and 2-inch downrods. Choose the appropriate downrod length for your ceiling height. Ensure the electrical box is securely mounted and capable of supporting the fan.

Image: Hunter 46-inch ceiling fan installed in a living space, demonstrating typical mounting.
- Pričvrstite nosač za montažu na električnu kutiju na stropu.
- Feed electrical wires through the downrod and canopy.
- Pričvrstite silaznu šipku na kućište motora.
- Podignite sklop ventilatora i objesite ga na nosač za montažu.
3. Električni priključci
Ensure power is OFF at the circuit breaker before making any electrical connections. Connect the fan's wires to the household wiring according to the wiring diagram provided in the full installation guide (not included here). This fan operates on 120 Volts AC.
4. Pričvršćivanje lopatica ventilatora
The fan includes 5 reversible Medium Density Fiberboard (MDF) blades with Warm Grey Oak and Greyed Walnut finishes. Choose your preferred finish before attaching the blades.

Slika: Krupni plan view of the fan's motor housing with the Hunter logo and a blade arm attached, showing the connection point.
- Attach each blade to a blade arm using the provided screws.
- Secure the blade arms to the motor housing.

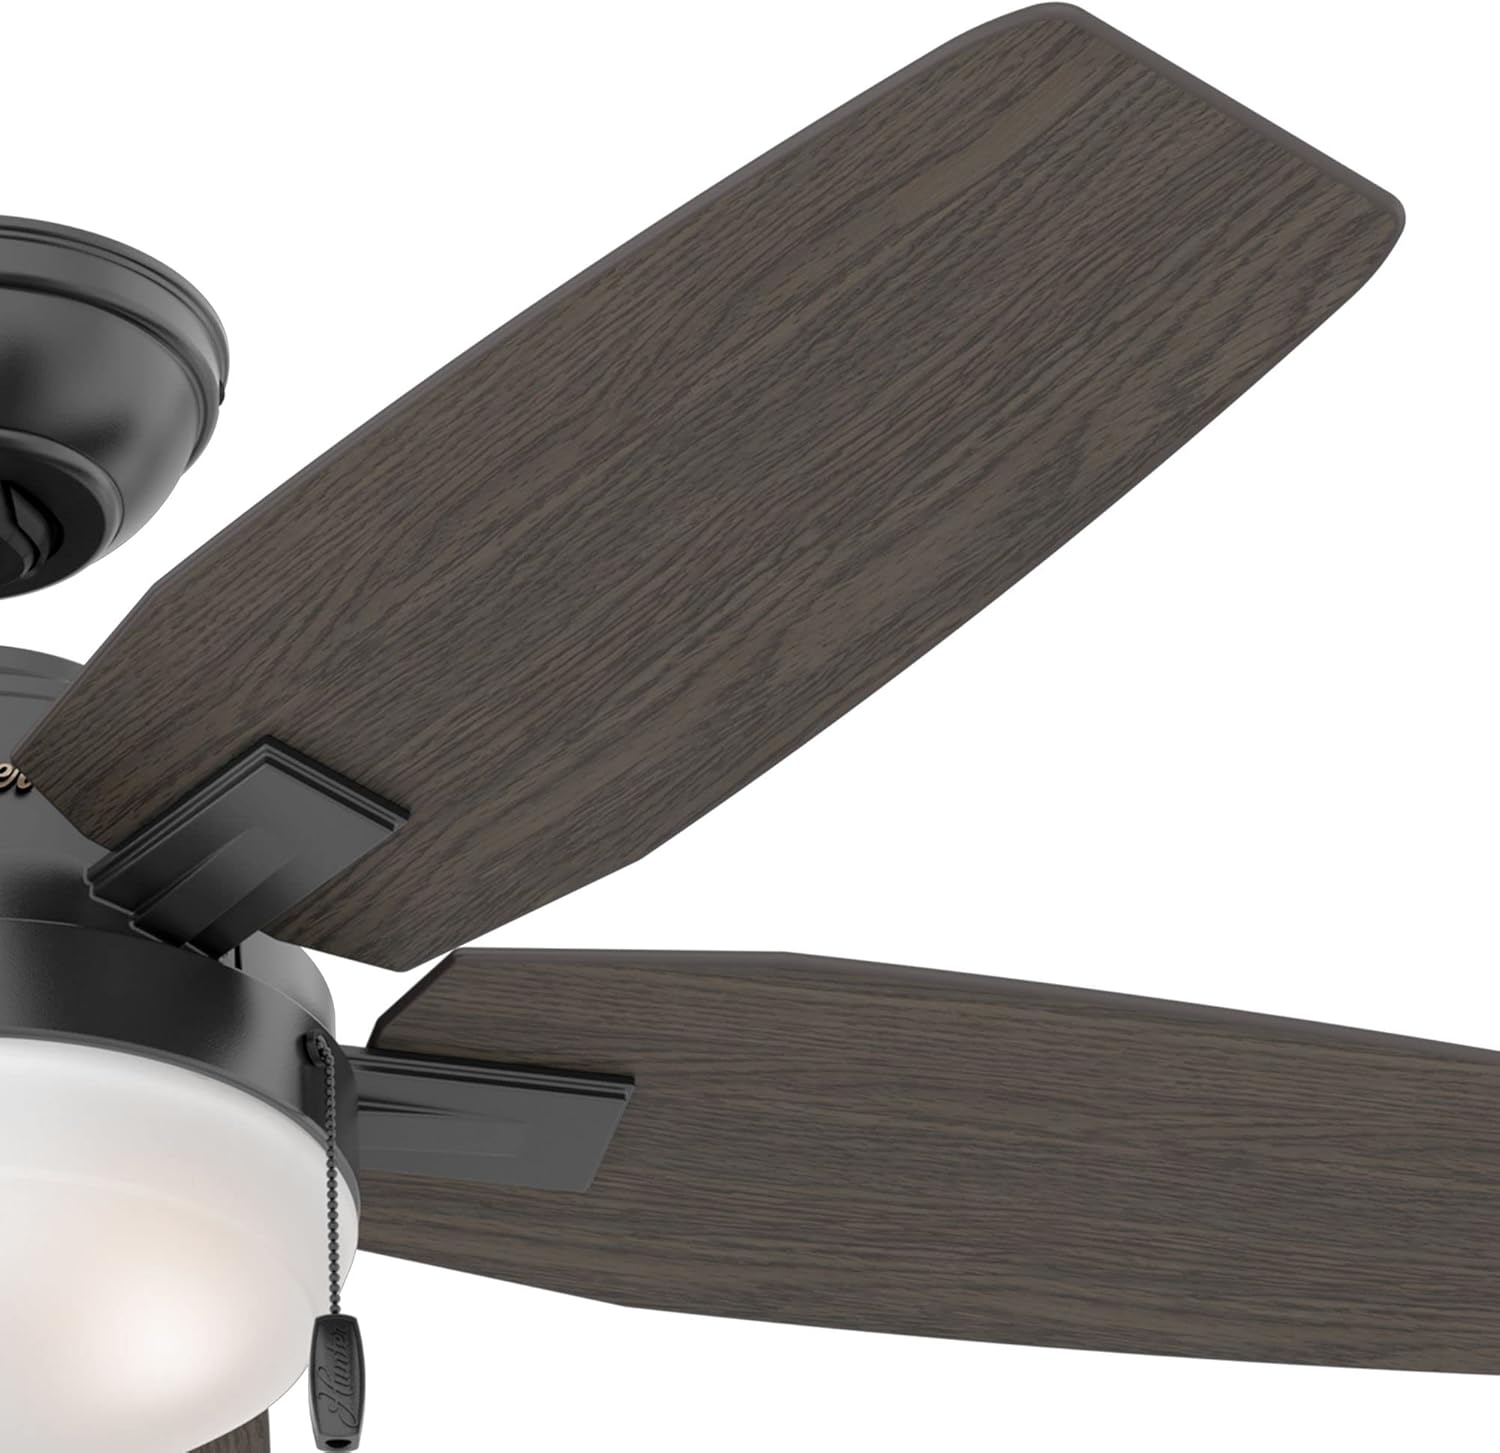
Image: Left shows the Warm Grey Oak side of a fan blade. Right shows the Greyed Walnut side of a fan blade, demonstrating the reversible design.
5. Instaliranje kompleta rasvjete
The fan includes an integrated light kit with premium painted cased white glass shading and two 9-watt energy-efficient, dimmable LED bulbs (E26/A19 base).

Image: Close-up of the fan's light kit, showing the frosted white glass shade and the two pull chains for fan speed and light control.
- Connect the light kit wires to the fan motor wires.
- Secure the light kit assembly to the fan motor housing.
- Install the LED bulbs into the sockets.
- Attach the glass shade to the light kit.
Uputstvo za upotrebu
Your Hunter ceiling fan is controlled by pull chains for both fan speed and light operation.
Kontrola brzine ventilatora
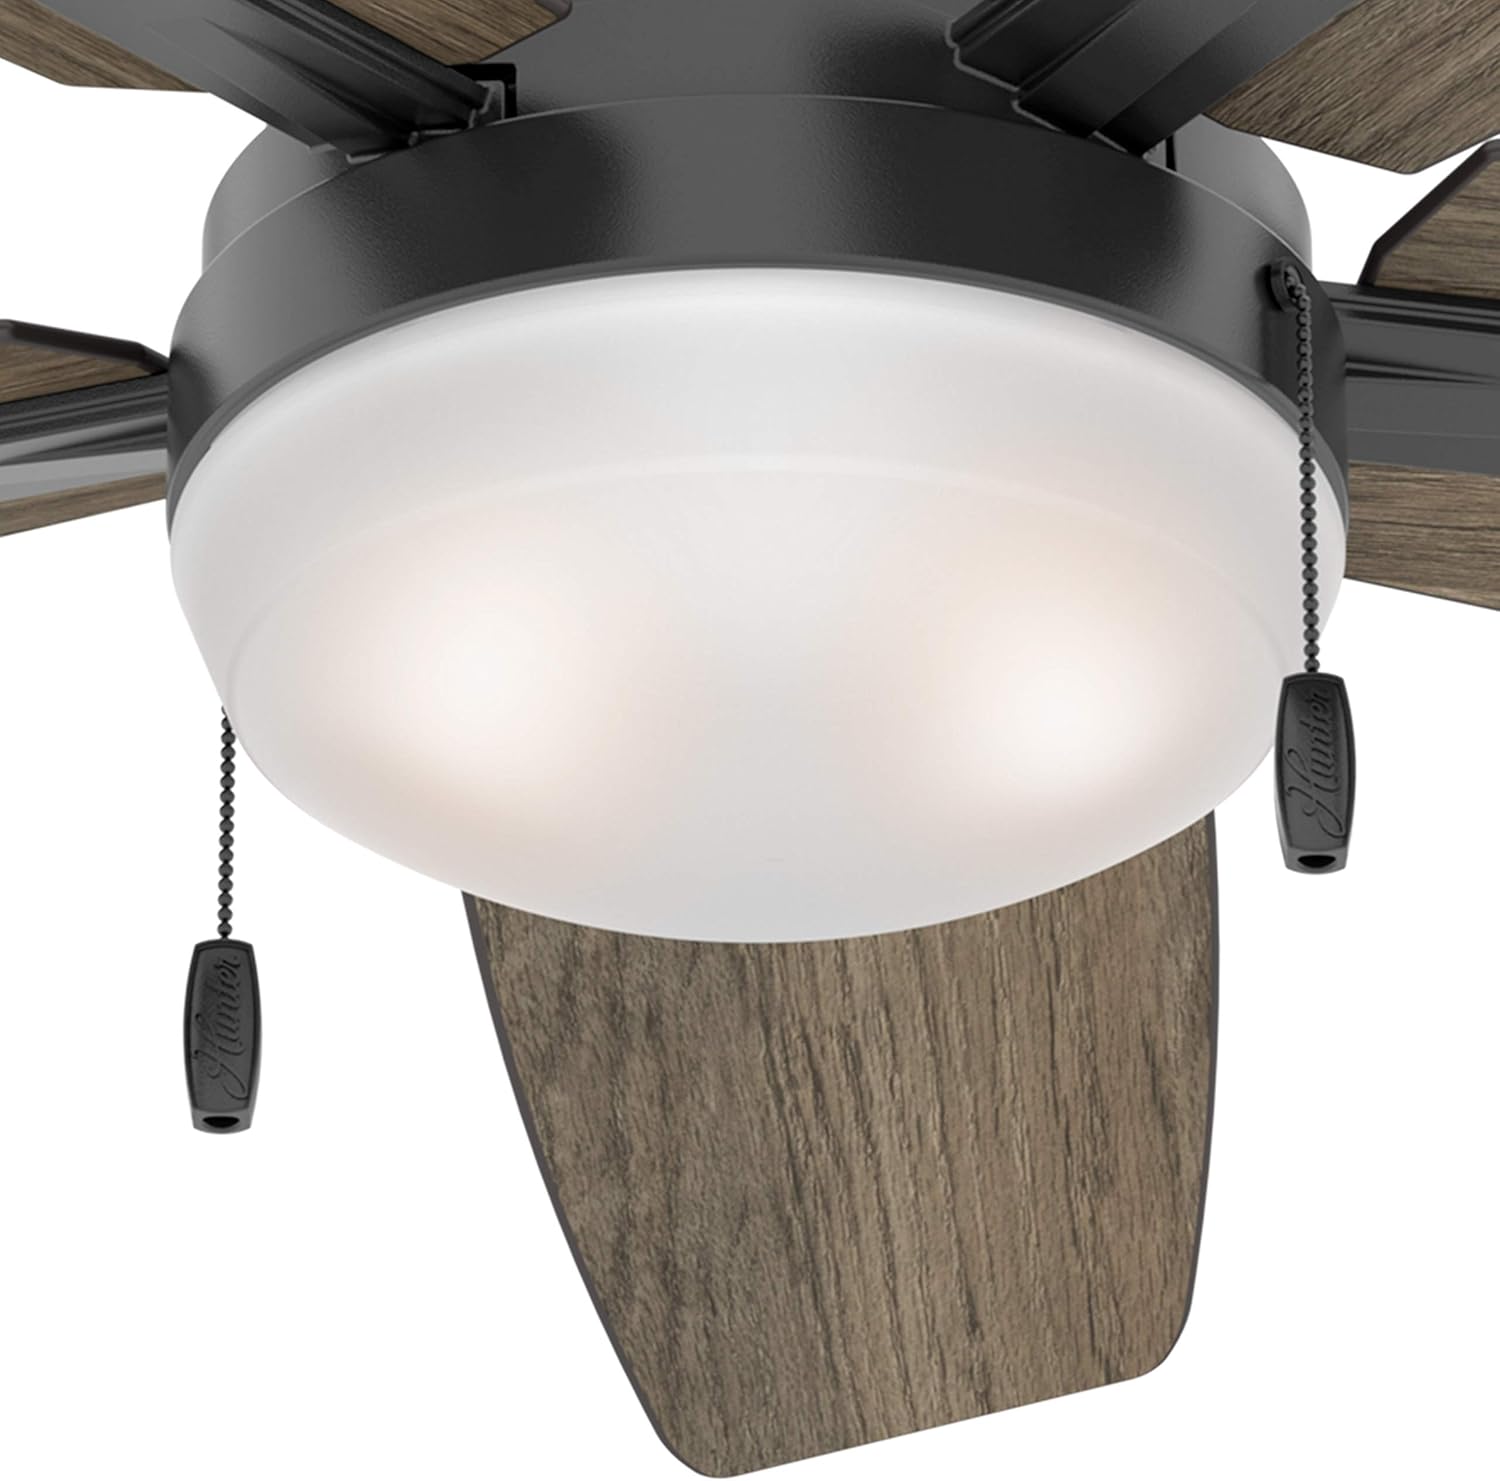
Slika: Detaljna view of the fan's light kit, highlighting the two pull chains. One chain controls the fan speed, and the other controls the light.
- Locate the pull chain designated for fan speed (often marked with a fan icon or a shorter chain).
- Pull the chain once for High speed.
- Pull the chain a second time for Medium speed.
- Pull the chain a third time for Low speed.
- Pull the chain a fourth time to turn the fan OFF.
Kontrola svjetla
- Locate the pull chain designated for light control (often marked with a light bulb icon or a longer chain).
- Pull the chain once to turn the light ON.
- Pull the chain a second time to turn the light OFF.
- To dim the light, pull and hold the light chain. Release when the desired brightness is reached.
Reversible Blade Operation (Seasonal Use)
Your fan features reversible blades and a reversible motor for year-round comfort. A switch on the fan motor housing allows you to change the direction of blade rotation.
- Ljetni rad: Set the switch to make the blades rotate counter-clockwise. This creates a downward airflow, producing a cooling effect.
- Zimska operacija: Set the switch to make the blades rotate clockwise. This creates an upward airflow, recirculating warm air from the ceiling without creating a direct draft.
- Always turn off the fan and wait for the blades to stop completely before changing the direction switch.
Održavanje
Redovno održavanje osigurava dugotrajnost i optimalne performanse vašeg stropnog ventilatora.
- čišćenje: Povremeno čistite lopatice ventilatora i kućište motora mekom krpomamp krpom. Ne koristite abrazivna sredstva za čišćenje ili rastvarače, jer mogu oštetiti završnu obradu.
- Vijci za pritezanje: Check all screws on the fan blades, blade arms, and mounting hardware at least twice a year. Tighten any loose screws to prevent wobbling and noise.
- Zamjena sijalice: If a light bulb needs replacement, ensure the power is off. Use only 9-watt LED bulbs with an E26/A19 base, or equivalent.
- Nije potrebno podmazivanje: Motor ventilatora je trajno podmazan i ne zahtijeva podmazivanje.
Rješavanje problema
If you experience issues with your fan, refer to the following common problems and solutions before contacting support.
Ventilator se ne pokreće
- Provjerite snagu: Ensure the circuit breaker is ON and the wall switch (if applicable) is ON.
- Ožičenje: Verify all electrical connections are secure and correctly wired according to the installation instructions.
- Pull Chain: Ensure the fan pull chain has been pulled to an ON position.
Fan Wobbles
- Vijci s oštricom: Check that all blade screws are tightened securely.
- Blade Arms: Ensure blade arms are securely attached to the motor.
- Montaža: Verify the mounting bracket and downrod are securely fastened to the ceiling and electrical box.
- Balans oštrice: Uneven blade weight can cause wobbling. Use a balancing kit (often sold separately) if necessary.
Svetlo ne radi
- Ugradnja žarulje: Pazite da su sijalice čvrsto pričvršćene.
- Bulb Functionality: Test bulbs in a known working fixture or replace with new ones.
- Ožičenje: Provjerite spojeve ožičenja kompleta rasvjete.
- Pull Chain: Ensure the light pull chain is in the ON position.
Noisy Operation
- Labavi zavrtnji: Tighten all screws on the fan.
- Montaža: Ensure the fan is securely mounted and not touching any part of the ceiling.
- Sjenilo za staklo: Check if the glass shade is securely fastened and not rattling.
- Razmak od oštrice: Ensure blades are not hitting anything.
Specifikacije

Image: Energy Guide label showing estimated yearly energy cost ($10) and airflow (3,133 Cubic Feet Per Minute) for the fan.
| Brand | Hunter |
| Broj modela | CC5C95C84 |
| Dimenzije proizvoda | 46 cm D x 46 cm Š x 14.51 cm V |
| Težina artikla | 21.05 funti |
| Boja | Mat crna |
| Materijal | Metal (Housing), MDF (Blades), Glass (Shade) |
| Broj oštrica | 5 (Reversible: Warm Grey Oak / Greyed Walnut) |
| Vrsta izvora svjetlosti | Integrisana LED |
| Sijalice uključene | 2 x 9 Watt, Dimmable LED (E26/A19 base) |
| Osvetljenost | 800 lumena (maksimalni svjetlosni izlaz) |
| Kontrolni metod | Povucite kontrolu lanca |
| Brzine ventilatora | 3 |
| Vrsta montaže | Downrod Mount (3" and 2" downrods included) |
| Unutrašnja/vanjska upotreba | Indoor Only |
| Voltage | 120 Volts |
| Kapacitet protoka zraka | 2635 kubnih stopa u minuti |
| Efikasnost | Energy Efficient, ETL Certified |
Garancija i podrška
For specific warranty information regarding your Hunter ceiling fan, please refer to the documentation included with your purchase or visit the official Hunter Fan Company website.
If you require technical assistance or have questions not covered in this manual, please contact Hunter Customer Support:
- Hunter Fan Company Official Webstranica: www.hunterfan.com
- Služba za korisnike: Pogledajte na webstranica za trenutne načine kontakta (telefon, e-pošta, chat).
Please have your model number (CC5C95C84) and date of purchase available when contacting support.


