1. Uvod
This user manual provides comprehensive instructions for the installation, operation, and maintenance of your NZXT H500 Non i-Series mid-tower computer case. Designed for modern PC building, this case features simplified water cooling installation, intuitive cable routing, quick-release SSD trays, and a tempered glass panel. Please read this manual thoroughly before beginning your PC build to ensure proper assembly and optimal performance.
2. Proizvod je gotovview
The NZXT H500 Non i-Series case is constructed with an all-steel chassis and features a full tempered glass side panel. It includes a dual-position cable management bar and a cable routing kit to simplify internal wiring. Two Aer F120mm fans are pre-installed to provide optimal airflow.
2.1 Ključne karakteristike
- Premium all-steel construction with H-series design.
- Full tempered glass side panel for component visibility.
- Advanced cable management system with dual-position bar and routing kit.
- Water cooling ready for both AIO and custom loop configurations.
- Includes two Aer F120mm fans for efficient cooling.
- Motherboard support for Mini-ITX, Micro-ATX, and ATX form factors.
2.2 Komponente kućišta
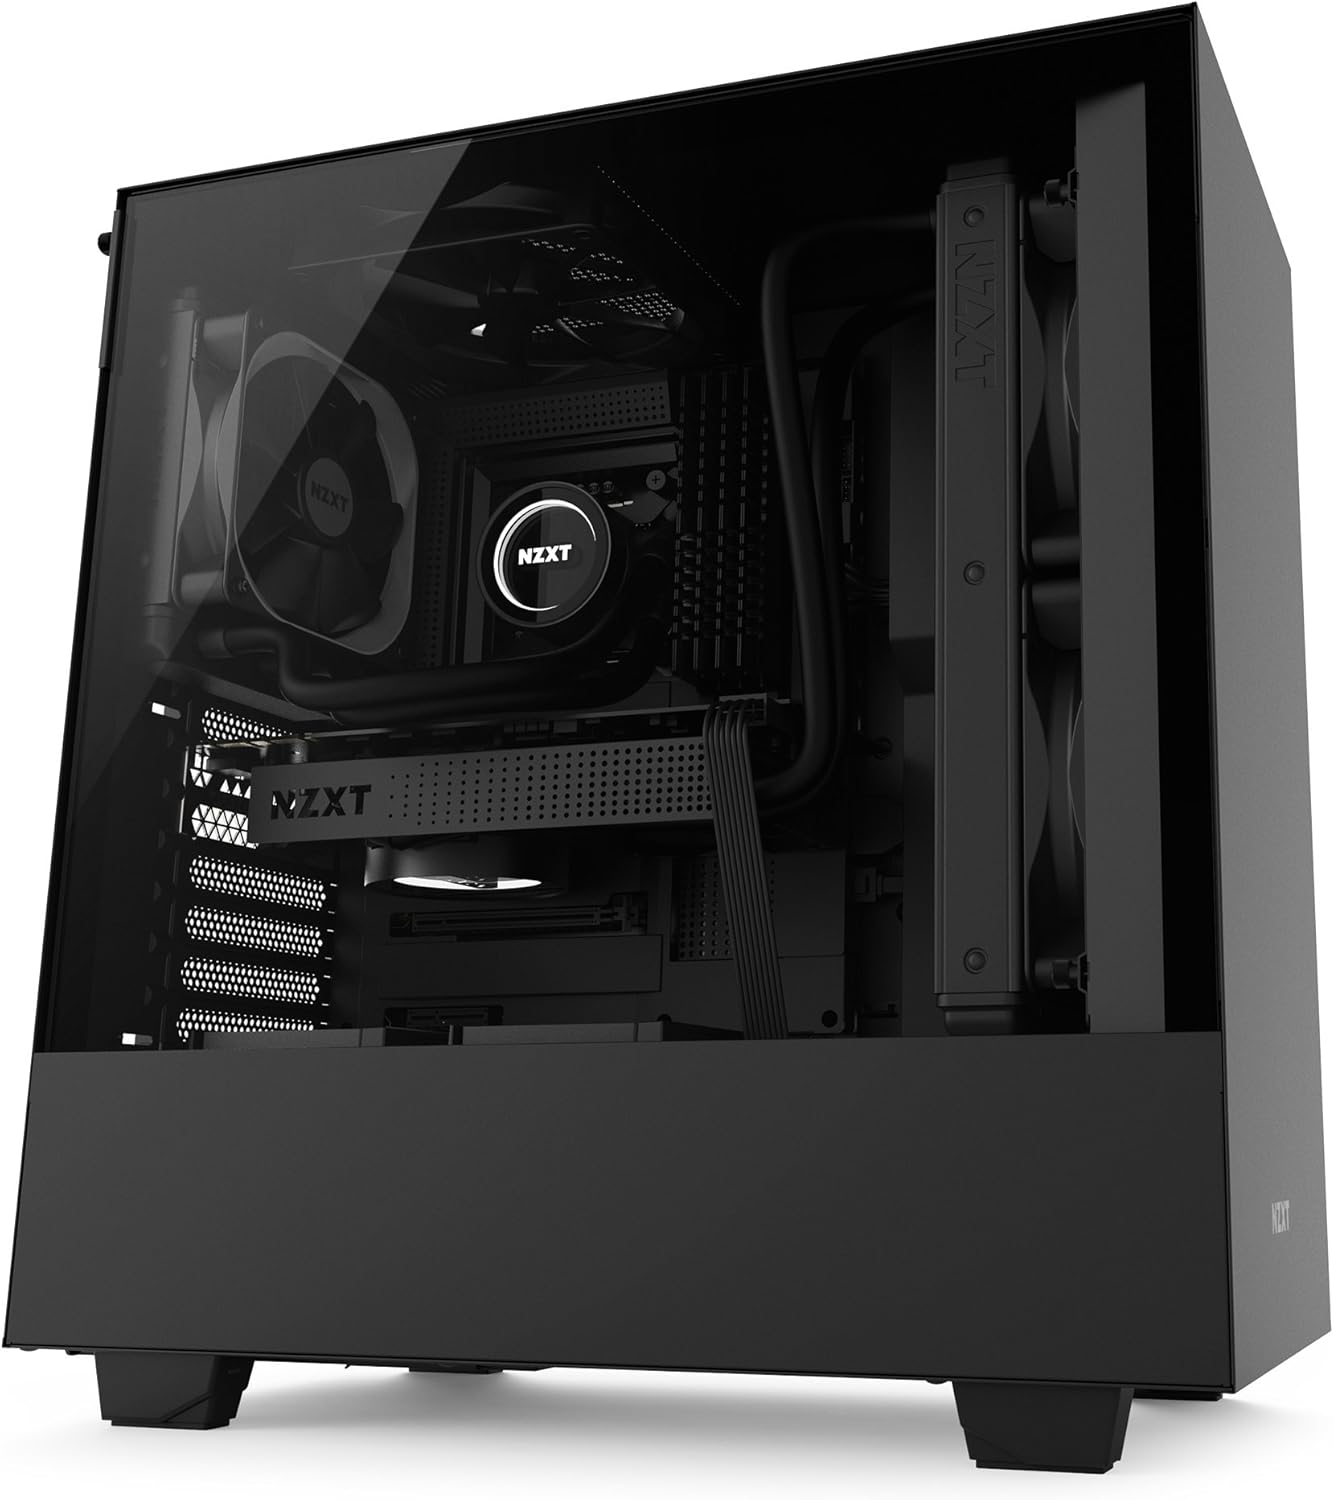
Slika 2.2.1: Prednje-lijevo view of the NZXT H500 case, showcasing the tempered glass side panel and minimalist design.

Slika 2.2.2: Interni view of the case, highlighting the spacious interior, motherboard tray, and pre-installed rear exhaust fan.
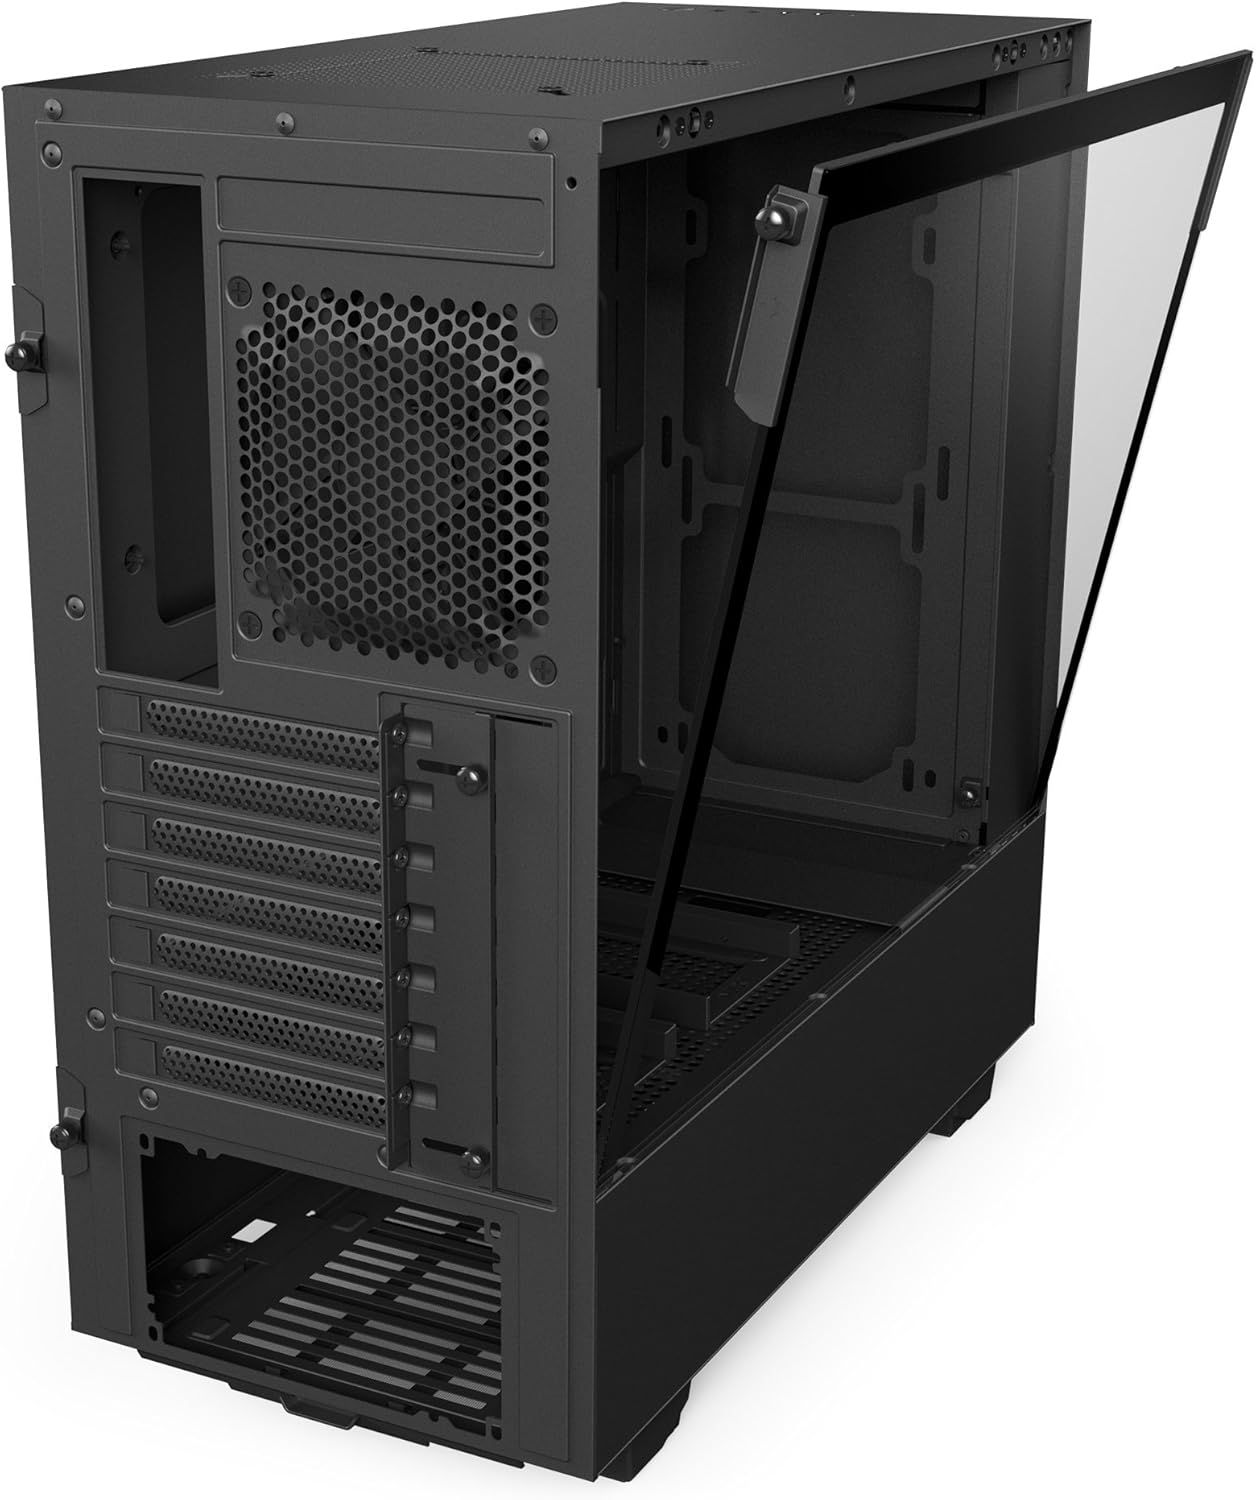
Slika 2.2.3: Rear-right perspective of the case with the side panel removed, revealing the cable management channels and drive bays behind the motherboard tray.

Slika 2.2.4: Pozadi view of the case, illustrating the expansion slots, rear exhaust fan mount, and bottom-mounted power supply bay.

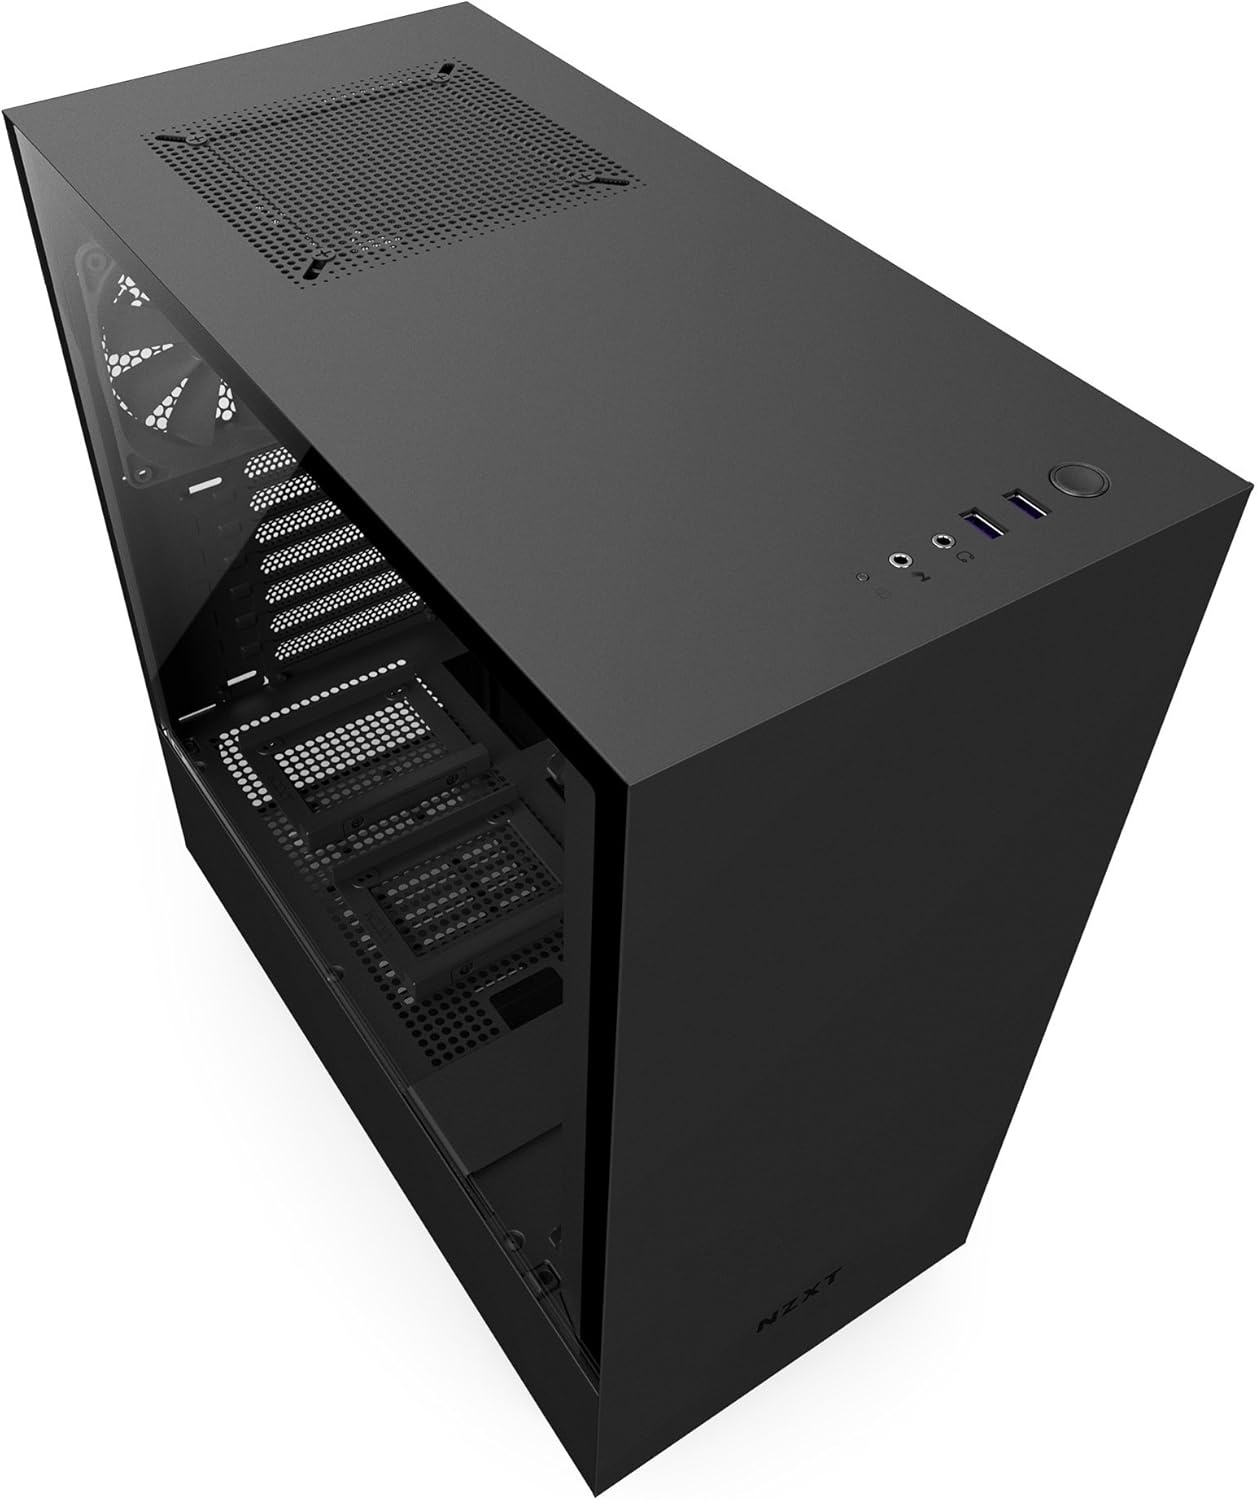
Slika 2.2.5: Gornji dio view, displaying the front I/O panel with USB ports, audio jacks, and power button.
Slika 2.2.6: Unutrašnji zadnji dio view, detailing the cable routing channels, Velcro straps, and quick-release SSD mounting points behind the motherboard tray.

Slika 2.2.7: Another internal rear view, focusing on the vertical cable management bar and additional routing options.

Slika 2.2.8: Top view of the case, showing the ventilation grille and top exhaust fan mount.
3. Postavljanje i instalacija
Before beginning installation, ensure you have all necessary components and tools. Work on a clean, static-free surface.
3.1 Priprema slučaja
- Carefully remove the tempered glass side panel by unscrewing the thumb screws and gently pulling it away. Place it on a soft, flat surface to prevent scratches.
- Remove the solid steel side panel by unscrewing the rear thumb screws and sliding it backward.
- Identify the pre-installed Aer F120mm fans at the rear and top of the case.
3.2 Instalacija matične ploče
- The H500 supports Mini-ITX, Micro-ATX, and ATX motherboards.
- Instalirajte I/O štitnik u zadnji otvor kućišta.
- Align your motherboard with the pre-installed standoffs and gently place it into position.
- Pričvrstite matičnu ploču odgovarajućim vijcima.
3.3 Instalacija komponenti
- Diskovi za pohranu podataka: Utilize the quick-release SSD trays located behind the motherboard tray for 2.5-inch drives. For 3.5-inch drives, use the drive cage located at the bottom front of the case.
- Graphics Card/Expansion Cards: Install your graphics card and other expansion cards into the PCIe slots on your motherboard and secure them with screws at the rear of the case.
- Jedinica za napajanje (PSU): Install your PSU into the dedicated compartment at the bottom rear of the case. Ensure the fan faces downwards for optimal cooling if your case is elevated, or upwards if placed on a solid surface.
- Vodeno hlađenje: The front panel supports radiators up to 280mm. Install your AIO or custom loop radiator and fans as per their respective instructions.
3.4 Upravljanje kablovima
The H500 features an intuitive cable management system:
- Route cables through the designated cutouts and channels behind the motherboard tray.
- Utilize the dual-position cable management bar to neatly hide and secure main power cables.
- Use the included Velcro straps to bundle and secure cables, preventing clutter and improving airflow.
3.5 Završna skupština
- Once all components are installed and cables are managed, reattach the solid steel side panel.
- Carefully reattach the tempered glass side panel, ensuring it is properly seated before tightening the thumb screws.
4. Operacija
The NZXT H500 is designed for efficient cooling and quiet operation. The pre-installed Aer F120mm fans provide a balanced airflow configuration. For optimal thermal performance, ensure proper fan orientation and cable routing to avoid obstructing airflow paths.
- Uključeno: Press the power button located on the top-front I/O panel to start your system.
- Prednji I/O portovi: Utilize the two USB 3.0 ports and audio jacks for convenient peripheral connectivity.
- Protok zraka: The case is designed with a positive pressure airflow system, with intake typically from the front (if fans are added) and exhaust from the rear and top.
5. Održavanje
Regular maintenance helps ensure the longevity and optimal performance of your computer case and its components.
- Filteri za prašinu: Periodically clean the removable dust filters (located at the front intake and under the PSU) to maintain optimal airflow and prevent dust buildup inside the case. Use compressed air or a soft brush.
- Eksterijerno čišćenje: Obrišite vanjske površine mekom krpom, damp tkanina. Izbjegavajte abrazivna sredstva za čišćenje.
- Kaljeno staklo: Clean the tempered glass panel with a microfiber cloth and a glass cleaner specifically designed for electronics to avoid streaks or damage.
- Unutrašnje čišćenje: With the system powered off and unplugged, use compressed air to remove dust from internal components and fans.
6. Otkrivanje problema
This section addresses common issues you might encounter during or after building your PC in the NZXT H500 case.
| Issue | Mogući uzrok | Rješenje |
|---|---|---|
| Sistem se ne uključuje. | Incorrect front panel header connection, faulty PSU, or loose power cables. | Verify all power connections to the motherboard and components. Ensure the front panel power switch header is correctly connected to the motherboard. Test PSU if possible. |
| Slab protok zraka ili visoke temperature. | Obstructed fan intakes/exhausts, dust buildup, incorrect fan orientation, or poor cable management. | Clean dust filters. Ensure fans are oriented correctly (intake at front, exhaust at rear/top). Improve cable management to reduce obstructions. Consider adding additional intake fans if needed. |
| Prednji USB portovi ne rade. | Front panel USB 3.0 header not connected or incorrectly connected to the motherboard. | Check the connection of the USB 3.0 cable from the front panel to the motherboard's USB 3.0 header. Refer to your motherboard manual for correct pinout. |
| Audio jacks not working. | Front panel audio header not connected or incorrectly connected to the motherboard. | Verify the HD Audio cable from the front panel is securely connected to the motherboard's audio header. Refer to your motherboard manual. |
7. Specifikacije
| Feature | Detalj |
|---|---|
| Broj modela | CA-H500B-B1 |
| Tip slučaja | Mid Tower |
| Kompatibilnost matične ploče | Mini-ITX, Micro-ATX, ATX |
| Materijal | Legirani čelik, kaljeno staklo |
| Dimenzije (DxŠxV) | 18.11 x 8.26 x 16.85 inča (460 x 210 x 428 mm) |
| Težina artikla | 15.4 funte (7 kg) |
| Prednji I / O portovi | 2 x USB 3.0, audio ulaz/izlaz |
| Metoda hlađenja | Zrak, Voda |
| Uključeni ventilatori | 2 x Aer F120mm (1 rear, 1 top) |
| Vrsta montaže napajanja | Bottom Mount |
8. Garancija i podrška
8.1 Informacije o garanciji
For detailed warranty terms and conditions, including coverage period and claims process, please refer to the official NZXT website or the warranty card included with your product packaging. Keep your proof of purchase for warranty validation.
8.2 Tehnička podrška
Should you encounter any issues not covered in this manual or require further assistance, please visit the official NZXT support website for FAQs, troubleshooting guides, and contact information for technical support. You can typically find support resources at www.nzxt.com/support.


