1. Uvod
Thank you for choosing the Dinuy Helios TI URA R00 Wireless Doorbell Receiver. This manual provides essential information for the safe and efficient installation, operation, and maintenance of your device. Please read these instructions carefully before installation and retain them for future reference.
2. Sigurnosne informacije
- Električna opasnost: This device operates on 230V AC mains power. Installation must be performed by a qualified electrician or competent person in accordance with local electrical codes and regulations.
- Isključite napajanje: Always disconnect the main power supply at the circuit breaker before attempting any installation, wiring, or maintenance.
- Samo za unutrašnju upotrebu: This receiver is designed for indoor use in dry locations. Do not expose it to moisture, rain, or extreme temperatures.
- ventilacija: Ensure adequate ventilation around the unit to prevent overheating. Do not cover the receiver.
- čišćenje: Use a dry, soft cloth for cleaning. Do not use liquid cleaners or aerosols.
3. Sadržaj paketa
Molimo Vas da provjerite sadržaj paketa kako biste bili sigurni da su svi artikli prisutni:
- Dinuy Helios TI URA R00 Wireless Doorbell Receiver Unit
- Pribor za montažu (vijci, tiple za zid)
- Uputstvo za upotrebu (ovaj dokument)
4. Proizvod je gotovview
The Dinuy Helios TI URA R00 is a sleek, wall-mountable wireless receiver designed to alert you when a compatible wireless doorbell push button is activated. It integrates seamlessly into various home or office environments.
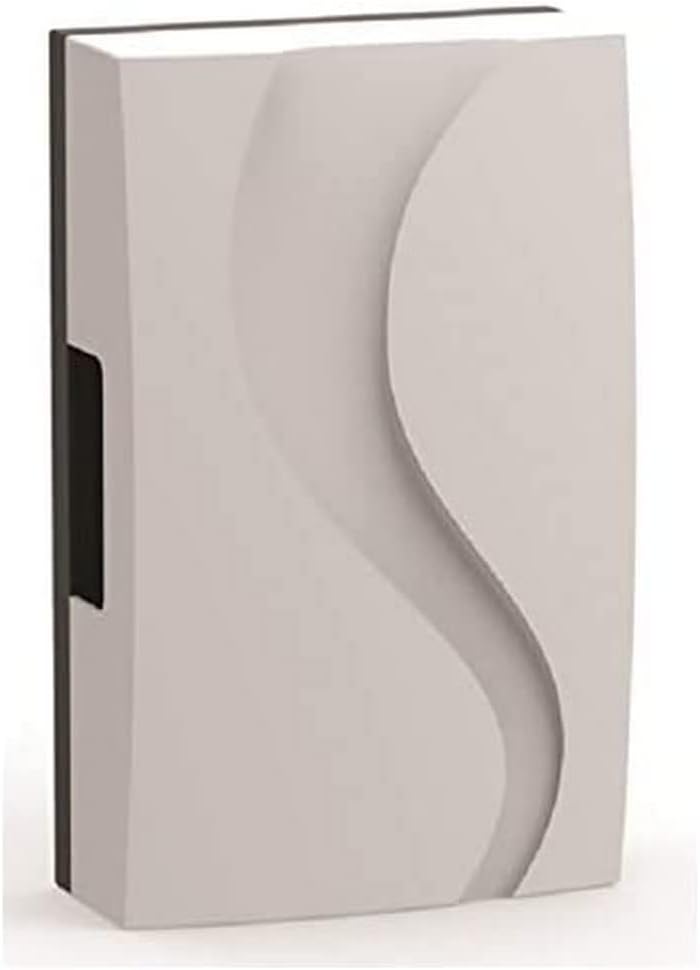
Slika 1: Dinuy Helios TI URA R00 Wireless Doorbell Receiver. This image displays the compact, rectangular wireless receiver unit. Its front panel features a subtle, wave-like embossed design, providing a modern aesthetic. A small black section is visible on the left side, likely for wiring or mounting.
5. Postavljanje i instalacija
Važno: Ensure the main power supply is disconnected before proceeding with installation.
5.1 Montiranje prijemnika
- Choose a suitable indoor location for the receiver, ideally centrally located within your property for optimal wireless signal reception from the doorbell push button.
- Mark the desired mounting points on the wall using the receiver as a template.
- Izbušite rupe na označenim tačkama i umetnite priložene zidne tiple.
- Secure the receiver to the wall using the provided screws.
5.2 Wiring the Receiver (230V Mains Connection)
The Dinuy Helios TI URA R00 receiver requires a permanent 230V AC mains power supply.
- With the power disconnected, carefully open the receiver casing to access the wiring terminals. Refer to the internal diagram if available.
- Connect the Live (L) wire from your 230V mains supply to the terminal marked 'L'.
- Connect the Neutral (N) wire from your 230V mains supply to the terminal marked 'N'.
- Uvjerite se da su svi priključci sigurni i pravilno izolirani.
- Close the receiver casing sigurno.
5.3 Pairing with a Wireless Push Button
After wiring, restore power to the receiver. Follow these steps to pair it with your wireless doorbell push button (transmitter):
- Put the receiver into pairing mode. This usually involves pressing and holding a specific button on the receiver for a few seconds until an indicator light flashes or a sound is emitted. (Consult your specific doorbell push button manual for its pairing procedure if different).
- Within the pairing window (typically 10-30 seconds), press the button on your wireless doorbell transmitter.
- The receiver should emit a confirmation sound or flash its indicator light to confirm successful pairing.
- Test the connection by pressing the doorbell push button. The receiver should chime.
6. Uputstvo za upotrebu
Once installed and paired, the Dinuy Helios TI URA R00 receiver operates automatically:
- When the paired wireless doorbell push button is pressed, the receiver will sound the selected melody.
- Izbor melodije: If your receiver supports multiple melodies, there will typically be a button (often marked with a music note or 'M') to cycle through available chimes. Press this button to select your preferred melody.
- Podešavanje jačine zvuka: If your receiver has volume control, a dedicated button (often marked with '+' and '-' or a speaker icon) will allow you to adjust the sound level.
7. Održavanje
- čišćenje: To clean the receiver, wipe the exterior with a soft, dry cloth. Do not use abrasive cleaners, solvents, or wet cloths, as these can damage the unit or cause electrical hazards.
- Nema dijelova koje može servisirati korisnik: The Dinuy Helios TI URA R00 receiver contains no user-serviceable parts. Do not attempt to open or repair the unit yourself. Refer all servicing to qualified personnel.
8. Otkrivanje problema
| Problem | Mogući uzrok | Rješenje |
|---|---|---|
| Prijemnik ne zvoni. | Nema napajanja za prijemnik. Receiver not paired with push button. Push button battery is dead. Izvan bežičnog dometa. | Check 230V mains connection and circuit breaker. Izvršite postupak uparivanja (Odjeljak 5.3). Replace battery in the wireless push button transmitter. Move receiver closer to the push button or eliminate obstructions. |
| Intermittent chiming or poor signal. | Bežične smetnje. Low battery in push button. Obstructions between receiver and push button. | Relocate receiver or push button away from large metal objects or other wireless devices. Replace battery in the wireless push button transmitter. Ensure clear line of sight or reduce distance. |
| Indikatorska lampica prijemnika ne radi. | Nema struje. Neispravna jedinica. | Provjerite napajanje. Kontaktirajte korisničku podršku. |
9. Specifikacije
- Brand: Dinuy
- Model: Helios TI URA R00
- Napajanje: 230V AC
- Dimenzije (cca): 17.4 x 11.1 x 5.5 cm (Length x Width x Depth)
- Težina (približno): 250 grama
- Instalacija: Montira se na zid
- Radna frekvencija: (Specific frequency not provided, typically 433MHz or 868MHz for wireless doorbells)
10. Garancija i podrška
Dinuy products are manufactured to high-quality standards. This product is covered by a manufacturer's warranty against defects in materials and workmanship. The specific terms and duration of the warranty may vary by region. Please retain your proof of purchase for warranty claims.
For technical support, troubleshooting assistance beyond this manual, or warranty inquiries, please contact your local Dinuy distributor or visit the official Dinuy webstranica za kontakt informacije.


