1. Uvod
Thank you for choosing the Renkforce 4161c12 Radio Controlled Alarm Clock. This manual provides essential information for the safe and efficient operation of your device. Please read these instructions carefully before use and retain them for future reference.
2. Sigurnosna uputstva
- Ne izlažite uređaj ekstremnim temperaturama, direktnoj sunčevoj svjetlosti ili visokoj vlažnosti.
- Izbjegavajte ispuštanje uređaja ili izlaganje jakim udarcima.
- Držite uređaj dalje od vode i drugih tečnosti.
- Only use the specified battery type (AA). Ensure correct polarity when inserting batteries.
- Izvadite baterije ako uređaj nećete koristiti duži period kako biste spriječili curenje.
- Ne pokušavajte rastavljati ili modificirati uređaj. Za sve servisne radove obratite se kvalificiranom osoblju.
3. Sadržaj paketa
Molimo Vas da provjerite da li su sve dolje navedene stavke prisutne i u dobrom stanju:
- Renkforce 4161c12 Radio Controlled Alarm Clock
- Korisnički priručnik (ovaj dokument)
Note: 1 AA battery is required for operation and is not included.
4. Proizvod je gotovview
The Renkforce 4161c12 is a compact radio-controlled alarm clock designed for clear time display and reliable alarm functions. Its sleek black design and easy-to-read display make it suitable for any bedside table or desk.
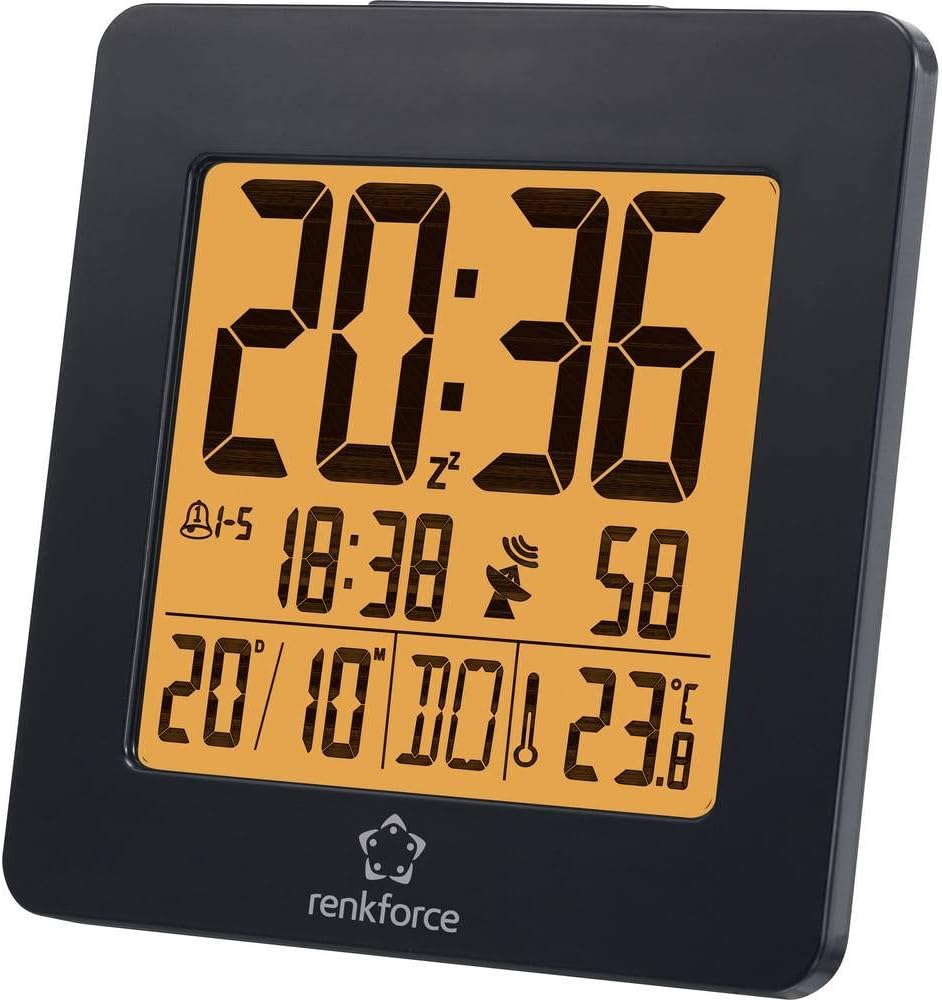
Slika 4.1: Front view of the Renkforce 4161c12 Radio Controlled Alarm Clock. The display shows the current time (20:36), alarm indicators, date (20/10), and temperature (23.8°C). The Renkforce logo is visible at the bottom.

Slika 4.2: The alarm clock positioned on a desk, demonstrating its compact size and suitability for various environments. It is shown alongside a laptop and a desk lamp.

Slika 4.3: Pozadi view of the alarm clock, highlighting the control buttons for settings and the battery compartment cover. This view is crucial for understanding how to operate the device.
5. Podešavanje
5.1. Instalacija baterije
- Locate the battery compartment cover on the back of the alarm clock (refer to Figure 4.3).
- Pomaknite ili podignite poklopac da biste otvorili pretinac.
- Insert one (1) AA battery, ensuring the correct polarity (+ and -) as indicated inside the compartment.
- Vratite sigurno poklopac odeljka za baterije.
5.2. Initial Setup and Radio Signal Reception
Upon battery insertion, the alarm clock will automatically attempt to receive the radio time signal (DCF77 in Europe). This process may take several minutes. During reception, a signal icon (often a tower or antenna symbol) will typically flash on the display.
- Place the alarm clock near a window for optimal signal reception.
- Avoid placing it near electronic devices that may cause interference (e.g., TVs, computers, mobile phones).
- Once the signal is successfully received, the time and date will be automatically set and synchronized. The signal icon will appear solid on the display.
- If the signal is not received within a few minutes, try repositioning the clock or manually setting the time (see Section 6.1). The clock will continue to attempt signal reception periodically.
6. Uputstvo za upotrebu
Familiarize yourself with the buttons on the back of the device (refer to Figure 4.3 for general location). Common buttons include MODE, SET, UP/+, DOWN/-, ALARM, SNOOZE/LIGHT.
6.1. Ručno podešavanje vremena
If radio reception is unavailable or you wish to set the time manually:
- Pritisnite i držite MODE or SET dugme nekoliko sekundi dok prikaz vremena ne počne treptati.
- Koristite GORE/+ i DOLJE/- dugmad za podešavanje sati.
- Pritisnite MODE or SET again to move to minutes, then adjust using GORE/+ i DOLJE/-.
- Nastavite pritiskati MODE or SET to cycle through other settings like year, month, date, and 12/24-hour format, adjusting each as needed.
- Pritisnite MODE or SET one last time, or wait for a few seconds, to exit the setting mode.
6.2. Podešavanje alarma (Alarm 1 i Alarm 2)
This alarm clock supports two independent alarms. To set an alarm:
- Pritisnite ALARM button once to display Alarm 1 time. Press again for Alarm 2 time.
- While the desired alarm time is displayed, press and hold the ALARM dugme dok vrijeme alarma ne počne treptati.
- Koristi GORE/+ i DOLJE/- da podesite željeni sat za alarm.
- Pritisnite ALARM again to move to minutes, then adjust using GORE/+ i DOLJE/-.
- Pritisnite ALARM one last time, or wait, to confirm and exit.
- Da biste aktivirali/deaktivirali alarm, pritisnite ALARM button repeatedly until the alarm icon (e.g., a bell) appears or disappears for the respective alarm.
6.3. Snooze Function and Backlight
- Kada se oglasi alarm, pritisnite veliko dugme SNOOZE / LIGHT dugme za privremeno utišavanje alarma. Alarm će se ponovo oglasiti nakon nekoliko minuta (obično 5-10 minuta).
- Da biste potpuno isključili alarm, pritisnite bilo koje drugo dugme (npr. ALARM or MODE).
- To activate the backlight for a few seconds, press the SNOOZE / LIGHT button when the alarm is not sounding.
6.4. Weekend Function
This model may feature a weekend function, allowing the alarm to be active only on weekdays (Monday-Friday) or to have different settings for weekdays and weekends. Consult the display for specific indicators (e.g., "1-5" for weekdays) and use the MODE or ALARM buttons in conjunction with GORE/+ or DOLJE/- to cycle through alarm modes (e.g., everyday, weekday, weekend).
7. Održavanje
- čišćenje: Obrišite uređaj mekom, suhom krpom. Ne koristite abrazivna sredstva za čišćenje ili rastvarače.
- Zamjena baterije: Replace the AA battery when the display dims or the clock stops functioning correctly. Follow the battery installation steps in Section 5.1.
8. Otkrivanje problema
| Problem | Mogući uzrok | Rješenje |
|---|---|---|
| Ekran je prazan ili taman. | Slaba ili prazna baterija. Nepravilna ugradnja baterije. | Replace the AA battery. Ensure correct polarity (+/-). |
| Vrijeme je netačno ili se ne podešava automatski. | Poor radio signal reception. Interference from other electronics. | Move the clock closer to a window. Keep away from electronic devices. Manually set the time (Section 6.1). |
| Alarm se ne oglašava. | Alarm nije aktiviran. Jačina zvuka alarma je preniska (ako se može podesiti). Podešeno je pogrešno vrijeme alarma. | Ensure the alarm icon is displayed (Section 6.2). Verify alarm time. |
| Pozadinsko osvjetljenje ne radi. | Backlight is momentary and requires button press. | Press the SNOOZE/LIGHT button to activate the backlight (Section 6.3). |
9. Specifikacije
| Feature | Detalj |
|---|---|
| Brand | Renkforce |
| Broj modela | 4161c12 |
| Boja | Crna |
| Posebna karakteristika | Radio Controlled Time (DCF77) |
| Izvor napajanja | Battery Powered |
| Vrsta baterije | 1 x AA (nije uključeno) |
| Oblik | Round (display), Square (overall casing) |
| Materijal | Akrilonitril butadien stiren (plastika) |
| Vrsta montaže | Tabletop |
| Dimenzije proizvoda | 3.66 x 1.42 x 3.66 inča (približno 9.3 x 3.6 x 9.3 cm) |
| Težina artikla | 5 unci (približno 142 grama) |
| Alarm Clock | Yes, with 2 wake-up times and Snooze function |
| Način rada | Electrical (battery-powered) |
10. Garancija i podrška
Renkforce proizvodi su dizajnirani za pouzdanost i performanse. Za informacije o uslovima garancije, tehničkoj podršci ili servisu, molimo pogledajte garantni list koji ste dobili uz kupovinu ili posjetite službenu Renkforce web stranicu. website. Please have your model number (4161c12) and purchase details ready when contacting support.


