Uvod
This manual provides essential information for the setup, operation, maintenance, and troubleshooting of your HP Compaq LA2206x 21.5-inch LED LCD Monitor. The monitor features a super-thin, soft black design with a 21.5-inch diagonal widescreen display, offering Full HD images. Its WLED backlight technology contributes to improved recyclability, and advanced adjustability enhances user productivity.
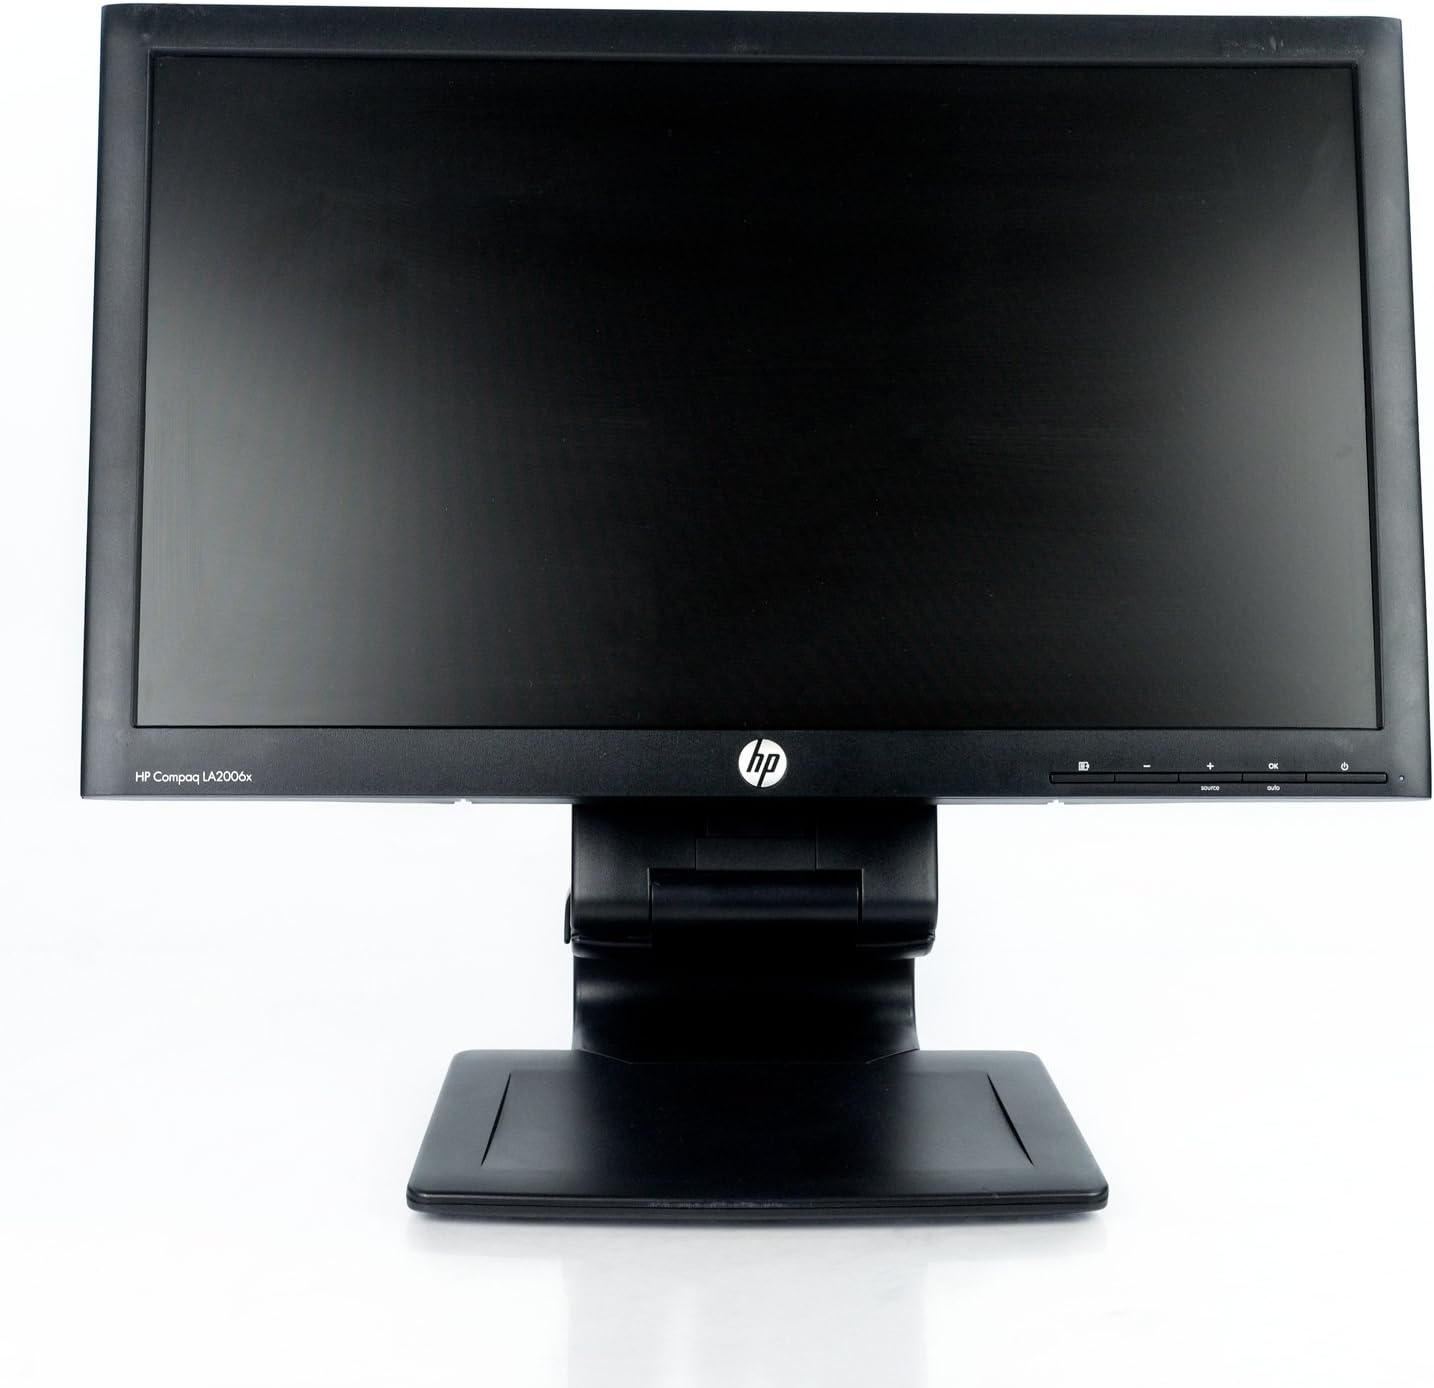
Slika 1: Front view of the HP Compaq LA2206x monitor, showcasing its slim bezel and adjustable stand.
Setup
1. Raspakivanje monitora
Carefully remove all components from the packaging. Ensure all parts are present before proceeding with assembly. Retain packaging for future transport or service.
2. Sastavljanje postolja
- Postavite monitor licem prema dolje na meku, čistu površinu kako biste spriječili ogrebotine.
- Align the stand base with the stand column. Secure the base to the column using the provided screw, if applicable.
- Attach the assembled stand to the back of the monitor. Ensure it clicks securely into place or is fastened with screws as per the included quick setup guide.
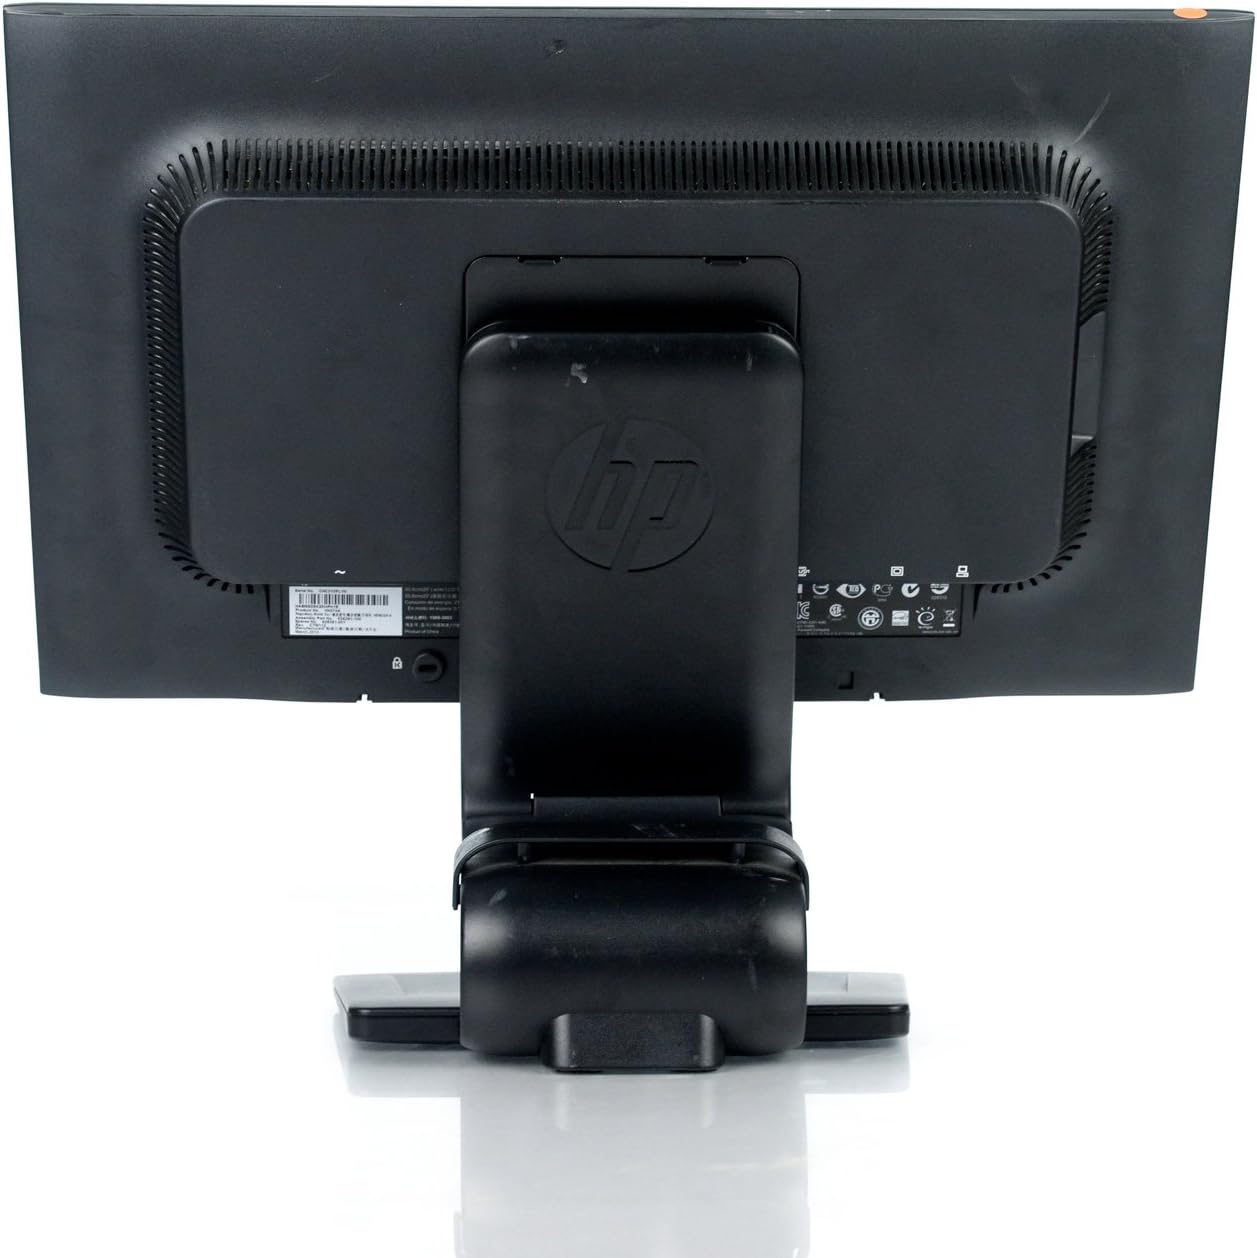
Slika 2: Pozadi view of the monitor showing the attached stand, ready for cable connections.
3. Povezivanje kablova
Connect the necessary cables to the monitor and your computer. Ensure all connections are firm.
- Kabl za napajanje: Spojite jedan kraj na ulaz za napajanje monitora, a drugi na uzemljenu električnu utičnicu.
- Video kabl: Connect a DVI, DisplayPort, or VGA cable from your computer's video output to the corresponding input on the monitor. The monitor supports 1920x1080 resolution.
- USB Cable (Optional): Connect a USB upstream cable from your computer to the monitor's USB upstream port to enable the monitor's integrated USB 2.0 ports.

Slika 3: Detaljno view of the monitor's rear panel, highlighting the power input, DisplayPort, DVI, VGA, and USB ports.
Rukovanje monitorom
1. Uključivanje/isključivanje
Pritisnite dugme za napajanje koje se nalazi na prednjoj desnoj strani monitora da biste ga uključili ili isključili. Indikator napajanja će svijetliti kada je monitor aktivan.
2. Navigacija kroz meni na ekranu (OSD)
The monitor features an On-Screen Display (OSD) menu for adjusting various settings. Use the control buttons located on the front bezel to navigate and select options.

Slika 4: Close-up of the monitor's control buttons, including power, menu navigation, and input selection.
- Dugme menija: Otvara OSD meni.
- Dugmad '+' / '-': Krećite se kroz opcije menija ili podešavajte vrijednosti.
- Dugme OK: Potvrđuje izbor ili ulazi u podmeni.
- Tipka Izvor: Quickly switches between available video inputs (DVI, DisplayPort, VGA).
- Automatsko dugme: Automatically adjusts the screen image for optimal display, particularly useful for analog (VGA) connections.
3. Adjusting Monitor Settings
Through the OSD menu, you can adjust settings such as:
- Svjetlina i kontrast: Podesite ukupnu svjetlinu i razliku između svijetlih i tamnih područja.
- Kontrola boja: Select color temperature or customize RGB values.
- Kontrola slike: Fine-tune sharpness, clock, and phase for optimal image clarity.
- Kontrola ulaza: Manually select the video input source.
- Upravljanje napajanjem: Configure sleep timers and power-saving modes.
Održavanje
1. Čišćenje monitora
- Always power off the monitor and unplug it from the electrical outlet before cleaning.
- Lagano koristite meku krpu koja ne ostavlja dlačice dampvodom ili neabrazivnim sredstvom za čišćenje ekrana.
- Do not spray cleaners directly onto the screen or casing.
- Avoid using benzene, thinners, or any volatile solvents, as these may damage the monitor's surface.
2. Sigurnosne mjere
- Ne blokirajte ventilacijske otvore na monitoru.
- Držite monitor dalje od direktne sunčeve svjetlosti, izvora toplote i prekomjerne vlage.
- Izbjegavajte stavljanje teških predmeta na monitor ili njegove kablove.
- If the monitor is damaged or malfunctions, do not attempt to repair it yourself. Contact qualified service personnel.
Rješavanje problema
This section addresses common issues you might encounter with your HP Compaq LA2206x monitor.
Nema snage
- Provjerite je li kabel za napajanje sigurno spojen i na monitor i na ispravnu električnu utičnicu.
- Provjerite da li je utičnica funkcionalna tako što ćete priključiti drugi uređaj.
- Check if the monitor's power button is pressed.
Nema signala / Prazan ekran
- Confirm that the video cable is securely connected to both the monitor and the computer's video output port.
- Ensure the correct input source is selected on the monitor using the 'Source' button.
- Ponovo pokrenite računar.
- Test the monitor with another computer or a different video cable if possible.
Distorted or Unclear Image
- For analog (VGA) connections, press the 'Auto' button on the monitor to automatically adjust the image.
- Adjust the brightness, contrast, sharpness, clock, and phase settings through the OSD menu.
- Ensure your computer's display resolution is set to the monitor's native resolution of 1920x1080.
Specifikacije
Below are the key technical specifications for the HP Compaq LA2206x monitor (Model: XN376AA):
| Feature | Specifikacija |
|---|---|
| Veličina ekrana | 21.5 inča |
| Maksimalna rezolucija ekrana | 1920 x 1080 (FHD 1080p) |
| Aspect Ratio | 16:9 |
| Vrijeme odgovora | 5 ms |
| Display Technology | LCD LED |
| Povezivanje | DisplayPort, DVI, VGA, 2x USB 2.0 Ports |
| Boja | Crna |
| Težina artikla | 13.45 funte |
| Dimenzije proizvoda (DxŠxV) | 8.95 x 20.39 x 13.12 inča |
| Broj modela | XN376AA |
Informacije o garanciji
This HP Compaq LA2206x monitor is covered by a standard manufacturer's warranty. Please refer to the warranty card included with your product or visit the official HP support website for detailed terms and conditions, including warranty duration and service procedures. Keep your proof of purchase for warranty claims.
Podrška
For technical assistance, driver downloads, or further information regarding your HP Compaq LA2206x monitor, please visit the official HP support website. You may need your monitor's serial number for support inquiries.

Slika 5: Location of the serial number label on the back of the monitor. The serial number for this unit is CNC210PLYN.
When contacting support, please have your model number (XN376AA) and serial number ready to expedite service.


