1. Uvod
This manual provides comprehensive instructions for the installation, maintenance, and troubleshooting of the MOOG ES3624 Steering Drag Link. Designed for reliable performance, this component is crucial for your vehicle's steering system. Please read this manual thoroughly before proceeding with any installation or maintenance.

Figure 1.1: MOOG ES3624 Steering Drag Link, showing the main component with accompanying nut and cotter pin.
2. Značajke proizvoda
The MOOG ES3624 Steering Drag Link incorporates several advanced features to ensure durability and optimal performance:
- Patented Pressed-in Cover Plate: This design effectively seals out debris and minimizes looseness, which significantly reduces bearing wear and extends the lifespan of the component.
- Podmazujući nastavak: Allows for regular lubrication, which inhibits rust and wear by flushing out debris and introducing fresh lubricant. This feature is key for long-term maintenance.
- Belleville Preload Washer: This component helps maintain a tight bearing package as the bearings experience wear over time, ensuring consistent performance and absorbing impact.
- Problem Solver Gusher Bearing: Features a metal-to-metal design that provides superior strength. It also allows grease to flow directly through the bearing surface, reducing friction and contributing to a longer service life.
- Strong and Durable Ball Studs: The ball studs are heat-processed to meet or exceed Original Equipment (OE) requirements. This treatment inhibits premature failure and significantly improves fatigue strength, ensuring reliability under demanding conditions.
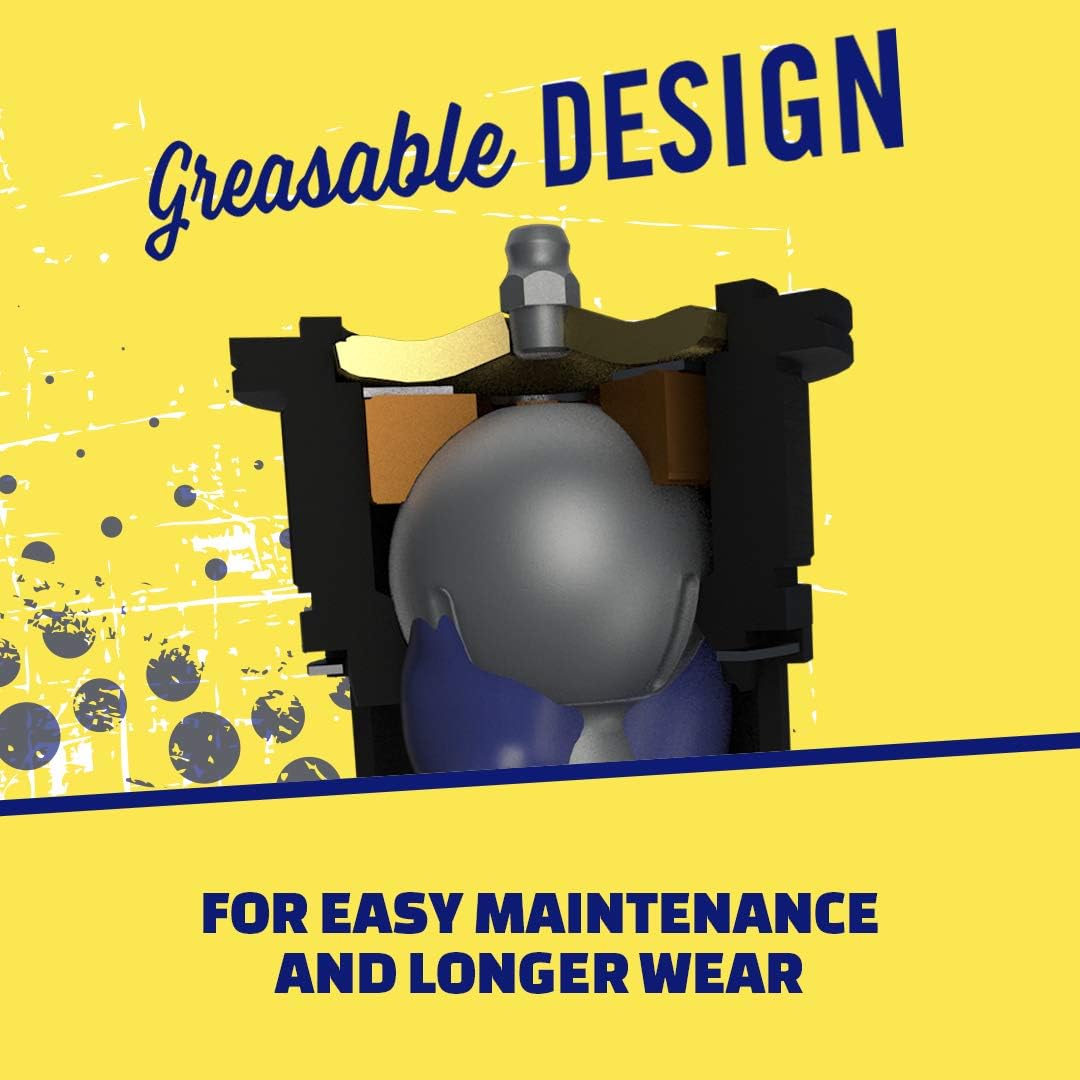
Figure 2.1: Patented Pressed-in Cover Plate, designed to protect internal components from contaminants.

Figure 2.2: Greaseable Design, showing the internal structure that allows for lubrication.

Figure 2.3: Slotted Gusher Bearing, designed for optimal lubrication distribution.
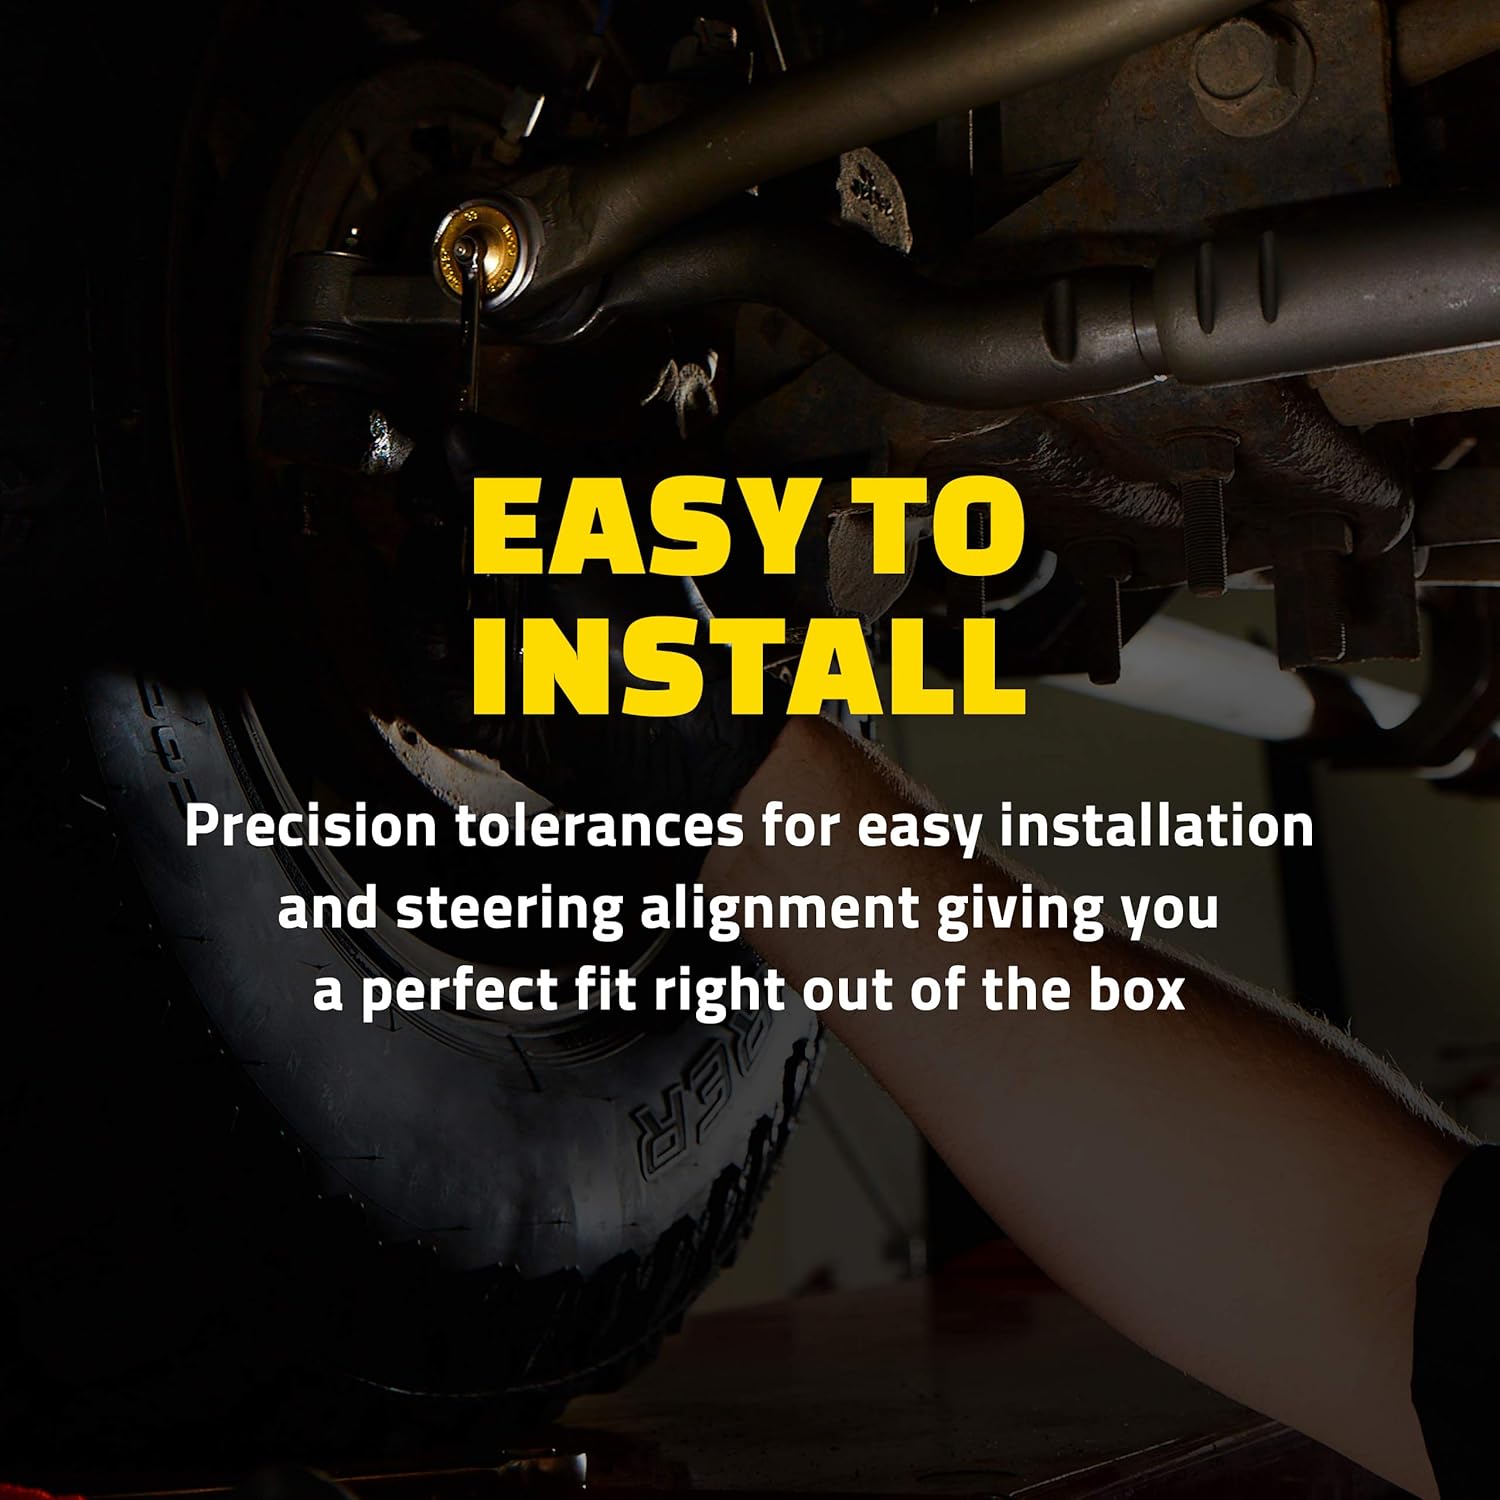
Figure 2.4: Heat Treated Stud, highlighting the enhanced strength and durability.
3. Kompatibilnost
The MOOG ES3624 Steering Drag Link is compatible with the following vehicle models:
- 2006-2008 Dodge Ram 1500
- 2003-2008 Dodge Ram 2500
- 2003-2008 Dodge Ram 3500
- 2018-2018 Jeep Wrangler JK
- Jeep Wrangler 2007-2017
Always verify compatibility with your specific vehicle's year, make, model, engine, and trim before installation.
4. Sadržaj paketa
Prilikom otvaranja paketa, molimo Vas da se uvjerite da su prisutni svi sljedeći elementi:
- 1 x MOOG ES3624 Tie Rod End
5. Specifikacije
| Specifikacija | Vrijednost |
|---|---|
| Brand | MOOG |
| Model | ES3624 (Tie Rod End) |
| Materijal | Metal |
| Dimenzije artikla (D x Š x V) | 9.8 x 4.5 x 2.7 inča |
| Težina artikla | 2.1 funti |
| Bearing Type | Ball Bearing |
| Kompatibilno mazivo | Mast |
| Specifikacija Met | OE |
| Broj dijela proizvođača | ES3624 |
| OEM broj dijela | ES3624 |
6. Vodič za instalaciju
The MOOG ES3624 Tie Rod End is designed with precision tolerances for straightforward installation and proper steering alignment. While professional installation is recommended, the following steps outline the general process:

Figure 6.1: Easy Installation, demonstrating the fitment process.
Opći koraci instalacije:
- Pripremite vozilo: Park the vehicle on a level surface, engage the parking brake, and block the wheels. Lift the front of the vehicle using a jack and secure it with jack stands. Remove the wheel.
- Locirajte i označite: Identify the existing tie rod end. Before removal, measure and note the exposed thread length on the tie rod to aid in setting the new component to the correct initial alignment.
- Uklonite staru komponentu: Loosen the jam nut on the tie rod. Remove the cotter pin and castle nut from the tie rod end stud. Use a tie rod end puller or fork to separate the tie rod end from the steering knuckle. Unscrew the old tie rod end from the tie rod.
- Instalirajte novu komponentu: Thread the new MOOG ES3624 Tie Rod End onto the tie rod, matching the previously measured thread length as closely as possible. Insert the stud into the steering knuckle.
- Secure and Torque: Install the new castle nut and tighten it to the manufacturer's specified torque. Insert a new cotter pin through the nut and stud, bending the ends to secure it. Tighten the jam nut against the tie rod end.
- Završni koraci: Reinstall the wheel, lower the vehicle, and remove the jack stands. It is highly recommended to have a professional wheel alignment performed immediately after replacing any steering components to ensure proper vehicle handling and tire wear.

Figure 6.2: Outer Tie Rod Location, illustrating its position within the steering assembly.
7. Održavanje
Regular maintenance, particularly greasing, is essential for the longevity and optimal performance of your MOOG ES3624 Tie Rod End. The greaseable socket allows for easy lubrication.
GreasinPostupak:
- Locate the grease fitting (zerk) on the tie rod end.
- Clean the grease fitting to prevent contaminants from entering the joint.
- Attach a grease gun filled with appropriate chassis grease (compatible lubricant: Grease) to the fitting.
- Pump grease into the fitting until the boot begins to swell slightly, indicating the joint is full. Do not overfill, as this can damage the boot.
- Remove the grease gun and wipe off any excess grease.
Perform this maintenance during routine vehicle service or as recommended by your vehicle's manufacturer.
8. Otkrivanje problema
A failing tie rod end can exhibit several symptoms. If you experience any of the following, inspect your steering components promptly:
- Symptom 1: Uneven or Excessive Tire Wear
Opis: Tires may show unusual wear patterns, such as feathering or cupping, due to improper alignment caused by a worn tie rod end.

- Symptom 2: Loose or Uneven Steering
Opis: The steering wheel may feel loose, or the vehicle might wander on the road, requiring constant correction to stay in a straight line.

- Symptom 3: Steering Wheel Vibration
Opis: Vibrations may be felt through the steering wheel, especially at certain speeds, indicating excessive play in the steering linkage.

- Symptom 4: Vehicle Pulling to One Side
Opis: The vehicle consistently drifts or pulls to one side, even on a flat road, which can be a sign of a worn tie rod end affecting alignment.

If you observe any of these symptoms, it is recommended to have your vehicle inspected by a qualified mechanic to diagnose and address the issue.
9. Sigurnosne informacije
Always prioritize safety when working on your vehicle. Follow these general safety guidelines:
- Nosite odgovarajuću ličnu zaštitnu opremu (LZO), uključujući zaštitne naočale i rukavice.
- Prije nego što počnete raditi ispod vozila, provjerite je li vozilo sigurno poduprto dizalicom. Nikada se ne oslanjajte isključivo na dizalicu.
- Radite u dobro provetrenom prostoru.
- Use the correct tools for each task.
- Ako niste sigurni u vezi s bilo kojim korakom, konsultujte se s profesionalnim mehaničarom.
10. Garancija i podrška
Information regarding the specific warranty terms for the MOOG ES3624 Steering Drag Link is not provided within this manual. For warranty details or technical support, please refer to the product packaging or contact MOOG customer service directly.


