Uvod
This manual provides detailed instructions for the installation, operation, and maintenance of your DB DRIVE A3 2250.5 Okur Series A3 Class AB 1000 Watt 5-Channel Ampspašivač. Molimo vas da pažljivo pročitate ovaj priručnik prije nego što pokušate instalaciju ili upotrebu kako biste osigurali pravilnu upotrebu i spriječili oštećenje uređaja ili audio sistema vašeg vozila.
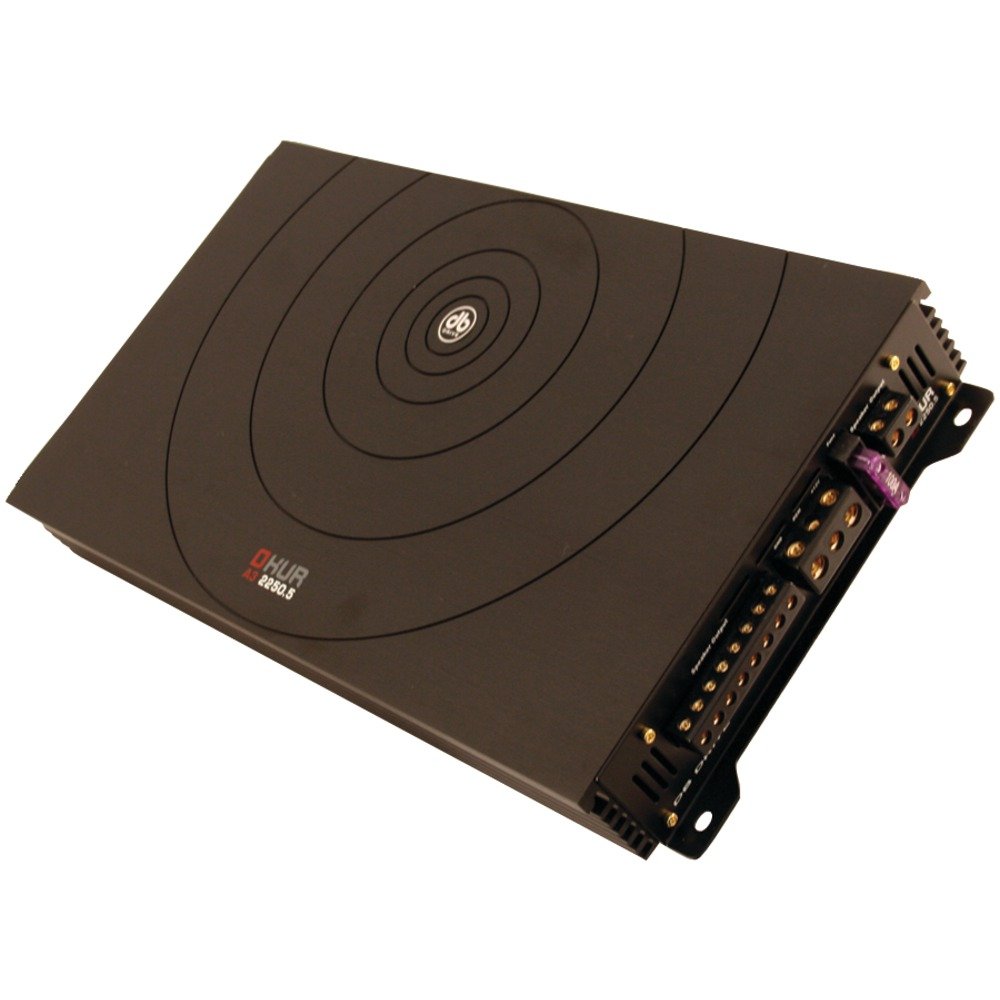
Image: DB DRIVE A3 2250.5 Okur Series A3 Class AB 1000 Watt 5-Channel Ampspasilac. Ova slika prikazuje amplifier's top view, highlighting its compact design and branding.
Sigurnosne informacije
Uvijek se pridržavajte sljedećih sigurnosnih mjera opreza kako biste spriječili ozljede ili štetu:
- Disconnect the vehicle's battery negative terminal before making any power connections.
- Osigurajte da su sve žice pravilno postavljene i osigurane kako biste spriječili priklještenje ili kratki spoj.
- Koristite ožičenje odgovarajućeg presjeka za napajanje i uzemljenje kako je navedeno u odjeljku o instalaciji.
- Instalirajte ampUređaj postavite na mjesto koje omogućava odgovarajuću ventilaciju kako bi se spriječilo pregrijavanje.
- Izbjegavajte instaliranje amppodizač u područjima izloženim vlazi ili prekomjernim vibracijama.
- Ako niste sigurni u vezi s bilo kojim dijelom procesa instalacije, obratite se profesionalnom instalateru auto audio sistema.
Postavljanje i instalacija
1. Raspakivanje i pregled
Pažljivo uklonite amplifier from its packaging. Inspect the unit for any signs of damage that may have occurred during shipping. Contact your dealer immediately if any damage is found.
2. Montiranje Amplifier
Choose a mounting location that is dry, well-ventilated, and secure. Common locations include under a seat, in the trunk, or behind a panel. Ensure there is sufficient airflow around the amphladnjak lifiera.
- Označite rupe za montažu pomoću amplifier kao predložak.
- Drill pilot holes if necessary, being careful not to damage any vehicle components.
- Osigurajte amppodizač pomoću priloženih vijaka za montažu.
3. Ožičenje
Proper wiring is crucial for performance and safety. Refer to the following guidelines:
- Napajanje (BATT+): Connect a heavy-gauge wire (e.g., 4 AWG or 8 AWG depending on total power) directly from the positive terminal of the vehicle's battery. Install an inline fuse holder within 18 inches (45 cm) of the battery.
- uzemljenje (GND): Connect a heavy-gauge wire of the same size as the power wire to a clean, unpainted metal surface of the vehicle's chassis. Ensure a solid, low-resistance connection.
- Daljinski (REM): Connect a smaller gauge wire (e.g., 18 AWG) from the amplifier's remote terminal to the remote output of your head unit. This turns the ampuključivanje i isključivanje plamenika pomoću glavne jedinice.
- RCA ulazi: Connect RCA cables from your head unit's pre-amp izlazi na amplifier's RCA input jacks. Ensure correct channel matching (Front L/R, Rear L/R, Sub).
- Izlazi za zvučnike: Connect speaker wires from the amplifier's speaker terminals to your speakers. Observe correct polarity (+ to + and - to -). This is a 5-channel amplifier, typically 4 channels for full-range speakers and 1 channel for a subwoofer.
4. Gain, Crossover, and Bass Boost Settings
These settings allow you to fine-tune the amplifier's output to match your audio system and preferences.
- Kontrola pojačanja: Adjust the gain to match the output voltage of your head unit. Start with the gain at minimum, then slowly increase it until you hear distortion, then back off slightly. This is not a volume control.
- Crossover (LPF/HPF):
- Niskopropusni filter (LPF): For the subwoofer channel, set the LPF to allow only low frequencies to pass (e.g., 80-120 Hz).
- Visokopropusni filter (HPF): For the full-range channels, set the HPF to block low frequencies from reaching your main speakers (e.g., 80-100 Hz) to prevent distortion and improve sound clarity.
- Bass Boost: Use the bass boost sparingly. Excessive bass boost can lead to distortion and speaker damage. Adjust to taste, ensuring sound remains clear.
Uputstvo za upotrebu
Nakon instalacije i konfiguracije, amplifier will power on automatically with your head unit via the remote turn-on wire. Adjust volume and tone controls primarily from your head unit. The amplifier's settings (gain, crossover) are set during installation and generally do not require frequent adjustment.
Održavanje
The DB DRIVE A3 2250.5 amplifier requires minimal maintenance.
- ČišćenjePovremeno obrišite ampVanjski dio uređaja obrišite mekom, suhom krpom kako biste uklonili prašinu. Nemojte koristiti jake hemikalije ili abrazivna sredstva za čišćenje.
- Inspekcija: Occasionally check all wiring connections to ensure they are secure and free from corrosion. Ensure the amplifier's ventilation fins are not obstructed.
Rješavanje problema
Ako imate problema sa svojim ampspasilac, pogledajte sljedeće uobičajene probleme i rješenja:
| Problem | Mogući uzrok | Rješenje |
|---|---|---|
| Nema napajanja / AmpLifier se ne uključuje |
|
|
| Nema izlaza zvuka |
|
|
| Distorted Sound |
|
|
| Amplifier Overheating (Protection Mode) |
|
|
Specifikacije
| Feature | Detalj |
|---|---|
| Broj modela | A3 2250.5 |
| Maksimalna izlazna snaga | 1000 Watts |
| Kanali | 5-Channel (4 stereo, 1 mono for subwoofer) |
| Amplifier Class | Klasa AB |
| Komponente | Audiophile Grade |
| Dimenzije (D x Š x V) | 53.59 x 30.48 x 10.92 cm |
| Težina | 6.53 kg |
| Heat Management | DRIVESINK (Okur Series A3 feature) |
Garancija i podrška
DB Drive products are designed for reliability and performance. This product is covered by a limited warranty. Please refer to the warranty card included with your product or visit the official DB Drive webstranicu za detaljne uslove i odredbe garancije.
For technical support, service, or warranty claims, please contact your authorized DB Drive dealer or visit the DB Drive official webstranica za kontakt informacije i resurse podrške.


