
1. Uvod
The darkFlash C280 is an E-ATX full-tower PC gaming case designed for high-performance builds. It features a 270° panoramic tempered glass display, offering an unobstructed view of internal components. This case supports a wide range of motherboard formats, including reverse/back-connect motherboards, and provides extensive cooling flexibility with support for up to 10 fans and 360mm radiator configurations. Its builder-friendly design includes tool-free access and efficient cable management options.
2. Sadržaj paketa
Please verify all components are present upon unboxing:
- darkFlash C280 PC Case (Black)
- Accessory Kit (screws, standoffs, cable ties)
- Uputstvo za upotrebu
- ARGB Fan Controller & Remote (if included with specific model variant)
- Magnetic Dust Filters (pre-installed)
Video: Krajview of the darkFlash C280 E-ATX PC Gaming Case, demonstrating its features and design.
3. Specifikacije
| Feature | Detalj |
|---|---|
| Naziv modela | C280 Black |
| Tip slučaja | pun toranj |
| Kompatibilnost matične ploče | E-ATX, ATX, Micro ATX, Mini ITX (including reverse/back-connect motherboards) |
| Dimenzije (DxŠxV) | 443 x 277 x 426mm (17.44 x 10.91 x 16.77 inča) |
| Materijal | 0.7mm SPCC Steel, Plastic, Tempered Glass |
| Podrška za dužinu GPU-a | Do 420 mm |
| Podrška za visinu CPU hladnjaka | Do 155 mm |
| PSU Length Support | Do 240 mm |
| Podrška fanovima | Up to 10x 120mm or 4x 140mm fans |
| Podrška radijatora | Up to 360mm configurations |
| Drive Bays | 3x SSD + 2x HDD |
| I/O portovi | USB 3.0 x1, USB 2.0 x2, HD Audio/Mic, Power/Reset (Optional USB-C) |

Image: Internal layout diagram illustrating motherboard, CPU cooler, and GPU length compatibility.
4. Postavljanje i instalacija
4.1. Uklanjanje panela
The darkFlash C280 features tool-free side panels for easy access. Gently pull the tempered glass side panel from the top edge to detach it. Repeat for the steel side panel if necessary. Exercise caution when handling tempered glass.

Image: Illustration of removing the tempered glass side panel for internal access.
4.2. Instalacija matične ploče
Install your E-ATX, ATX, Micro ATX, or Mini ITX motherboard onto the pre-installed standoffs. Secure the motherboard with the provided screws. Ensure proper alignment with the I/O shield.
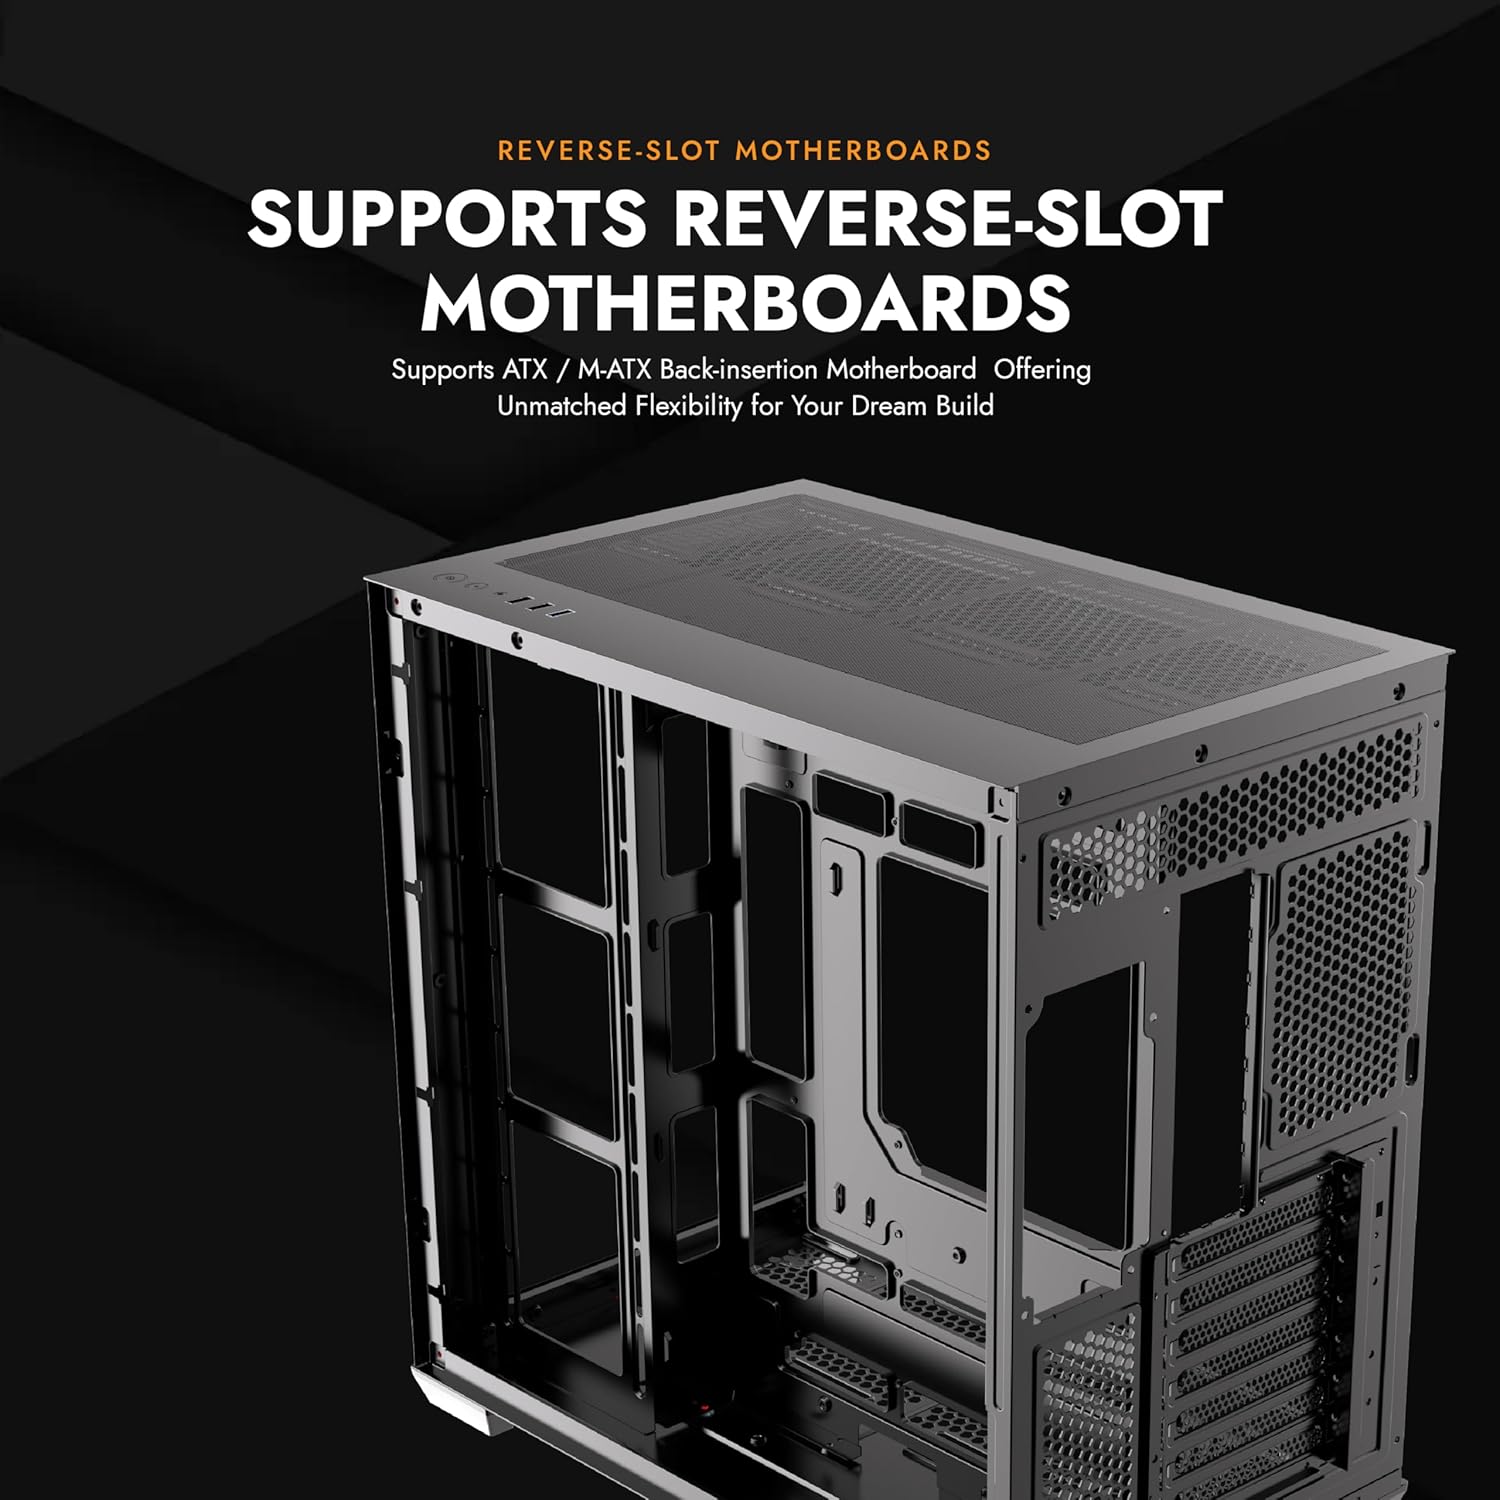
Image: Motherboard installation area within the C280 chassis.
4.3. Instalacija komponente
- Grafička kartica (GPU): Install your GPU into the appropriate PCIe slot. The case supports GPUs up to 420mm in length. Vertical GPU mounting is supported, but may require a separate bracket (not included).
- CPU hladnjak: Instalirajte hladnjak za CPU. Kućište je prilagođeno hladnjakima za CPU visine do 155 mm.
- Jedinica za napajanje (PSU): Install the PSU in the designated bottom mount area. The case supports PSUs up to 240mm.
- Diskovi za pohranu podataka: Utilize the 3x SSD and 2x HDD drive mounts.

Image: Vertical GPU mounting option in the C280 case.
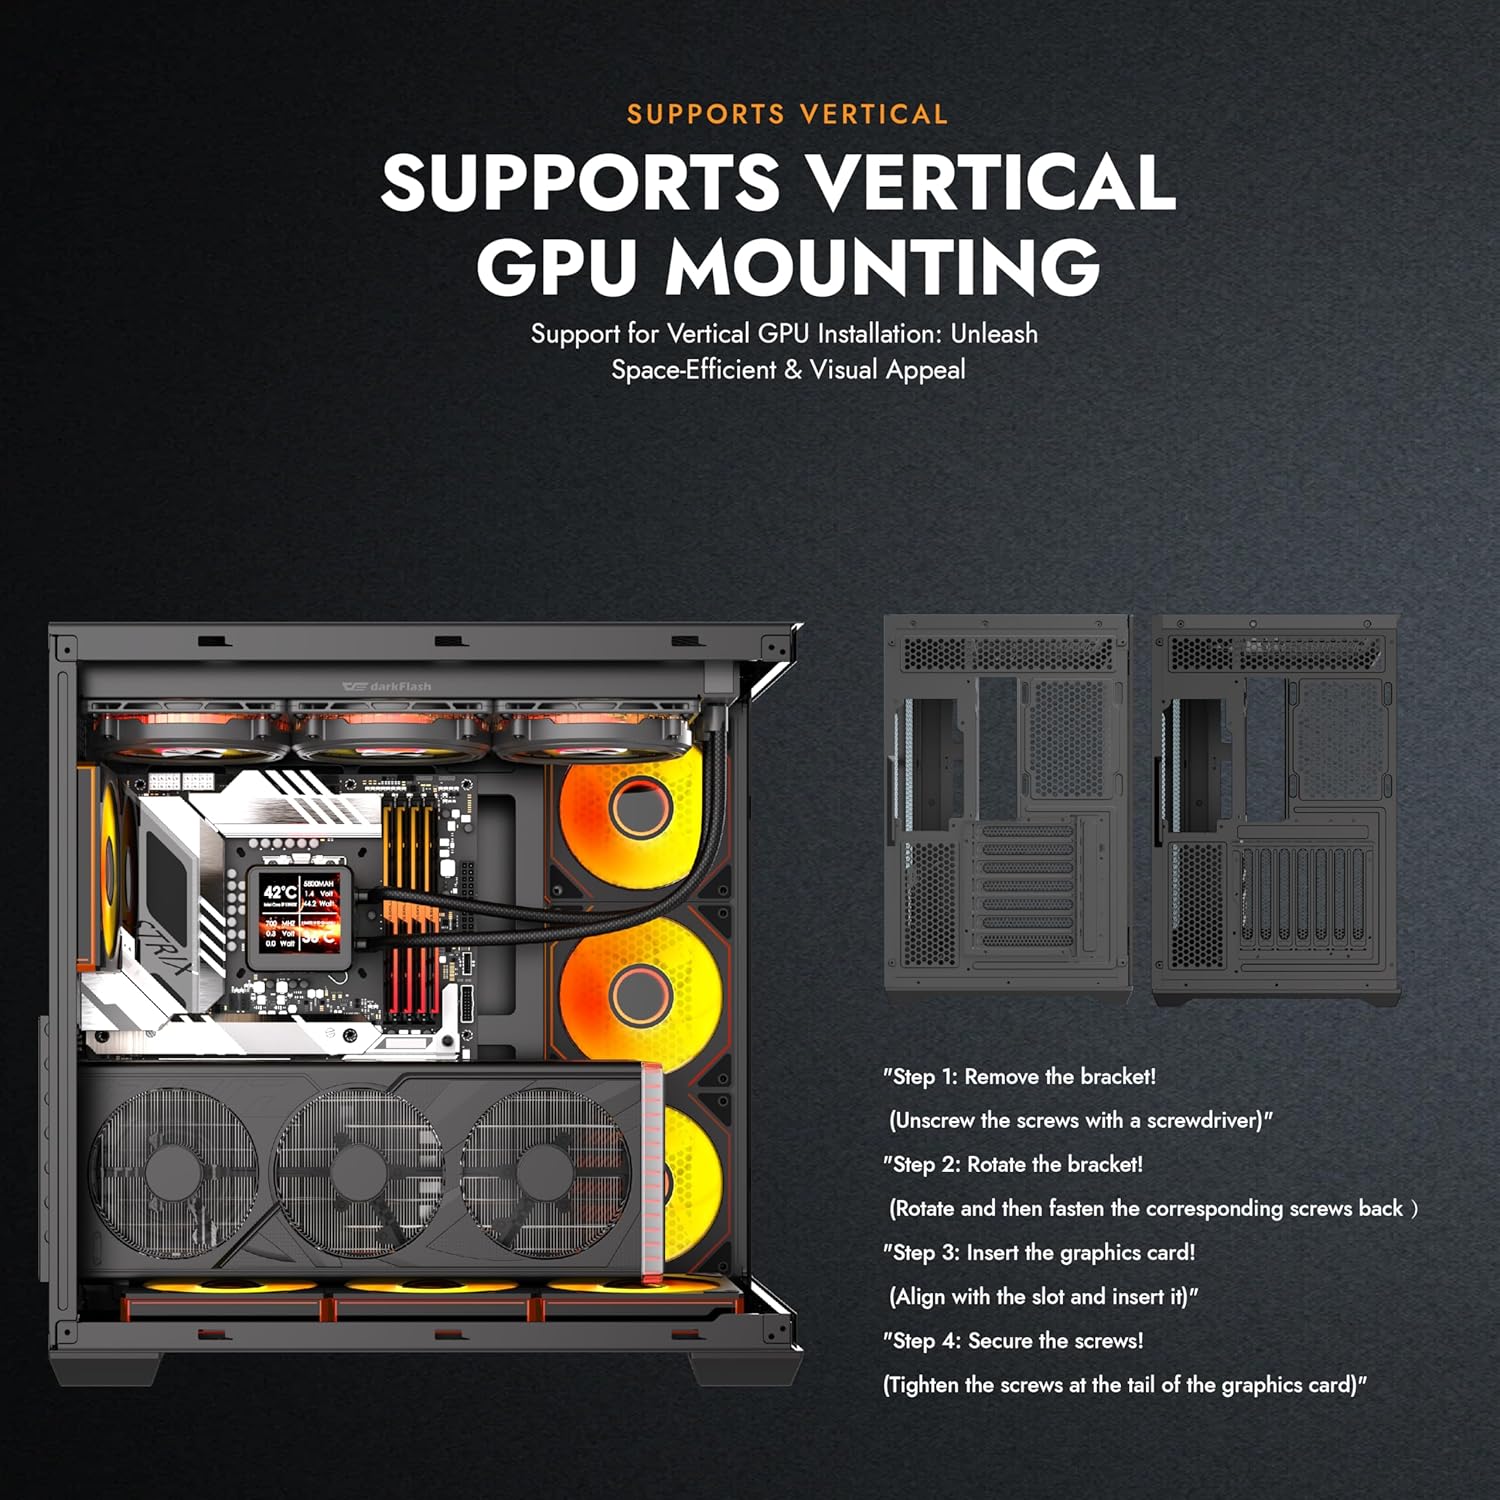
Image: Multifunction bracket for SSD and HDD installation.
4.4. Instalacija rashladnog sistema
The C280 offers extensive cooling options:
- obožavatelji: Supports up to 10x 120mm or 4x 140mm fans.
- radijatori: Compatible with 360mm radiator configurations.

Slika: Eksplodirano view demonstrating the modular cooling architecture and airflow paths.
4.5. Upravljanje kablovima
Iskoristite ample space behind the motherboard tray and the provided cable ties to route and secure cables for a clean build and optimized airflow. The reverse connection motherboard compatibility further aids in cable routing by moving I/O and power connections to the rear.
5. Uputstvo za upotrebu
Once all components are installed and connected, close the side panels. Connect your peripherals, monitor, and power cable to the PSU. Press the power button on the top I/O panel to start your system.
5.1. Prednja I/O ploča
- Dugme za napajanje: Uključuje/isključuje sistem.
- Dugme za resetiranje: Ponovo pokreće sistem.
- HD Audio/Mic Jacks: Za povezivanje slušalica i mikrofona.
- USB 3.0 portovi (x1): Prijenos podataka velikom brzinom.
- USB 2.0 portovi (x2): Standard data transfer.
- USB-C Port (Optional): For compatible devices, offering convenient connectivity.

Image: Top I/O panel with power, reset, audio, and USB ports.
6. Održavanje
6.1. Čišćenje filtera za prašinu
The darkFlash C280 is equipped with dual quick-release dust filters located on the top and bottom of the case. Regularly clean these filters to maintain optimal airflow and prevent dust buildup inside your system.
- Gently remove the magnetic dust filters.
- Clean the filters using compressed air or by rinsing with water (ensure they are completely dry before re-installation).
- Re-attach the magnetic filters to their respective positions.
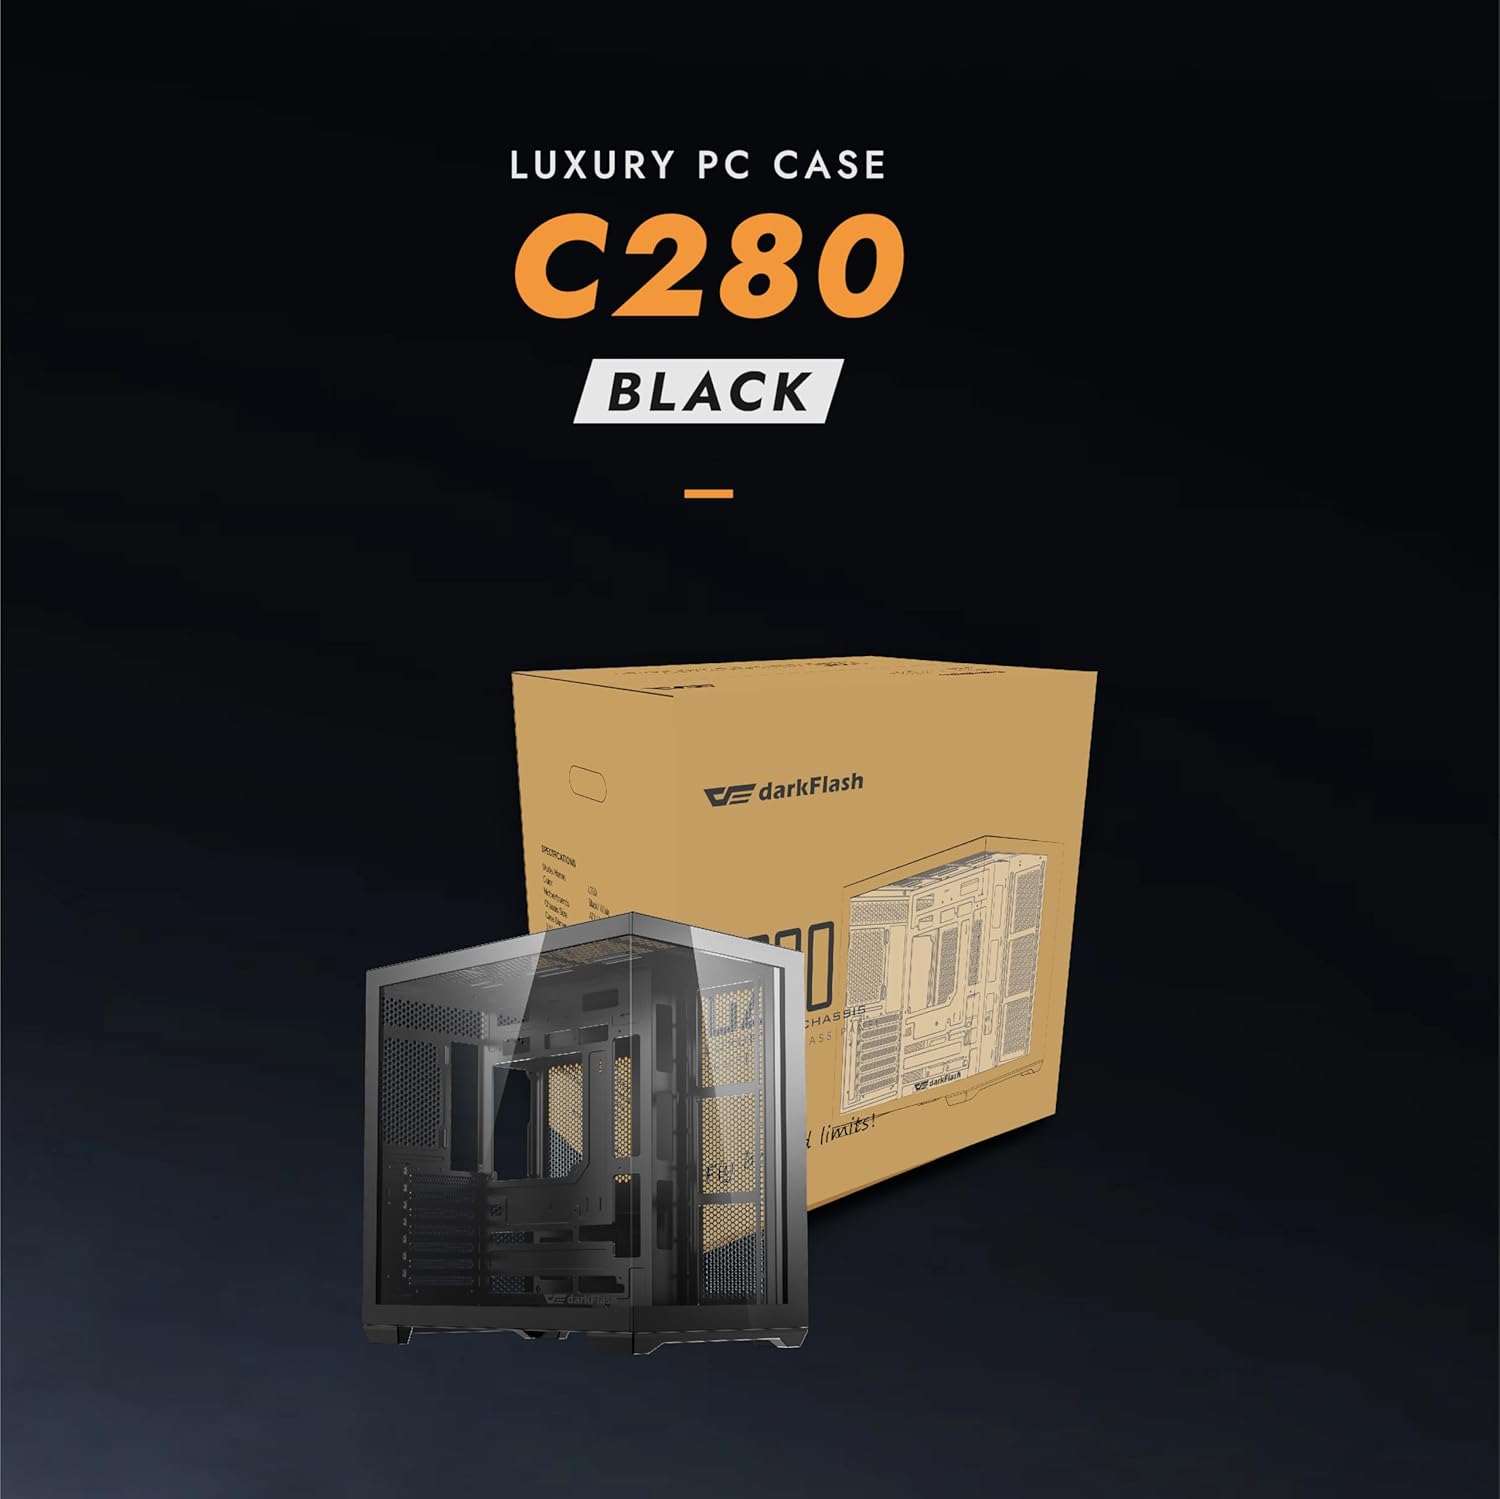
Image: Magnetic dust filter for easy removal and cleaning.
7. Otkrivanje problema
- Sistem se ne uključuje:
- Provjerite je li napajanje ispravno spojeno na zidnu utičnicu i je li prekidač za napajanje na uređaju u položaju 'UKLJUČENO'.
- Verify all power cables (24-pin ATX, CPU, GPU) are securely connected to the motherboard and components.
- Check that the front panel power switch cable is correctly connected to the motherboard's header.
- Poor airflow/High temperatures:
- Ensure all installed fans are spinning correctly.
- Clean the dust filters regularly (refer to Section 6.1).
- Verify proper fan orientation for optimal intake and exhaust.
- Check for any obstructions to airflow within the case.
- Tempered glass panel difficult to remove/install:
- Apply gentle, even pressure when removing or installing. Avoid excessive force.
- Ensure the case is on a flat, stable surface when handling glass panels.
8. Garancija i podrška
darkFlash products are manufactured to the highest quality standards. For specific warranty details, please refer to the warranty card included with your product or visit the official darkFlash website. For technical support or inquiries, please contact darkFlash customer service through their official channels.
Službeno Webstranica: www.darkflash.com
Amazon prodavnica: Zvanična prodavnica darkFlash-a