
1. Uvod
This manual provides detailed instructions for the installation, operation, and maintenance of your ANNKE AU-DT81DX200-V1 4K 8-Channel Digital Video Recorder (DVR). This DVR is designed for security surveillance systems, offering 4K (8MP) high-definition live viewing and recording capabilities. It features advanced H.265+ video compression, AI human/vehicle detection, and supports various camera types for flexible integration.

Image 1.1: The ANNKE 4K 8CH DVR connected to a display, illustrating its 4K Ultra HD video capability.
2. Sadržaj paketa
Verify that all items listed below are included in your package. If any items are missing or damaged, contact ANNKE customer support.
- 1x ANNKE 4K 8CH DVR with 2TB Hard Drive
- 1x 5.9 ft/1.8 m HDMI Cable
- 1x 3.2 ft/1 m Ethernet Cable
- 1x adapter za napajanje
- 1x USB miš
- 1x Korisnički priručnik (ovaj dokument)
- 1x Naljepnica za zid

Image 2.1: Visual representation of all components included in the ANNKE 4K 8CH DVR package.
3. Sistem je završenview
The ANNKE AU-DT81DX200-V1 DVR is a hybrid 5-in-1 system, supporting various camera technologies. It can operate in two primary modes:
- DVR način rada: Supports up to 8 BNC (TVI/AHD/CVI/CVBS) cameras and an additional 4 IP cameras.
- NVR način rada: Can be configured to support up to 12 IP cameras exclusively.
This flexibility allows for integration with existing analog systems while providing options for future IP camera expansion.
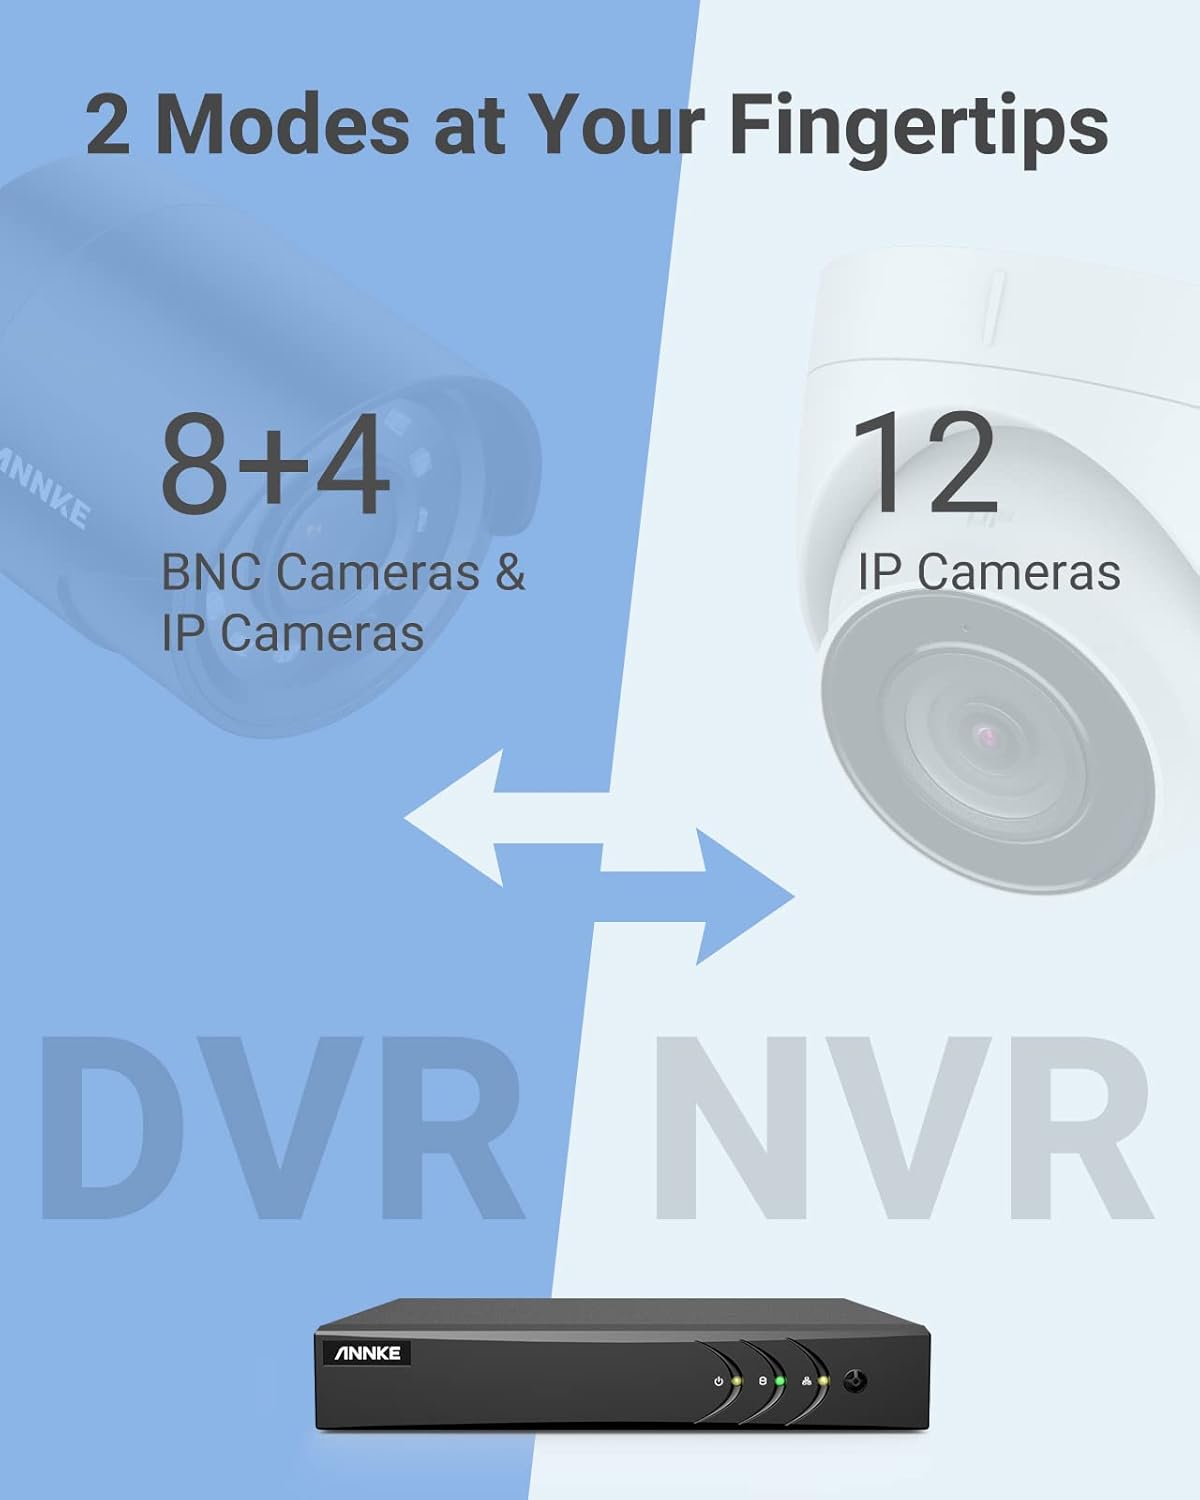
Image 3.1: Illustration of the DVR's dual operational modes, supporting both BNC and IP cameras or IP cameras exclusively.
4. Vodič za instalaciju
4.1 Fizička postavka
- Povežite kamere: Connect your security cameras to the BNC video input ports on the back of the DVR. For IP cameras, connect them to your network switch/router, and ensure the DVR is also connected to the same network via the Ethernet cable.
- Poveži monitor: Connect a monitor to the DVR's HDMI or VGA output port using the provided HDMI cable or a VGA cable (not included).
- Povežite USB miš: Uključite USB miš u jedan od USB priključaka na DVR-u.
- Priključite napajanje: Spojite adapter za napajanje na ulaz za napajanje DVR-a, a zatim ga uključite u utičnicu. DVR će se automatski uključiti.
4.2 Početna konfiguracija
Upon first boot, the DVR will guide you through an initial setup wizard. Follow the on-screen prompts to:
- Set up a strong password for the administrator account.
- Configure network settings (DHCP is recommended for most users).
- Postavite datum i vrijeme.
- Scan and add IP cameras if applicable.
5. Upravljanje DVR-om
5.1 Uživo View
Nakon početnog podešavanja, DVR će prikazivati sliku uživo view from connected cameras. Use the USB mouse to navigate the interface. Right-click to access the main menu.
5.2 Snimanje
The DVR is pre-configured for continuous recording. You can customize recording schedules, motion-triggered recording, or alarm-triggered recording via the main menu under Record > Schedule.
5.3 Reprodukcija
To review snimljeno footage:
- Od uživo view, kliknite desnim tasterom miša i odaberite Reprodukcija.
- Select the desired camera(s) and date.
- Use the timeline to navigate through recordings. Events (like motion detection) are often marked on the timeline for quick access.

Image 5.1: The DVR's playback interface, demonstrating how to locate and review recorded events on a timeline.
6. Napredne funkcije
6.1 Detekcija ljudi/vozila pomoću umjetne inteligencije
The DVR incorporates deep learning-based motion detection 2.0, which can differentiate between human and vehicle movements. This significantly reduces false alarms caused by environmental factors such as leaves or light changes.
- Konfiguracija: Enable and configure AI detection for each analog channel via the main menu under AI > Motion Detection 2.0.
- Pametni događaji: Supports line crossing and intrusion detection for specific areas.
- Upozorenja: Configure the DVR to send app push notifications, email alerts, or trigger a buzzer when human or vehicle motion is detected.
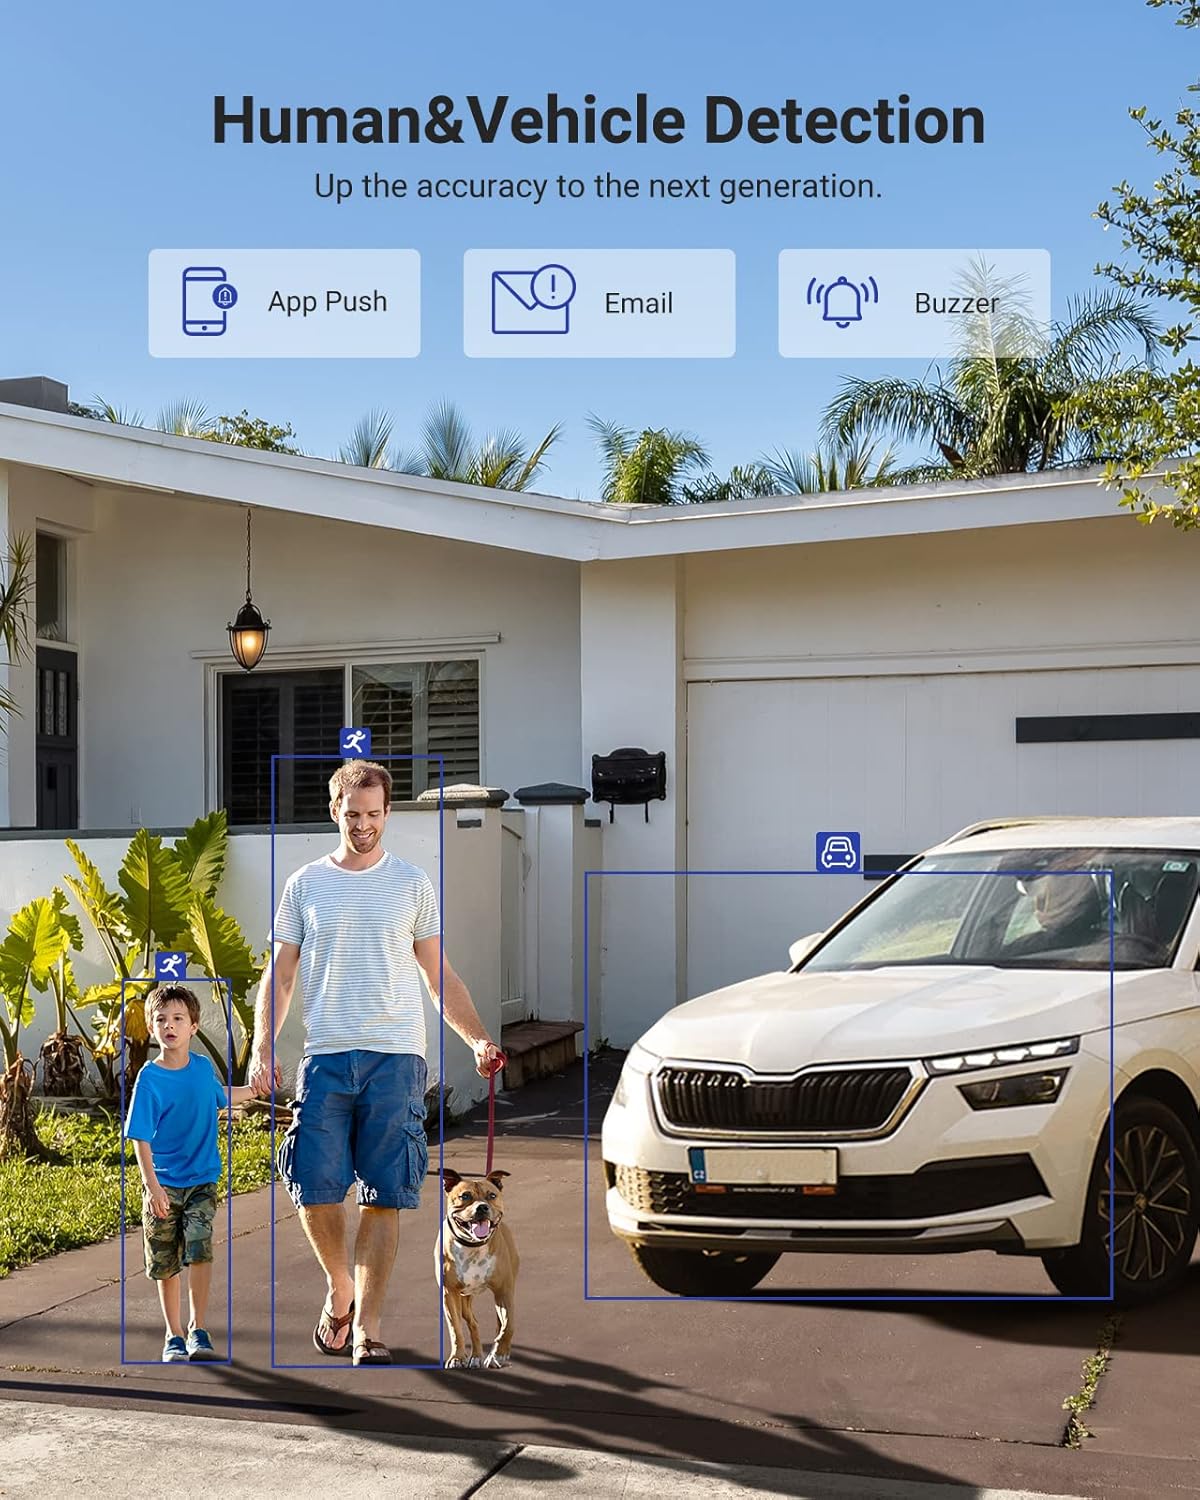
Image 6.1: Visual demonstration of the AI human and vehicle detection capability, showing how the system identifies and distinguishes between people and vehicles.
6.2 Daljinski pristup
Access your DVR remotely from anywhere using the ANNKE Vision App or a web pretraživač.
- Aplikacija ANNKE Vision: Download the app from the App Store (iOS) or Google Play Store (Android). Register an account and add your DVR by scanning the QR code or entering its serial number.
- Web Preglednik: Access the DVR's web interfejs unošenjem njegove IP adrese u a web pretraživač na vašem računaru.
- Kompatibilnost: The system is compatible with various devices including smartphones, tablets, laptops, and personal computers. It also supports integration with Alexa for voice control.

Image 6.2: Remote access via the ANNKE Vision App, showing compatibility with mobile devices and Alexa.
7. Video Management
7.1 H.265+ video kompresija
The DVR utilizes advanced H.265+ video compression technology. This technology significantly reduces file sizes, saving up to 80% of storage space compared to H.264 compression, while maintaining video quality. This allows for longer recording durations on the same 2TB hard drive.

Image 7.1: Comparison illustrating the storage efficiency of H.265+ compression versus H.264.
8. Kompatibilnost
The ANNKE AU-DT81DX200-V1 is a versatile 5-in-1 hybrid DVR, designed to be compatible with a wide range of security cameras:
- HD TVI Input: Supports 8 MP@15 fps, 5 MP@20 fps, 3K@20 fps, 4 MP@30 fps.
- AHD Input: Supports 5 MP@20 fps, 4 MP@30 fps, 1080p@25 fps, 1080p@30 fps.
- HD CVI Input: Supports 4 MP@30 fps, 4 MP@25 fps, 1080p@25 fps, 1080p@30 fps.
- CVBS ulaz: Supports PAL/NTSC standards.
- IPC Input: Supports up to 8MP IP cameras.
This broad compatibility ensures that the DVR can integrate with both older analog cameras and modern IP cameras, providing a flexible upgrade path for existing surveillance systems.

Image 8.1: The DVR's compatibility with various camera technologies, including TVI, CVI, AHD, and IP cameras.
9. Specifikacije
| Feature | Specifikacija |
|---|---|
| Brand | ANNKE |
| Broj modela | AU-DT81DX200-V1 |
| Tehnologija povezivanja | Žičani |
| Rezolucija video snimanja | 4K (8MP) |
| Broj kanala | 8 (Analog) + 4 (IP) or 12 (IP) |
| Video Compression | H.265 Pro+/H.265 Pro/H.265/H.264+/H.264 |
| Podržane vrste kamera | TVI, AHD, CVI, CVBS, IPC |
| AI karakteristike | Human Detection, Vehicle Detection, Line Crossing, Intrusion Detection |
| Kapacitet memorije | 2 TB HDD (Up to 10 TB supported) |
| Remote Access | ANNKE Vision App, Web Browser |
| Kompatibilni uređaji | Kamere, laptopi, lični računari, pametni telefoni, tableti |
| Izvor napajanja | Corded Electric |
| Boja | Crna |
| Dimenzije artikla | 17.13 x 12.4 x 3.86 inča |
10. Održavanje
Redovno održavanje osigurava optimalne performanse i dugotrajnost vašeg DVR sistema.
- čišćenje: Keep the DVR free from dust. Use a soft, dry cloth to clean the exterior. Do not use liquid cleaners.
- ventilacija: Ensure the DVR is placed in a well-ventilated area to prevent overheating. Do not block ventilation openings.
- Ažuriranja firmvera: Povremeno provjeravajte službene podatke ANNKE-a. website for firmware updates. Keeping your DVR's firmware updated can improve performance, add new features, and enhance security.
- Sigurnosna kopija podataka: Redovno pravite sigurnosne kopije važnih video zapisatage to an external storage device.
- Stanje tvrdog diska: The DVR's menu may offer options to check the health status of the installed hard drive. Monitor this periodically.
11. Otkrivanje problema
This section addresses common issues you might encounter with your DVR.
- Nema video izlaza:
- Check HDMI/VGA cable connections to both the DVR and the monitor.
- Provjerite je li monitor postavljen na ispravan ulazni izvor.
- Verify the DVR is powered on (power indicator light should be active).
- Nema prikaza kamere:
- Check camera power supply and video cable connections.
- For IP cameras, ensure they are on the same network as the DVR and properly added in the DVR's camera management settings.
- Verify camera compatibility with the DVR (refer to Section 8).
- Daljinski pristup ne radi:
- Provjerite je li DVR povezan s internetom.
- Check network settings on the DVR (e.g., DHCP enabled, correct IP address).
- Verify the ANNKE Vision App is updated to the latest version.
- Ensure the DVR is properly added to your ANNKE Vision account.
- Lažni alarmi pokreta:
- Adjust the sensitivity of motion detection in the DVR settings.
- Utilize the AI Human/Vehicle Detection feature (Section 6.1) to filter out irrelevant movements.
- Define specific detection zones to exclude areas with frequent non-threatening movement.
If you continue to experience issues, please contact ANNKE customer support.
12. Garancija i podrška
ANNKE products typically come with a limited warranty. Please refer to the warranty card included in your package or visit the official ANNKE webweb stranicu za detaljne uslove garancije specifične za vašu regiju.
Za tehničku podršku, upite o proizvodu ili reklamacije, obratite se korisničkoj službi ANNKE putem njihovog službenog website or the contact information provided in your product documentation. Have your model number (AU-DT81DX200-V1) and purchase details ready when contacting support.
ANNKE Official Webstranica: www.annke.com