
1. Uvod
This manual provides detailed instructions for the setup, operation, and maintenance of your JoFomp 17.3" Large Digital Wall Clock. Please read this manual thoroughly before use to ensure proper functionality and longevity of the product.
2. Sigurnosne informacije
- Ensure the clock is connected to a stable power source (5V/2A adapter included).
- Ne izlažite uređaj ekstremnim temperaturama, direktnoj sunčevoj svjetlosti ili visokoj vlažnosti.
- Čuvati van domašaja djece.
- Ne pokušavajte sami rastaviti ili popraviti uređaj. Obratite se korisničkoj podršci za pomoć.
- Daljinski upravljač zahtijeva 2 AAA baterije (nisu uključene).
- A 1 AAA battery (not included) is required for the memory function to retain settings during power outages.
3. Sadržaj paketa
Provjerite da li su sve stavke prisutne u paketu:
- JoFomp 17.3" Digital Wall Clock
- Daljinski upravljač
- 5V/1A DC adapter za napajanje
- Kabl za napajanje
- Mounting Hooks (2)
- Mounting Template Ruler
- Korisnički priručnik (ovaj dokument)

Slika 3.1: Priloženi pribor i glavna jedinica.
4. Proizvod je gotovview
The JoFomp 17.3" Large Digital Wall Clock features a clear LED display and multiple functions for convenience.

Figure 4.1: Front display of the digital wall clock.
4.1 Karakteristike ekrana
- Prikaz vremena: Large 17.3" LED digits.
- Prikaz datuma: Month and Day.
- Dan u nedelji: Indicated by illuminated text (Mon-Sun).
- temperatura: Displays in Celsius or Fahrenheit.
- Vlažnost: Displays relative humidity percentage.
- Dvostruki alarmi: Two independent alarm settings.
- DST indikator: Daylight Saving Time status.

Figure 4.2: Labeled display functions.
4.2 Back Panel and Buttons
The back of the clock houses control buttons and connection ports.

Figure 4.3: Back panel with labeled components.
- Dugmad za podešavanje: Five buttons for manual adjustments (Light, SET, +, -, Alarm).
- Memory Battery Compartment: For 1 AAA battery (not included) to retain settings.
- Napajanje: Za povezivanje strujnog adaptera.
- Montažne rupe: Za montažu na zid.
5. Podešavanje
5.1 Priključak za napajanje
- Connect the power cord to the clock's power port.
- Plug the 5V/2A power adapter into a standard electrical outlet. The clock will power on and display.
Napomena: The clock requires continuous power to operate. It is not battery-powered for primary display.
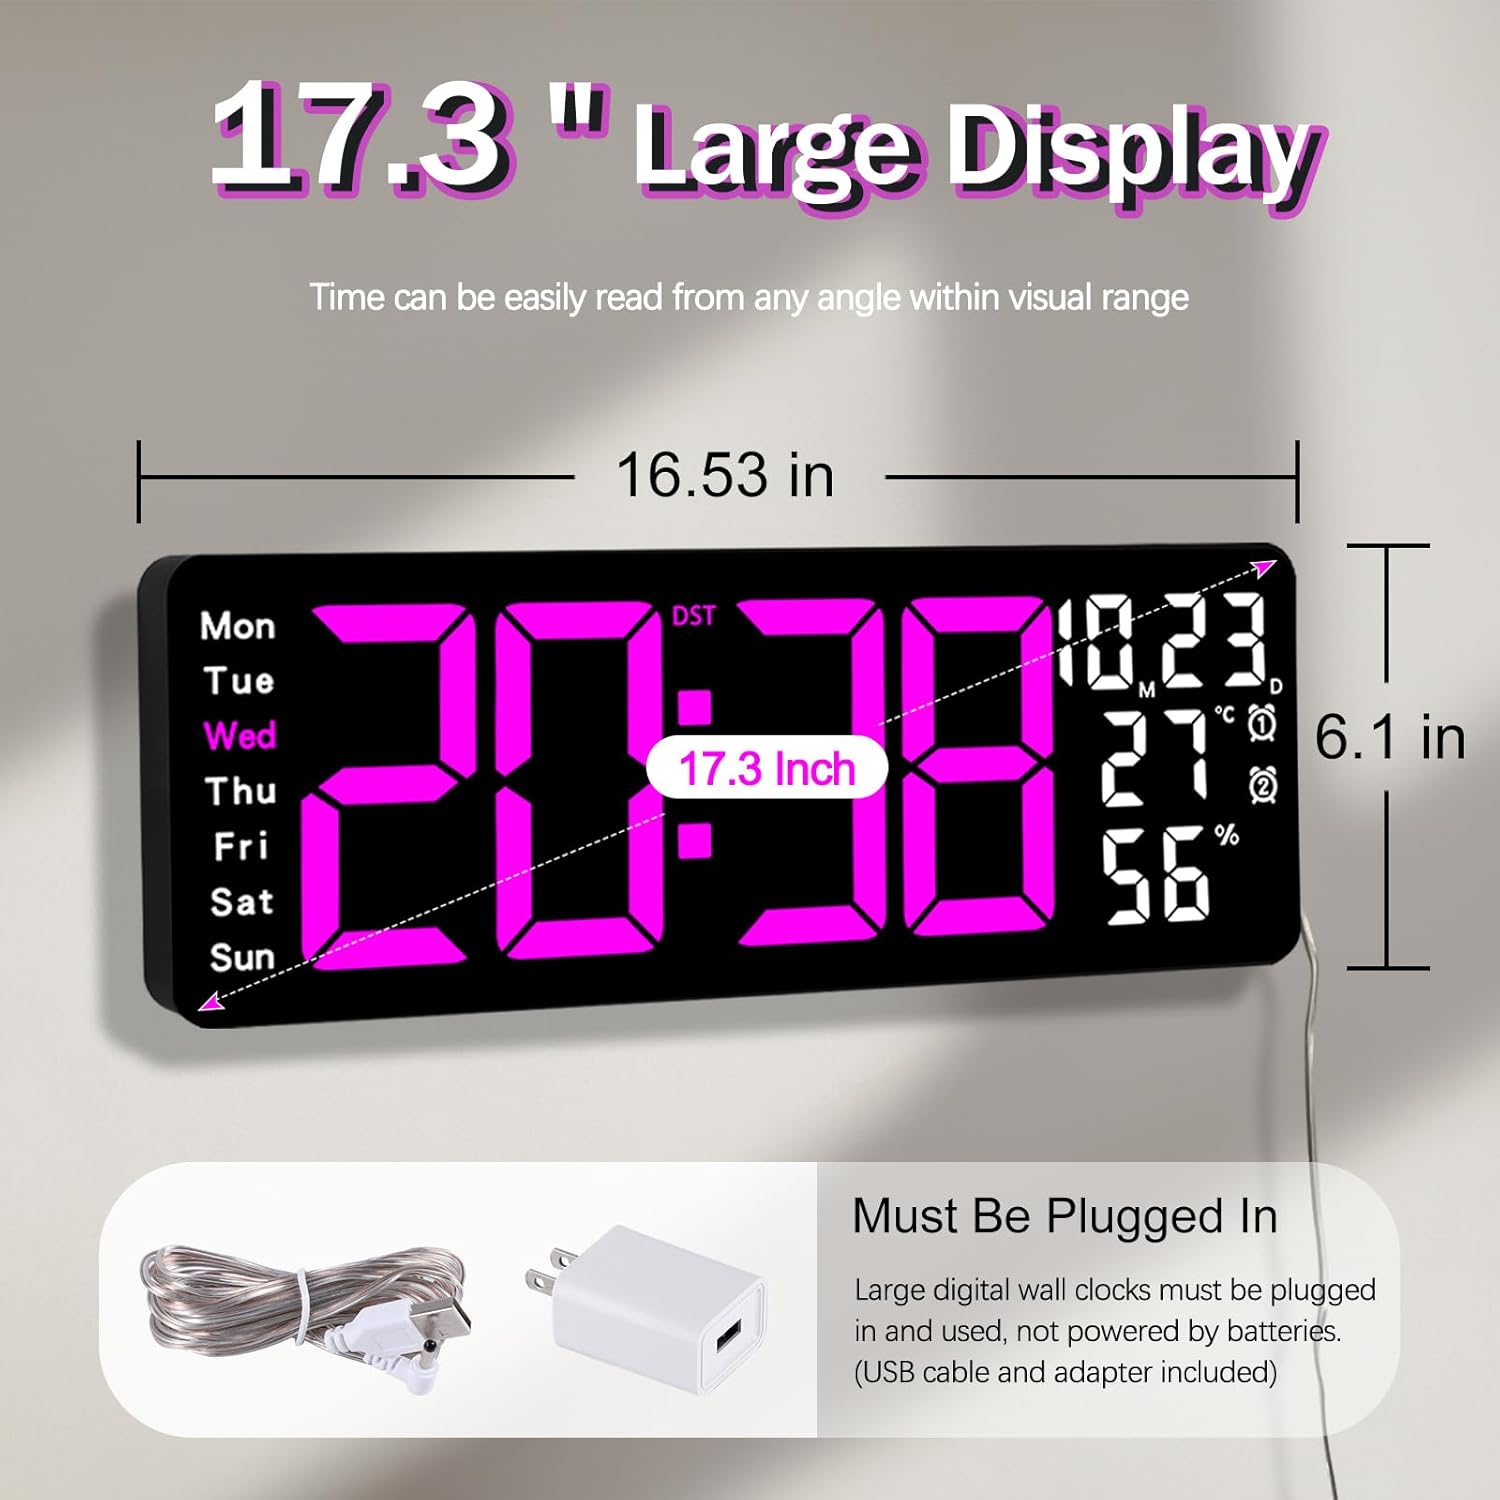
Figure 5.1: Power connection and dimensions.
5.2 Memory Battery Installation (Optional)
To retain time and settings during a power outage, install a 1 AAA battery (not included) into the memory battery compartment on the back of the clock.
- Locate the memory battery compartment on the back of the clock.
- Otvorite poklopac odjeljka.
- Insert one 1.5V AAA battery, ensuring correct polarity (+/-).
- Čvrsto zatvorite poklopac odjeljka.
5.3 Montaža na zid
Use the included mounting template ruler and hooks for easy wall installation.
- Determine the desired location for your clock.
- Place the mounting template ruler on the wall at the desired height.
- Mark the positions for the mounting hooks according to the ruler's indications.
- Install the mounting hooks into the wall at the marked positions.
- Carefully hang the clock onto the installed hooks, ensuring it is level and secure.
6. Uputstvo za upotrebu
The clock can be operated using either the remote control or the buttons on the back.
6.1 Podešavanje vremena i datuma
Use the remote control or the "SET" button on the back of the clock.
- Pritisnite SET button (on remote or back of clock) to enter setting mode.
- Koristite + i - tipke za podešavanje trepćuće vrijednosti (npr. sat, minuta, godina, mjesec, dan).
- Pritisnite SET again to confirm the current setting and move to the next parameter.
- Repeat until all settings are configured.
6.2 12/24 Hour Format Conversion
Za prebacivanje između 12-satnog i 24-satnog formata vremena:
- Pritisnite namjensko 12/24H dugme na daljinskom upravljaču.
- Alternatively, during time setting, the format option will appear.

Figure 6.1: 12/24H format conversion.
6.3 Konverzija temperaturnih jedinica (°C/°F)
Za prebacivanje između temperaturnih jedinica Celzijusa i Fahrenheita:
- Pritisnite ° C / ° F dugme na daljinskom upravljaču.
6.4 Alarm Setting (Dual Alarms)
Sat podržava dva nezavisna alarma.
- Pritisnite ALARM button on the remote control or the back of the clock.
- Koristi + i - da podesite željeno vreme alarma.
- Pritisnite ALARM again to confirm and move to the next alarm or exit.
- To activate/deactivate an alarm, press the corresponding alarm button (e.g., AL1 or AL2) na daljinskom.
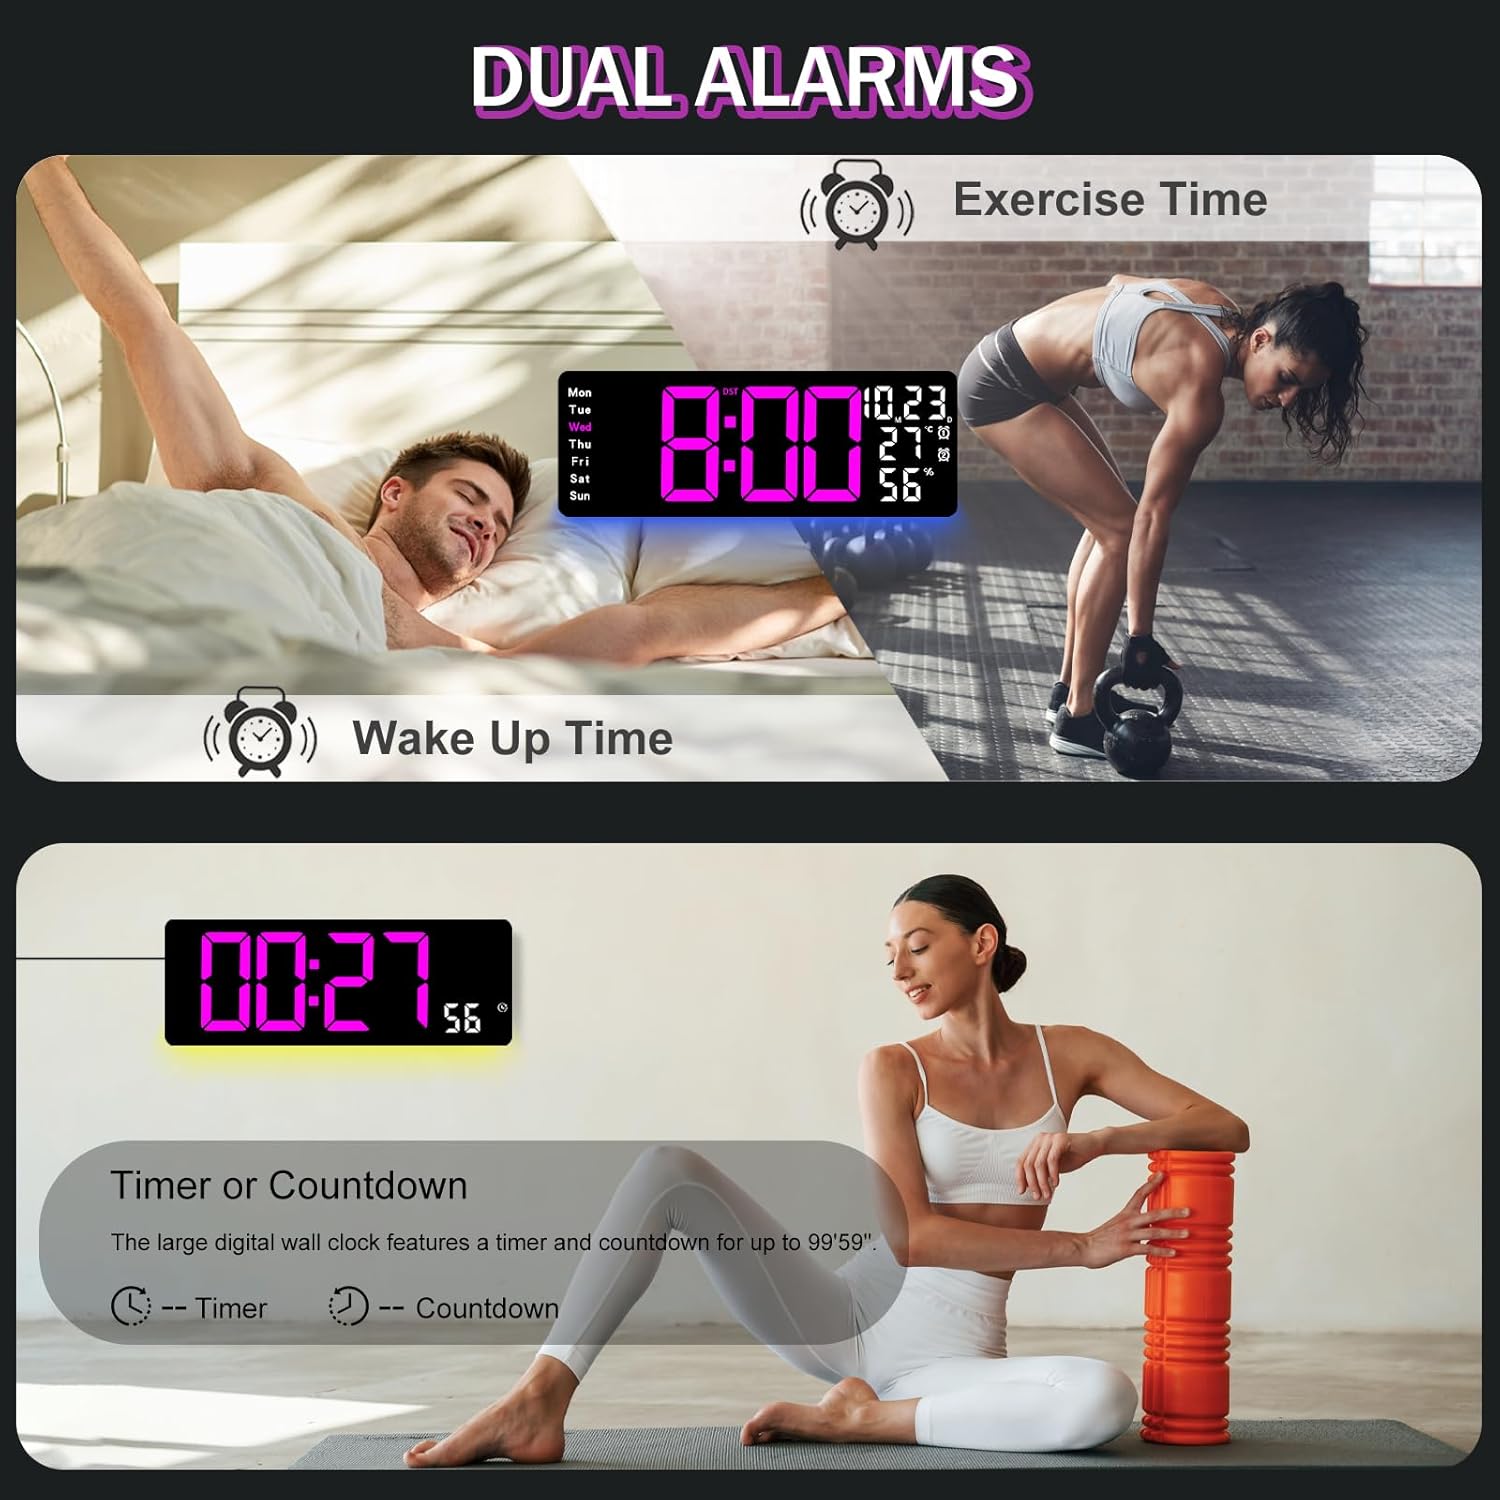
Figure 6.2: Dual alarm and timer functions.
6.5 Podešavanje svjetline
The clock offers 10 levels of brightness, adjustable manually or automatically.
- Automatska svjetlina: The built-in light sensor adjusts brightness based on ambient light. Activate this mode by pressing the AUTO dugme na daljinskom.
- Manual Brightness: Pritisnite SVJETLOST button on the remote, then use + i - to select one of the 10 levels.

Figure 6.3: Custom and auto-brightness settings.

Figure 6.4: Brightness regulator illustration.
6.6 Karakteristike ambijentalnog osvjetljenja
The clock includes a night light feature at the bottom with multiple color options.
- Pritisnite LIGHT button on the remote control or the back of the clock to cycle through 8 fixed colors and 1 multi-color mode.
- In multi-color mode, the colors automatically convert. Press OK to fix a favorite color.
- Adjust the brightness of the ambient light using the + i - buttons when the ambient light is active.

Figure 6.5: Multiple ambient night light options.

Figure 6.6: 9 color ambient light options.
6.7 Timer and Countdown Function
The clock features a timer (count-up) and countdown function up to 99 minutes and 59 seconds.
- Pritisnite TIMER dugme na daljinskom upravljaču.
- Koristi + i - to set the desired time for countdown.
- Pritisnite START/STOP to begin or pause the timer/countdown.
- Pritisnite RESET da obrišete tajmer.

Figure 6.7: Timing function (count-up/countdown).
Video 6.1: Demonstration of multi-functional features including night light change, brightness control, count-up, and countdown. This video also shows the time, date, day, alarm clock, temperature, and humidity displayed on the same screen, along with 12/24 hour conversion, Celsius/Fahrenheit conversion, and DST enablement. The back design and buttons are also briefly shown.
6.8 Ljetno računanje vremena (DST)
If DST is observed in your region, you can enable or disable it.
- Dugo pritisnite - button on the remote control to enable or disable DST. The DST indicator will appear/disappear on the display.

Figure 6.8: Enabling and disabling Daylight Saving Time.

Figure 6.9: Daylight Saving Time (DST) functionality.
6.9 Upotreba daljinskog upravljača
The remote control provides convenient access to all clock functions without needing to reach the clock directly.

Figure 6.10: Remote control and its functions.

Figure 6.11: Remote control in use.
- Ensure the remote control has 2 AAA batteries installed (not included).
- Point the remote control directly at the clock for optimal response.
- Each button on the remote corresponds to a specific function as described in this manual.
7. Održavanje
- Clean the clock's display and body with a soft, dry cloth. Avoid abrasive cleaners or solvents.
- Ensure the power adapter and cord are free from damage.
- Replace the memory battery annually to ensure settings are retained during power interruptions.
8. Otkrivanje problema
| Problem | Mogući uzrok | Rješenje |
|---|---|---|
| Prikaz sata je isključen. | Nema napajanja. | Check if the power adapter is securely plugged into the clock and the outlet. Ensure the outlet is functional. |
| Daljinski upravljač ne radi. | Low or dead batteries in remote; obstruction; remote out of range. | Replace remote batteries (2 AAA). Ensure no obstructions between remote and clock. Point directly at the clock within effective range. |
| Postavke su izgubljene nakon nestanka strujetage. | No memory battery or dead memory battery. | Install a fresh 1.5V AAA battery in the memory compartment. |
| Incorrect temperature/humidity reading. | Sensor interference or placement. | Ensure the clock is not placed near heat sources, direct sunlight, or in areas with extreme drafts. Allow time for the sensor to stabilize. |
| Ambient light not changing colors. | Stuck in fixed color mode. | Press the LIGHT button on the remote to cycle through modes. If stuck on a fixed color, press the OK button to release it from fixed mode. |
9. Specifikacije
| Feature | Detalj |
|---|---|
| Brand | JoFomp |
| Broj modela | 6669 |
| Display Type | Digitalna LED |
| Veličina ekrana | 17.3 inča |
| Dimenzije proizvoda | 16.5 cm Š x 6.7 cm V |
| Izvor napajanja | Corded Electric (5V/2A adapter included) |
| Memorijska baterija | 1 x AAA (nije uključeno) |
| Nivoi osvjetljenja | 10 (Auto/Manual) |
| Ambient Light Colors | 8 Fixed + 1 Multi-color |
| Posebne karakteristike | Large Display, Adjustable Brightness, Temperature Display, Humidity Display, Dual Alarms, Timer, Countdown, DST, Remote Control |
| Vrsta montaže | Zidni nosač |
| Težina artikla | 1.95 funte |
10. Garancija i podrška
JoFomp products are designed for reliability and performance. For warranty information or technical support, please refer to the contact details provided with your purchase or visit the official JoFomp webSačuvajte račun kao dokaz o kupovini.