
1. Uvod
This manual provides detailed instructions for the installation, operation, maintenance, and troubleshooting of the HUANANZHI B760M D5 PLUS motherboard. Designed for Intel LGA 1700 processors (12th, 13th, and 14th Gen Core CPUs), this motherboard offers robust performance and extensive connectivity for your personal computer build.
2. Sigurnosne informacije
Please read and follow these safety guidelines carefully to prevent damage to the motherboard or injury to yourself:
- Uvijek isključite napajanje iz zidne utičnice prije instaliranja ili uklanjanja bilo kakvih komponenti.
- Nosite antistatičku narukvicu ili često dodirujte uzemljeni metalni predmet kako biste ispraznili statički elektricitet prije rukovanja matičnom pločom ili drugim komponentama.
- Držite matičnu ploču za rubove kako biste izbjegli dodirivanje osjetljivih komponenti.
- Osigurajte odgovarajuću ventilaciju unutar kućišta računara kako biste spriječili pregrijavanje.
- Držite matičnu ploču dalje od vlage i ekstremnih temperatura.
3. Sadržaj paketa
Verify that all items are present in your motherboard package. Standard contents typically include:
- HUANANZHI B760M D5 PLUS Motherboard
- SATA podatkovni kablovi
- I / O štit
- M.2 Screw Kit
- Korisnički priručnik (ovaj dokument)
Ako bilo koji artikl nedostaje ili je oštećen, obratite se svom prodavaču.
4. Proizvod je gotovview
The HUANANZHI B760M D5 PLUS motherboard is engineered for high performance and reliability. Key features include:
4.1. DDR5 Dual Channel Memory Support
The motherboard supports DDR5 memory in a dual-channel configuration, allowing for high-speed data transfer and up to 96GB capacity. This ensures efficient multitasking and demanding application performance.
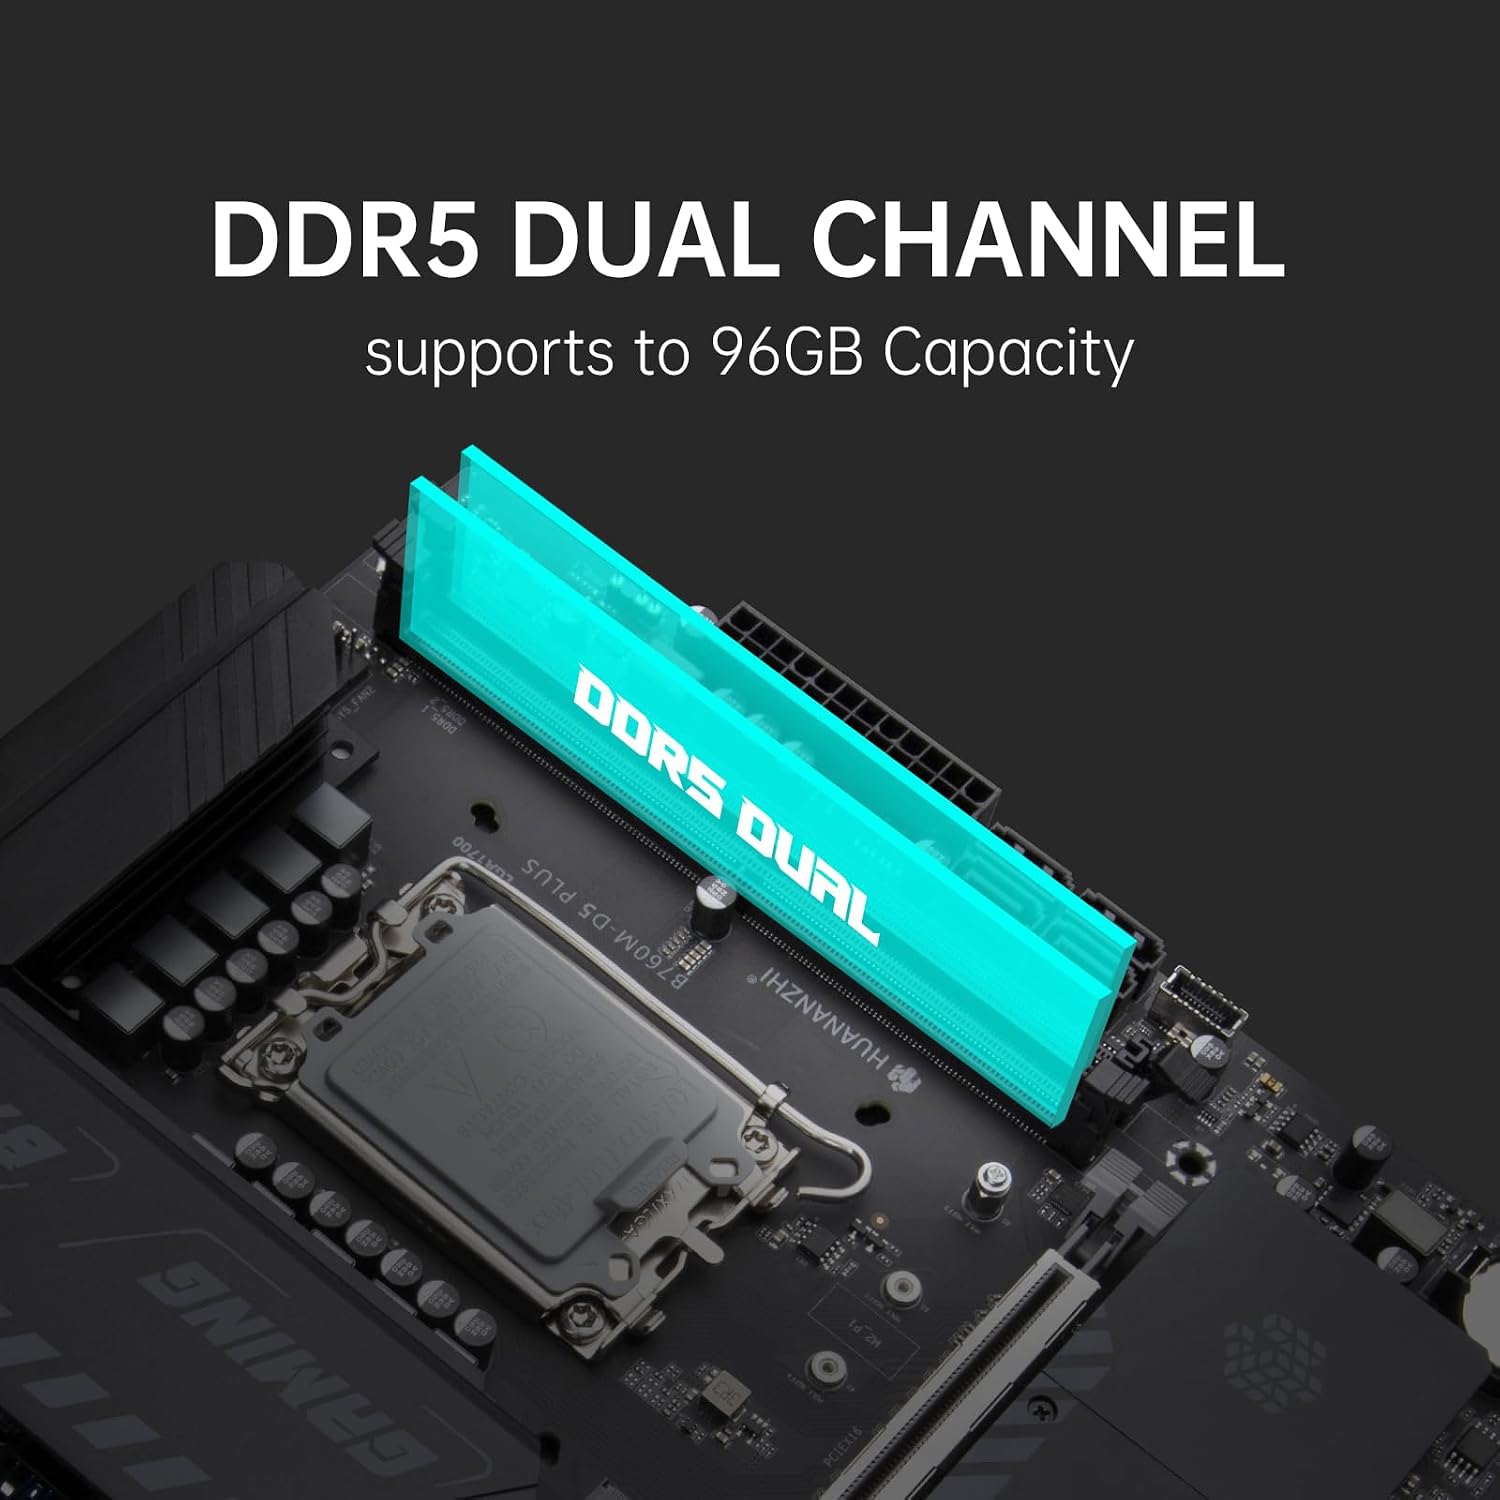
Image: The motherboard features two DDR5 memory slots, highlighted to show dual-channel support and up to 96GB capacity.
4.2. Full Speed PCIe 4.0 M.2 NVMe Slots
Equipped with multiple full-speed PCIe 4.0 M.2 slots, the motherboard provides advanced storage solutions with significantly faster data transfer rates compared to previous generations. This is ideal for high-performance NVMe SSDs.

Image: Three PCIe 4.0 M.2 slots are visible on the motherboard, indicating support for high-speed NVMe storage devices.
4.3. 2.5G Gigabit Network Card
The integrated Realtek 2.5G Gigabit network card offers enhanced network performance, providing faster internet speeds and lower latency for online gaming and data transfers.

Image: A visual representation of the 2.5G network card, emphasizing its high-speed capability.
4.4. PCIe x16 4.0 Slot
The PCIe x16 4.0 slot provides double the bandwidth of PCIe 3.0, ensuring optimal performance for modern graphics cards and other expansion cards, leading to a smoother gaming and computing experience.

Image: The PCIe x16 4.0 slot is highlighted on the motherboard, indicating its high-speed data transfer capability for graphics cards.
4.5. SATA 3.0 Interfaces
The motherboard includes four SATA 3.0 interfaces, meeting the needs for large-capacity storage with traditional hard drives and SATA SSDs.

Image: Four SATA 3.0 ports are shown on the motherboard, ready for connecting storage devices.
4.6. ARGB Support
The motherboard supports 3*5V ARGB headers, allowing for customizable and dazzling lighting effects. Users can utilize HUANANZHI RGB gaming light control software to personalize their system's aesthetics.

Image: Three 5V ARGB headers are labeled on the motherboard, indicating support for addressable RGB lighting.
4.7. 10-Phase Power Supply
A stable 10-phase power supply design ensures reliable and efficient power delivery to the CPU, crucial for maintaining system stability and performance under load.

Image: A close-up of the motherboard's CPU power delivery area, illustrating the 10-phase power supply components.
4.8. Reasonable Layout and Connectivity
The motherboard features a well-thought-out layout for easy installation and excellent extensibility, including various ports for modern peripherals and displays.

Image: A detailed diagram of the motherboard's layout, labeling various ports, slots, and connectors such as USB, HDMI, DP, M.2, and fan headers.
5. Postavljanje i instalacija
Follow these steps for proper installation of your motherboard and components:
5.1. Instalacija CPU-a
- Open the CPU socket lever on the LGA 1700 socket.
- Pažljivo poravnajte CPU sa utičnicom, pazeći da se trouglasta oznaka na CPU-u poklapa sa oznakom na utičnici. Nemojte silom umetati CPU na mjesto.
- Zatvorite polugu utičnice kako biste osigurali CPU.
- Nanesite termalnu pastu na procesor i instalirajte hladnjak procesora prema uputama proizvođača.
5.2. Instalacija RAM memorije (DDR5)
- Open the clips on both ends of the DDR5 memory slots.
- Poravnajte memorijski modul sa slotom, pazeći da se zarez na modulu poklapa sa ključem u slotu.
- Čvrsto pritisnite oba kraja memorijskog modula dok se kopče ne uklope na svoje mjesto.
5.3. Instalacija uređaja za pohranu podataka
M.2 NVMe SSD
- Locate an available M.2 slot. Remove the M.2 standoff screw.
- Umetnite M.2 SSD u utor pod uglom od 30 stepeni.
- Pritisnite SSD prema dolje i pričvrstite ga M.2 vijkom.
SATA diskovi
- Connect one end of a SATA data cable to a SATA 3.0 port on the motherboard.
- Drugi kraj SATA podatkovnog kabela spojite na vaš SATA tvrdi disk ili SSD.
- Spojite SATA kabel za napajanje s vašeg napajanja na pogon.
5.4. Graphics Card (PCIe x16) Installation
- Otvorite kopču za zadržavanje na PCIe x16 utoru.
- Poravnajte grafičku karticu sa slotom i čvrsto pritisnite dok se potpuno ne uklopi i kopča za zadržavanje ne škljocne na svoje mjesto.
- Pričvrstite grafičku karticu na kućište računara vijcima.
- Spojite sve potrebne PCIe kablove za napajanje s vašeg napajanja na grafičku karticu.
5.5. Priključci za napajanje
- Connect the 24-pin ATX power connector from your power supply to the 24-pin main power socket on the motherboard.
- Connect the 8-pin CPU power connector (EPS 12V) from your power supply to the CPU 8-pin power socket.
5.6. Priključci na prednjoj ploči
Connect the cables from your PC case's front panel (USB, audio, power button, reset button, HDD LED, power LED) to the corresponding headers on the motherboard. Refer to the motherboard layout diagram (Section 4.8) for header locations.
6. Uputstvo za upotrebu
6.1. Prvo pokretanje
After assembling all components, connect your monitor, keyboard, and mouse. Power on your system. The system should display the BIOS/UEFI splash screen. If not, check all connections.
6.2. Podešavanje BIOS-a/UEFI-ja
Press the designated key (usually DEL or F2) during startup to enter the BIOS/UEFI setup utility. Here you can configure boot order, system time, fan speeds, and other advanced settings. Save changes before exiting.
6.3. Instalacija drajvera
After installing your operating system, install the necessary drivers for the motherboard chipset, network card, audio, and any other integrated components. These drivers are typically provided on a support CD or can be downloaded from the HUANANZHI website.
7. Održavanje
- čišćenje: Regularly clean dust from inside your PC case, especially around fans and heatsinks, using compressed air. Ensure the system is powered off and unplugged before cleaning.
- Ažuriranja BIOS-a: Periodically check the HUANANZHI website for BIOS/UEFI updates. Updates can improve stability, add support for new hardware, or fix bugs. Follow the update instructions carefully to avoid damaging the motherboard.
- Upravljanje kablovima: Osigurajte da su kablovi uredno usmjereni kako biste poboljšali protok zraka i spriječili smetnje.
8. Otkrivanje problema
Ako naiđete na probleme, pogledajte sljedeće uobičajene korake za rješavanje problema:
- Nema napajanja: Check all power connections (24-pin ATX, 8-pin CPU, GPU power). Ensure the power supply switch is on and the wall outlet is functional.
- Bez prikaza: Verify that the monitor is connected to the graphics card (or motherboard if using integrated graphics) and is powered on. Reseat the graphics card and RAM modules.
- Nestabilnost/Padovi sistema: Check CPU and GPU temperatures. Ensure RAM is properly seated and compatible. Update drivers and BIOS.
- Uređaj za pokretanje nije pronađen: Provjerite veze SATA/M.2 kablova. Provjerite redoslijed pokretanja u BIOS-u/UEFI-ju. Osigurajte da je operativni sistem ispravno instaliran na disku.
- Periferni problemi: Try connecting peripherals to different USB ports. Ensure relevant drivers are installed.
For persistent issues, consult the HUANANZHI support webstranice ili kontaktirajte tehničku podršku.
9. Specifikacije
| Feature | Specifikacija |
|---|---|
| Brand | HUANANZHI |
| Naziv modela | B760M D5 PLUS |
| CPU Socket | LGA 1700 |
| Kompatibilni procesori | Intel 12th, 13th, 14th Gen Core CPUs |
| Tip čipseta | Intel B760 |
| Tehnologija RAM memorije | DDR5 |
| Dostupni memorijski slotovi | 2 |
| Maksimalni kapacitet RAM-a | 96 GB |
| Brzina memorije | 3200 MHz (osnovna) |
| Interfejs grafičke kartice | PCI Express 4.0 |
| M.2 slotovi | 1x M.2 2280 NVME PCIE X4 4.0, 1x M.2 WIFI |
| SATA portovi | 4x SATA 3.0 |
| Mrežna kartica | Realtek 2.5G Gigabit |
| USB portovi | Total 8 (including 1x Type-C 5Gb/s) |
| HDMI portovi | 2x HDMI 2.1 |
| DisplayPort | 1x DP 1.4 |
| Glavni priključak za napajanje | 24-Pin |
| Dimenzije (D x Š x V) | 20.3D x 15.2W x 5.1H centimetara |
10. Informacije o garanciji
HUANANZHI motherboards typically come with a limited manufacturer's warranty. Please refer to the warranty card included with your product or visit the official HUANANZHI website for specific terms, conditions, and duration of your warranty. Keep your proof of purchase for warranty claims.
11. Podrška
For technical assistance, driver downloads, BIOS updates, or further inquiries, please visit the official HUANANZHI support website. You may also contact their customer service through the channels provided on their website.
- Službeno Webstranica: www.huananzhi.com (Molimo provjerite najnovije URL)
- Služba za korisnike: Pogledajte na webweb mjesto za kontakt detalje.