
1. Uvod
This manual provides essential information for the proper installation, configuration, and operation of your Teltonika RUT951 4G LTE Router. The RUT951 is a robust industrial cellular router designed for professional applications, offering reliable internet connectivity via 4G LTE, Wi-Fi, and Ethernet. It features dual-SIM support for network redundancy and is powered by RutOS, providing advanced customization and security features.
2. Proizvod je gotovview
2.1 Ključne karakteristike
- Dual-SIM 4G LTE cellular connectivity for reliable network access.
- Integrated Wi-Fi (802.11b/g/n) for local wireless networking.
- Four Ethernet interfaces (3x LAN, 1x WAN) for wired connections.
- Powered by RutOS for advanced customization, automation, and security.
- Robust design suitable for various IoT and industrial scenarios.
2.2 Sadržaj paketa
The standard package for the Teltonika RUT951 router typically includes:
- Teltonika RUT951 Router Unit
- Adapter za napajanje
- 2 x Mobile Antennas (SMA)
- 2 x Wi-Fi Antennas (RP-SMA)
- Ethernet kabl
- Vodič za brzi početak
2.3 Router Layout
Familiarize yourself with the router's ports, indicators, and slots.
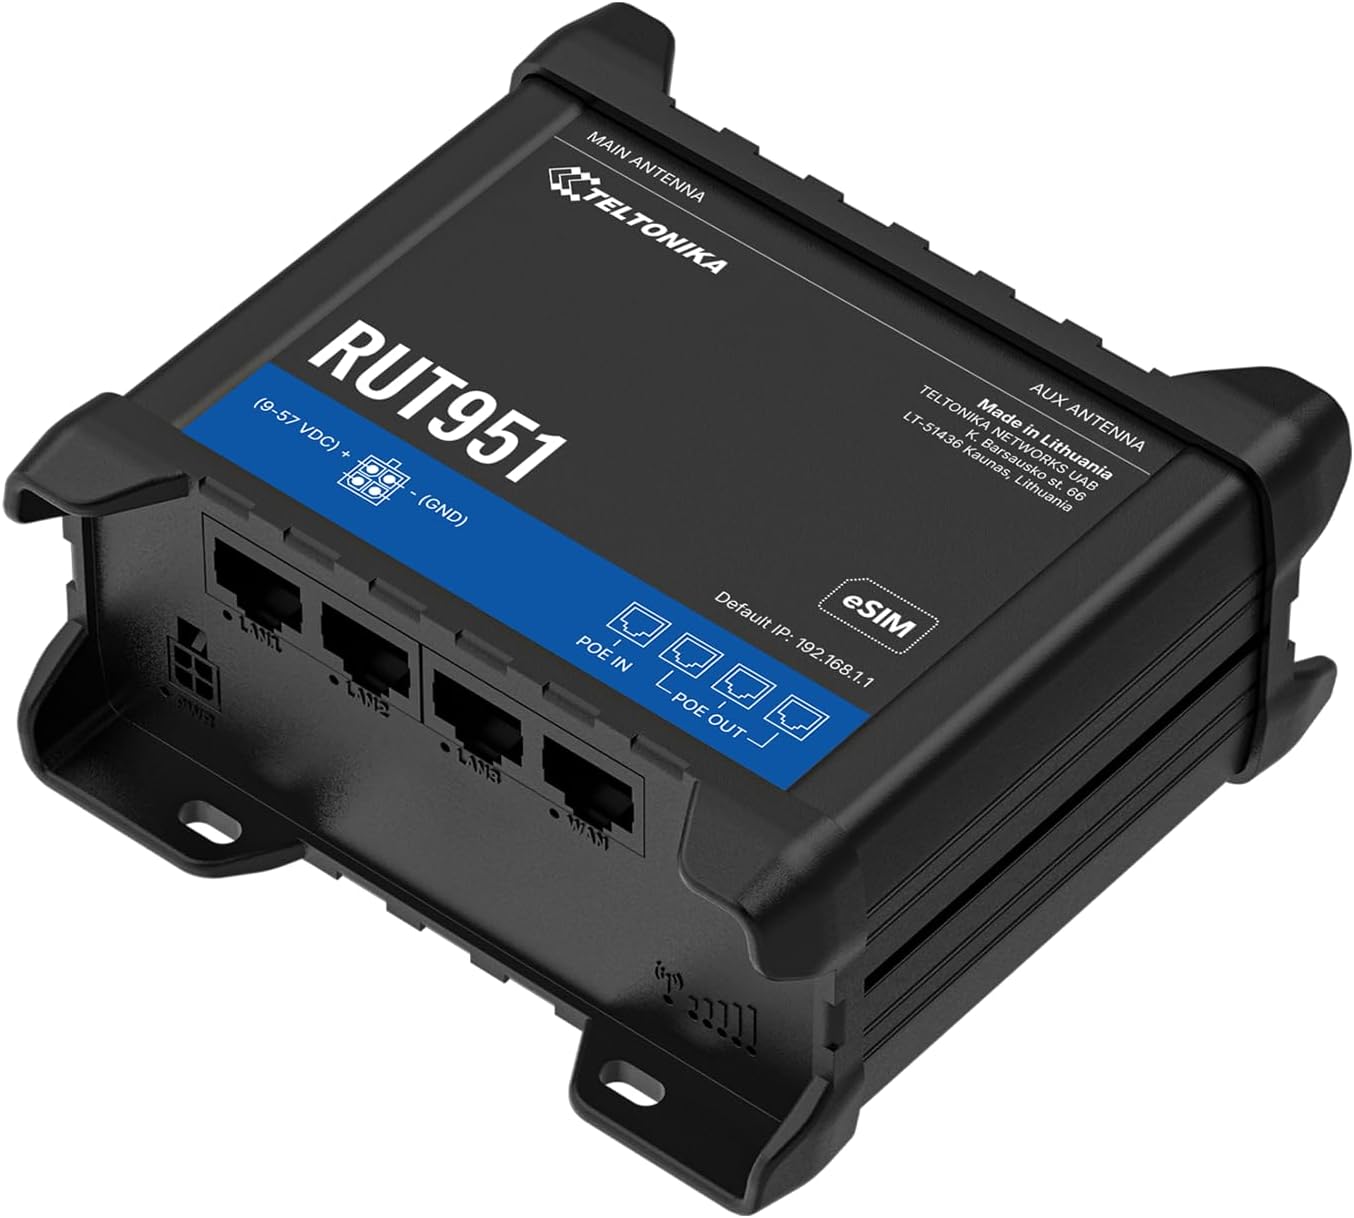
Slika 1: Front view of the Teltonika RUT951 router, showing the model name and general design.

Slika 2: Detailed diagram illustrating the various ports and indicators on the Teltonika RUT951 router, including mobile and Wi-Fi antenna connectors, SIM slots, Ethernet ports, power socket, and LED indicators.
- Mobile AUX Antenna Connector (SMA female): For secondary mobile antenna.
- Mobile MAIN Antenna Connector (SMA female): For primary mobile antenna.
- SIM1 / SIM2 Slots: Za umetanje SIM kartica mobilnih telefona.
- Dugme RESET: To restore factory settings or reboot.
- Wi-Fi Antenna Connectors (RP-SMA female): For Wi-Fi antennas.
- Utičnica: Za povezivanje strujnog adaptera.
- LAN Ethernet portovi: Za povezivanje uređaja u lokalnu mrežu.
- WAN Ethernet Port: For connecting to an external network (e.g., fiber modem).
- LED diode za jačinu mobilnog signala: Indicate cellular signal strength.
- LED status mobilne veze: Indicates cellular connection status.
- LAN LED diode: Indicate activity on LAN ports.
- WAN LED: Indicates activity on the WAN port.
3. Upute za postavljanje
3.1 Instalacija SIM kartice
- Locate the SIM card slots (SIM1 and SIM2) on the top panel of the router.
- Using a SIM ejector tool or a paperclip, gently press the small button next to the SIM slot to open it.
- Insert your activated Mini-SIM card(s) into the slot(s) with the gold contacts facing down and the notched corner oriented correctly.
- Push the SIM tray back into the router until it clicks into place.

Slika 3: Top view of the RUT951, highlighting the SIM card slots and antenna connectors.
3.2 Antenska veza
- Screw the two mobile antennas onto the SMA connectors labeled 'MOBILE' (MAIN and AUX) on the top panel.
- Screw the two Wi-Fi antennas onto the RP-SMA connectors labeled 'WIFI' on the top panel.
- Ensure all antennas are securely tightened for optimal signal reception.
3.3 Priključak za napajanje
- Connect the provided power adapter to the power socket on the router.
- Uključite drugi kraj adaptera za struju u odgovarajuću utičnicu.
- The router will power on automatically. Observe the power LED indicator.

Slika 4: Dno view of the RUT951, showing the Ethernet ports and power input.
3.4 Ethernet veza
To connect a device directly to the router:
- Connect one end of an Ethernet cable to any of the LAN ports (LAN1, LAN2, LAN3) on the router.
- Connect the other end of the Ethernet cable to your computer or network device.
- If you are using the router as a WAN gateway, connect your external modem (e.g., fiber modem) to the WAN port.
4. Uputstvo za upotrebu
4.1 Initial Access to WebUI
- Ensure your computer is connected to the router via Ethernet or Wi-Fi. The default Wi-Fi SSID and password can be found on the router's label.
- Otvori a web preglednik i unesite zadanu IP adresu: 192.168.1.1
- Bit ćete upitani za prijavne podatke. Zadano korisničko ime je admin. The default password is also admin (or as specified on the router's label).
- Upon first login, you will be guided through a setup wizard to change the default password and configure basic settings.
4.2 Konfiguracija mreže
After initial login, you can configure various network settings through the WebUI:
- WAN postavke: Configure your cellular (4G LTE) connection, including APN settings, or set up the Ethernet WAN port.
- LAN postavke: Manage the local network IP address range and DHCP server.
- Wi-Fi postavke: Change Wi-Fi SSID, password, security protocols, and channel settings.
- Dve SIM kartice: Configure failover or load balancing between the two SIM cards for continuous connectivity.
- VPN: Set up various VPN protocols for secure remote access.
5. Održavanje
5.1 Ažuriranja firmvera
Regularly updating the router's firmware is crucial for security, performance, and new features. Firmware updates can be performed via the WebUI under the 'System' or 'Firmware' section. Always download firmware from the official Teltonika Networks website.
5.2 Vraćanje na tvorničke postavke
Ako imate stalne probleme ili zaboravite svoje pristupne podatke, možete izvršiti vraćanje na tvorničke postavke:
- Kada je ruter uključen, pronađite dugme RESET (pogledajte sliku 2).
- Press and hold the RESET button for approximately 10 seconds until all LEDs flash.
- Otpustite dugme. Ruter će se ponovo pokrenuti sa fabričkim postavkama.
6. Otkrivanje problema
- Nema internetske veze:
- Provjerite umetanje i aktivaciju SIM kartice.
- Provjerite postavke APN-a u WebUI.
- Ensure mobile antennas are securely connected.
- Provjerite LED diode jačine mobilnog signala.
- Wi-Fi ne radi:
- Provjerite je li Wi-Fi omogućen u WebUI.
- Provjerite priključke Wi-Fi antene.
- Provjerite SSID i lozinku za Wi-Fi.
- Ne mogu pristupiti WebUI:
- Ensure your device is connected to the router (Ethernet or Wi-Fi).
- Provjerite IP postavke vašeg računara (trebalo bi biti postavljeno da automatski dobija IP adresu).
- Pokušajte obrisati keš memoriju preglednika ili koristiti drugi preglednik.
- Perform a factory reset if you suspect incorrect IP configuration or forgotten password.
7. Specifikacije
| Feature | Specifikacija |
|---|---|
| Brand | Teltonics |
| Naziv modela | RUT951 |
| Tehnologija povezivanja | Wi-Fi, 4G LTE, 3G, 2G |
| Standard bežične komunikacije | 802.11b, 802.11g, 802.11n |
| Klasa frekvencijskog opsega | Dual-Band |
| Broj portova | 4 (3x LAN, 1x WAN) |
| Propusnost LAN porta | 100 Mbps |
| Brzina prijenosa podataka | 150 Megabits Per Second (Max Upstream) |
| Operativni sistem | RutOS |
| Težina artikla | 287 grama |
| Voltage | 30 Volts |
| Sigurnosni protokol | WPS (and others via RutOS) |
| Pokrivenost | Dual SIM network redundancy |
8. Sigurnosne informacije
- Koristite samo strujni adapter koji ste dobili uz uređaj.
- Ne izlažite uređaj vodi, vlazi ili ekstremnim temperaturama.
- Izbjegavajte postavljanje uređaja u blizini izvora topline ili na direktnom suncu.
- Osigurajte odgovarajuću ventilaciju kako biste spriječili pregrijavanje.
- Ne pokušavajte otvarati ili modificirati uređaj. To će poništiti garanciju.
- Dispose of the device and its accessories responsibly according to local regulations.
9. Garancija i podrška
The Teltonika RUT951 router comes with a standard manufacturer's warranty. For detailed warranty terms and conditions, please refer to the documentation included with your product or visit the official Teltonika Networks website. For technical support, firmware downloads, and additional resources, please visit the Teltonika Networks support portal or contact your vendor.