
1. Uvod
Thank you for choosing the InFocus P120 INL412 Multimedia Projector. This manual provides essential information for the safe and efficient operation of your projector. Please read it thoroughly before using the device and retain it for future reference. The InFocus P120 INL412 is designed for versatile multimedia presentations, offering clear and vibrant images for various applications.
2. Sigurnosne informacije
Da biste osigurali siguran rad i spriječili oštećenje projektora, molimo vas da se pridržavate sljedećih sigurnosnih mjera opreza:
- Ne blokirajte ventilacijske otvore. Osigurajte dovoljno prostora oko projektora za pravilan protok zraka kako biste spriječili pregrijavanje.
- Izbjegavajte gledanje direktno u sočivo projektora kada je lamp je uključen, jer jarko svjetlo može uzrokovati oštećenje oka.
- Do not place the projector on an unstable cart, stand, or table. The projector may fall, causing serious injury to a child or adult, and serious damage to the unit.
- Disconnect the power cord from the wall outlet if the projector will not be used for an extended period.
- Za sve servisne radove obratite se kvalifikovanom servisnom osoblju. Ne pokušavajte sami otvarati ili popravljati projektor.
- Keep the projector away from water or moisture. Do not expose it to rain or immerse it in liquid.
- Use only the power cord supplied with the projector or an authorized replacement.
3. Sadržaj paketa
Provjerite da li se sve dolje navedene stavke nalaze u paketu s vašim projektorom:
- InFocus P120 INL412 Multimedia Projector
- Kabl za napajanje
- Daljinski upravljač sa baterijama
- VGA kabel
- Korisnički priručnik (ovaj dokument)
- Vodič za brzi početak
4. Proizvod je gotovview
Familiarize yourself with the main components of your InFocus P120 INL412 projector.
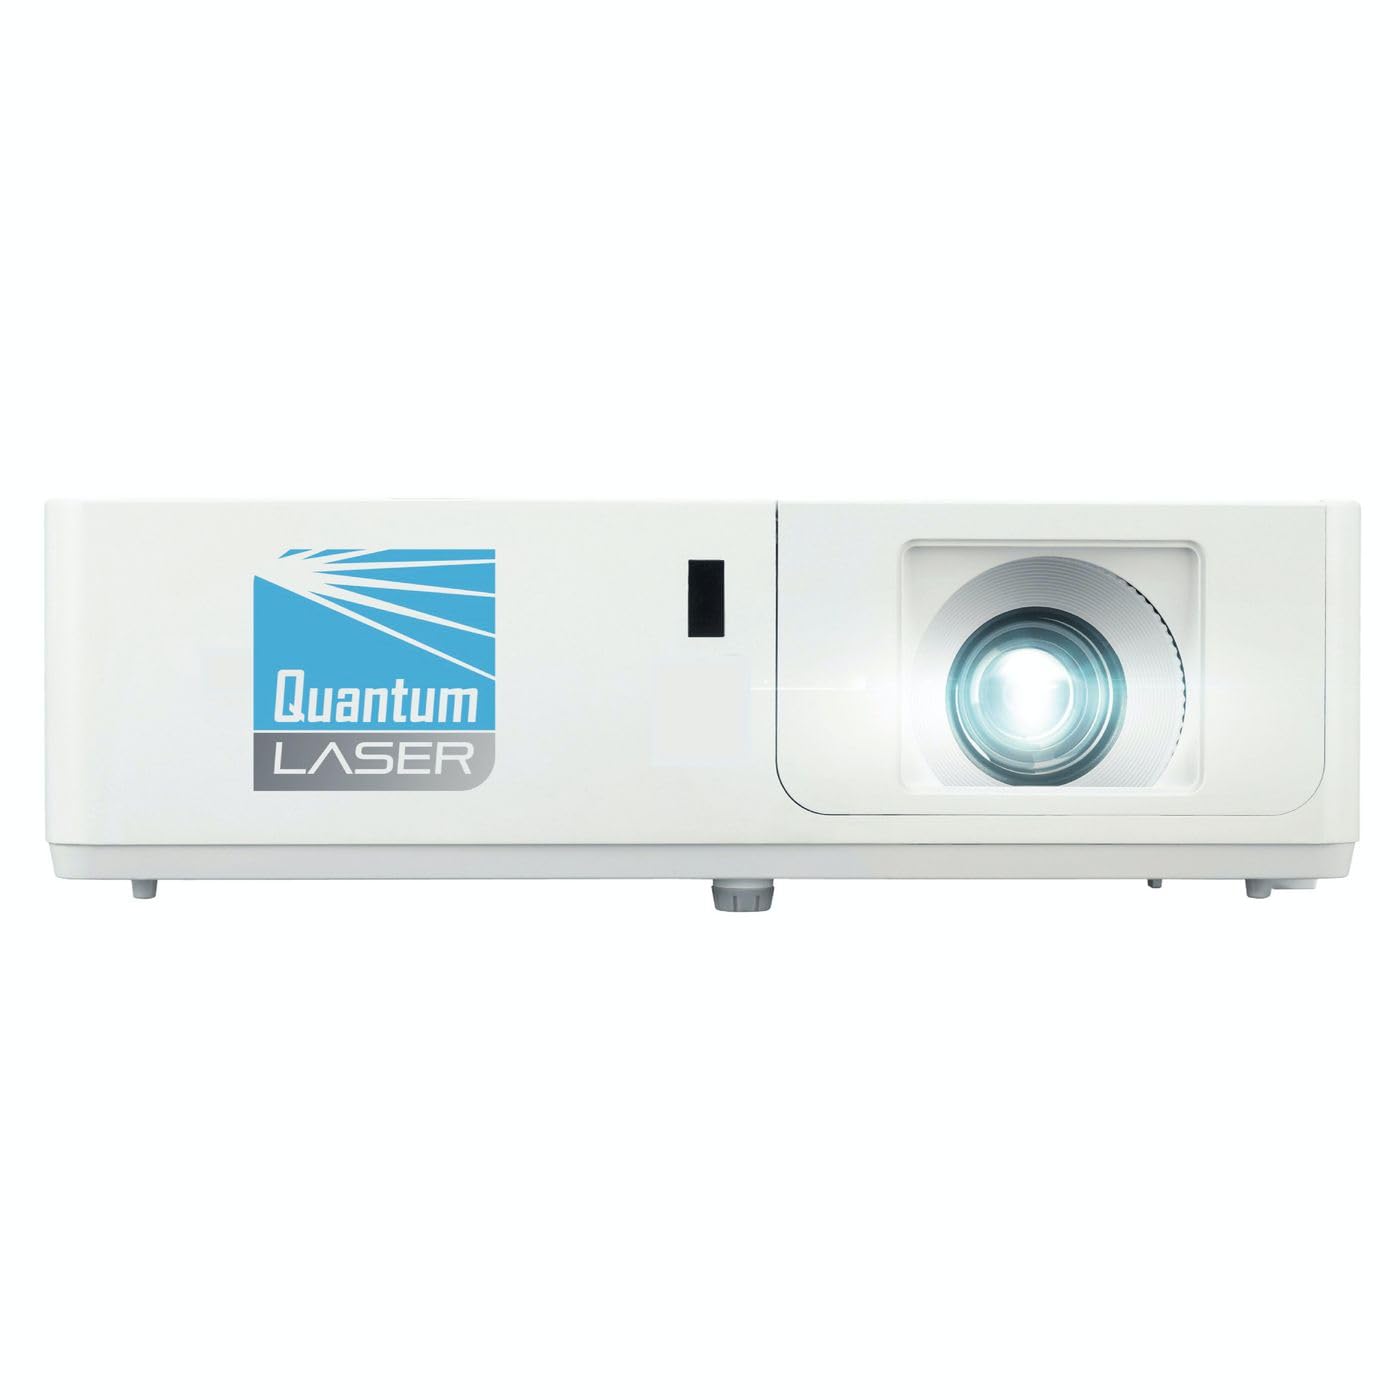
Slika 1: Prednja strana view of the InFocus P120 INL412 Multimedia Projector, showing the lens and ventilation grilles.
4.1 Prednja ploča
- Projekciono sočivo: Emituje sliku na ekran.
- Prsten za fokus: Podešava jasnoću projicirane slike.
- Prsten za zumiranje: Podešava veličinu projicirane slike.
- IC prijemnik: Prima signale sa daljinskog upravljača.
4.2 Gornja ploča
- Kontrolna tabla: Buttons for power, menu navigation, source selection, and keystone correction.
- Indikatorska svjetla: Display the projector's status (e.g., power, lamp, temperature).
4.3 Rear Panel (Connectivity)
- HDMI ulaz: Connects to HDMI-enabled devices (laptops, Blu-ray players).
- VGA ulaz: Connects to computers with VGA output.
- USB port: For service or connecting USB devices (if supported by model).
- Audio ulaz/izlaz: For connecting external audio sources or speakers.
- Ulaz za napajanje: Povezuje kabl za napajanje.
5. Podešavanje
Slijedite ove korake za početno podešavanje vašeg projektora:
- plasman: Place the projector on a stable, flat surface or mount it securely. Ensure the projector is positioned at an appropriate distance from the screen to achieve the desired image size.
- Priključak za napajanje: Spojite kabel za napajanje na utičnicu za napajanje projektora, a zatim na uzemljenu električnu utičnicu.
- Povežite izvorni uređaj: Connect your source device (e.g., laptop, DVD player) to the projector using an appropriate cable (HDMI, VGA, etc.). Ensure the cable is securely connected to both the source and the projector.
- Uključeno: Press the power button on the projector's control panel or the remote control to turn on the projector. The power indicator light will illuminate.
- Adjust Focus and Zoom: Once an image is projected, rotate the focus ring on the lens until the image is sharp and clear. Use the zoom ring to adjust the image size to fit your screen.
- Keystone korekcija: If the image appears trapezoidal, use the keystone correction function (either via buttons on the projector/remote or through the on-screen menu) to square the image.
6. Uputstvo za upotrebu
6.1 Uključivanje/isključivanje napajanja
- Za uključivanje: Press the power button once. The projector will go through a warm-up sequence.
- Za isključivanje: Press the power button twice. The first press will prompt a shutdown confirmation; the second press will initiate shutdown. Allow the projector to cool down completely before unplugging.
6.2 Odabir izvora
Press the 'Source' button on the projector or remote control to cycle through available input sources (HDMI, VGA, etc.) until your desired source is displayed.
6.3 Navigacija izbornikom
Press the 'Menu' button to access the on-screen display (OSD) menu. Use the arrow buttons to navigate through options and 'Enter' or 'OK' to select. Use the 'Exit' or 'Menu' button to close the OSD.
- Postavke slike: Adjust brightness, contrast, color, aspect ratio, and picture mode.
- Postavke ekrana: Configure keystone, projection mode (front/rear, desktop/ceiling), and resolution.
- Audio postavke: Kontrolirajte jačinu zvuka i opcije audio izlaza.
- Postavke sistema: Manage language, timer, power-saving modes, and factory reset.
7. Održavanje
Redovno održavanje osigurava optimalne performanse i produžava vijek trajanja vašeg projektora.
- Čišćenje sočiva: Pažljivo obrišite sočivo projektora mekom krpom koja ne ostavlja dlačice, posebno dizajniranom za optičke površine. Nemojte koristiti abrazivna sredstva za čišćenje ili prekomjernu silu.
- Čišćenje kabineta: Use a soft, dry cloth to clean the projector's exterior. For stubborn marks, dampen the cloth slightly with water. Avoid using harsh chemicals.
- Čišćenje/zamjena filtera za zrak: Check the air filter periodically. If your model has a removable filter, clean it with a soft brush or vacuum cleaner. Replace the filter as recommended in the on-screen menu or when visibly dirty to maintain proper ventilation.
- Lamp Zamjena: Projektor lamp ima ograničen vijek trajanja. Kada lamp life indicator appears, or the image brightness significantly decreases, replace the lamp according to the instructions provided in the full service manual or by a qualified technician. Always allow the projector to cool down completely before attempting lamp zamjena.
8. Otkrivanje problema
Pogledajte donju tabelu za uobičajene probleme i njihova rješenja:
| Problem | Mogući uzrok | Rješenje |
|---|---|---|
| Nema prikazane slike | Kabl za napajanje isključen, pogrešan ulazni izvor, izvorni uređaj isključen. | Check power connections. Select correct input source. Ensure source device is powered on. |
| Slika je mutna | Objektiv nije u fokusu, neispravna udaljenost projekcije. | Adjust the focus ring on the lens. Reposition the projector closer or further from the screen. |
| Slika je trapezoidna | Projektor nije okomit u odnosu na platno. | Use keystone correction (manual or automatic) to square the image. |
| Projektor se pregrijava i gasi | Začepljena ventilacija, prljav filter za vazduh. | Osigurajte slobodan prostor oko ventilacijskih otvora. Očistite ili zamijenite filter za zrak. |
| Daljinski upravljač ne radi | Dead batteries, obstruction between remote and projector, incorrect angle. | Replace batteries. Ensure clear line of sight to IR receiver. Point remote directly at the projector. |
9. Specifikacije
Key technical specifications for the InFocus P120 INL412 Multimedia Projector:
| Feature | Specifikacija |
|---|---|
| Broj modela | P120 INL412 (Item model number: 7296144) |
| Display Type | DLP |
| Native Resolution | 1280 x 800 |
| Maksimalna rezolucija ekrana | 1280 x 800 |
| Tehnologija povezivanja | USB (and other standard inputs like HDMI, VGA) |
| Dimenzije proizvoda | 5.25 x 0.31 x 1.66 inča |
| Težina artikla | 6.6 funte |
| Proizvođač | U fokusu |
10. Garancija i podrška
The InFocus P120 INL412 Multimedia Projector comes with a standard manufacturer's warranty. Please refer to the warranty card included in your package for specific terms and conditions, including warranty duration and coverage details. For technical support, service, or further inquiries, please visit the official InFocus support webstranice ili kontaktirajte njihov odjel za korisničku podršku.
Za najnovije informacije o podršci, posjetite: www.infocus.com/support