
Beldray BEL01096
Beldray BEL01096 Airlite ručni usisivač - uputstvo za upotrebu
Model: BEL01096
Uvod
This manual provides essential instructions for the safe and efficient operation, maintenance, and care of your Beldray BEL01096 Airlite Handheld Vacuum Cleaner. Please read this manual thoroughly before first use and retain it for future reference.
Važna sigurnosna uputstva
Prilikom korištenja električnih uređaja uvijek se treba pridržavati osnovnih sigurnosnih mjera, uključujući:
- Osigurajte voltage indicated on the product corresponds with your mains supply.
- Do not immerse the appliance, charging base, or adapter in water or any other liquid.
- Ovaj uređaj nije namijenjen za upotrebu od strane osoba (uključujući djecu) sa smanjenim fizičkim, senzornim ili mentalnim sposobnostima, ili nedostatkom iskustva i znanja, osim ako im je dat nadzor ili upute o korištenju uređaja od strane osobe odgovorne za njihovu sigurnost.
- Djeca trebaju biti pod nadzorom kako bi se osiguralo da se ne igraju s uređajem.
- Do not use the appliance if any part is damaged. Contact qualified service personnel for repair.
- Ne usisavajte zapaljive ili eksplozivne materijale, vrući pepeo ili velike, oštre predmete.
- Uvijek isključite i izvucite utikač iz struje prije čišćenja ili održavanja.
- Koristite samo dodatke koje preporučuje proizvođač.
- Držite kosu, široku odjeću, prste i sve dijelove tijela dalje od otvora i pokretnih dijelova.
Sadržaj paketa
Molimo označite kućicu za sljedeće stavke:
- 1 x Beldray Airlite Handheld Vacuum Cleaner
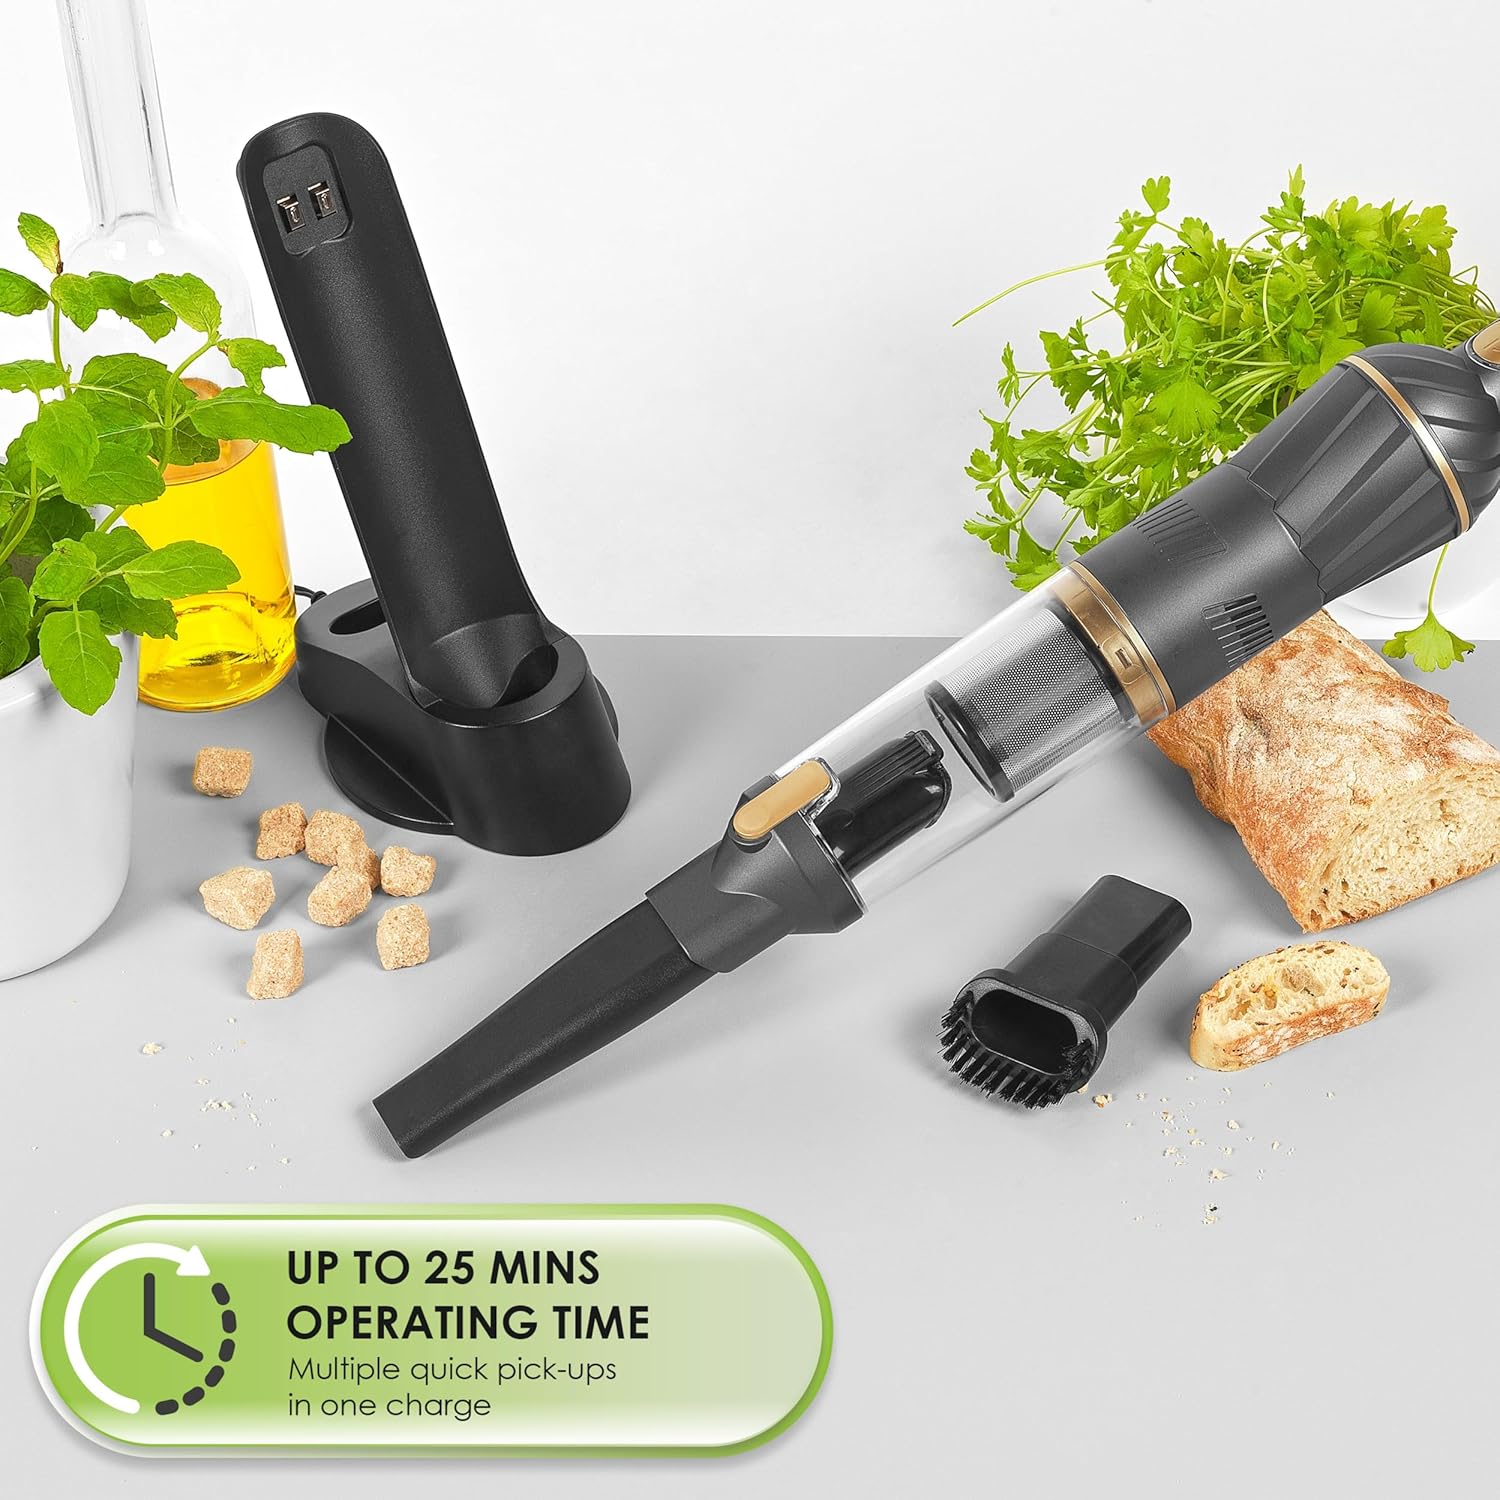
- 1 x Countertop Storage and Charging Base
- 1 x 2-in-1 Crevice and Brush Tool
- 1 x adapter za napajanje
Product Overview
Familiarize yourself with the components of your handheld vacuum cleaner.

- Dugme za napajanje: To turn the vacuum on/off and adjust speed settings.
- Spremnik za prašinu: Prozirna posuda za sakupljanje prašine i otpadaka.
- HEPA filter: Located inside the dust container, designed to trap fine particles.
- Port za punjenje: Located on the vacuum for connection to the charging base.
- Baza za punjenje: Provides power to recharge the vacuum and acts as a storage unit.
- 2-u-1 nastavak za uske prostore i četku: Attachment for various cleaning tasks.
Setup
Početno punjenje
Prije prve upotrebe, potpuno napunite usisivač.
- Place the handheld vacuum onto the countertop charging base.
- Connect the power adapter to the charging base and plug it into a suitable mains socket.
- Indikatorska lampica punjenja će se upaliti.
- Allow 4-5 hours for a full charge. The indicator light may change or turn off when fully charged (refer to specific product indicator behavior if detailed).

Pričvršćivanje dodatne opreme
The 2-in-1 crevice and brush tool can be attached directly to the vacuum's nozzle.
- Koristiti kao a pukotinski alat: Slide the brush part back to expose the narrow nozzle.
- Koristiti kao a alat za četkicu: Slide the brush part forward over the narrow nozzle.

Uputstvo za upotrebu
Uključivanje/isključivanje i postavke brzine
- Press the power button once to turn the vacuum on at the standard speed setting.
- Press the power button a second time to switch to the higher speed setting.
- Press the power button a third time to turn the vacuum off.
A full charge provides approximately 15-25 minutes of operating time, depending on the speed setting used.
Korištenje priloga
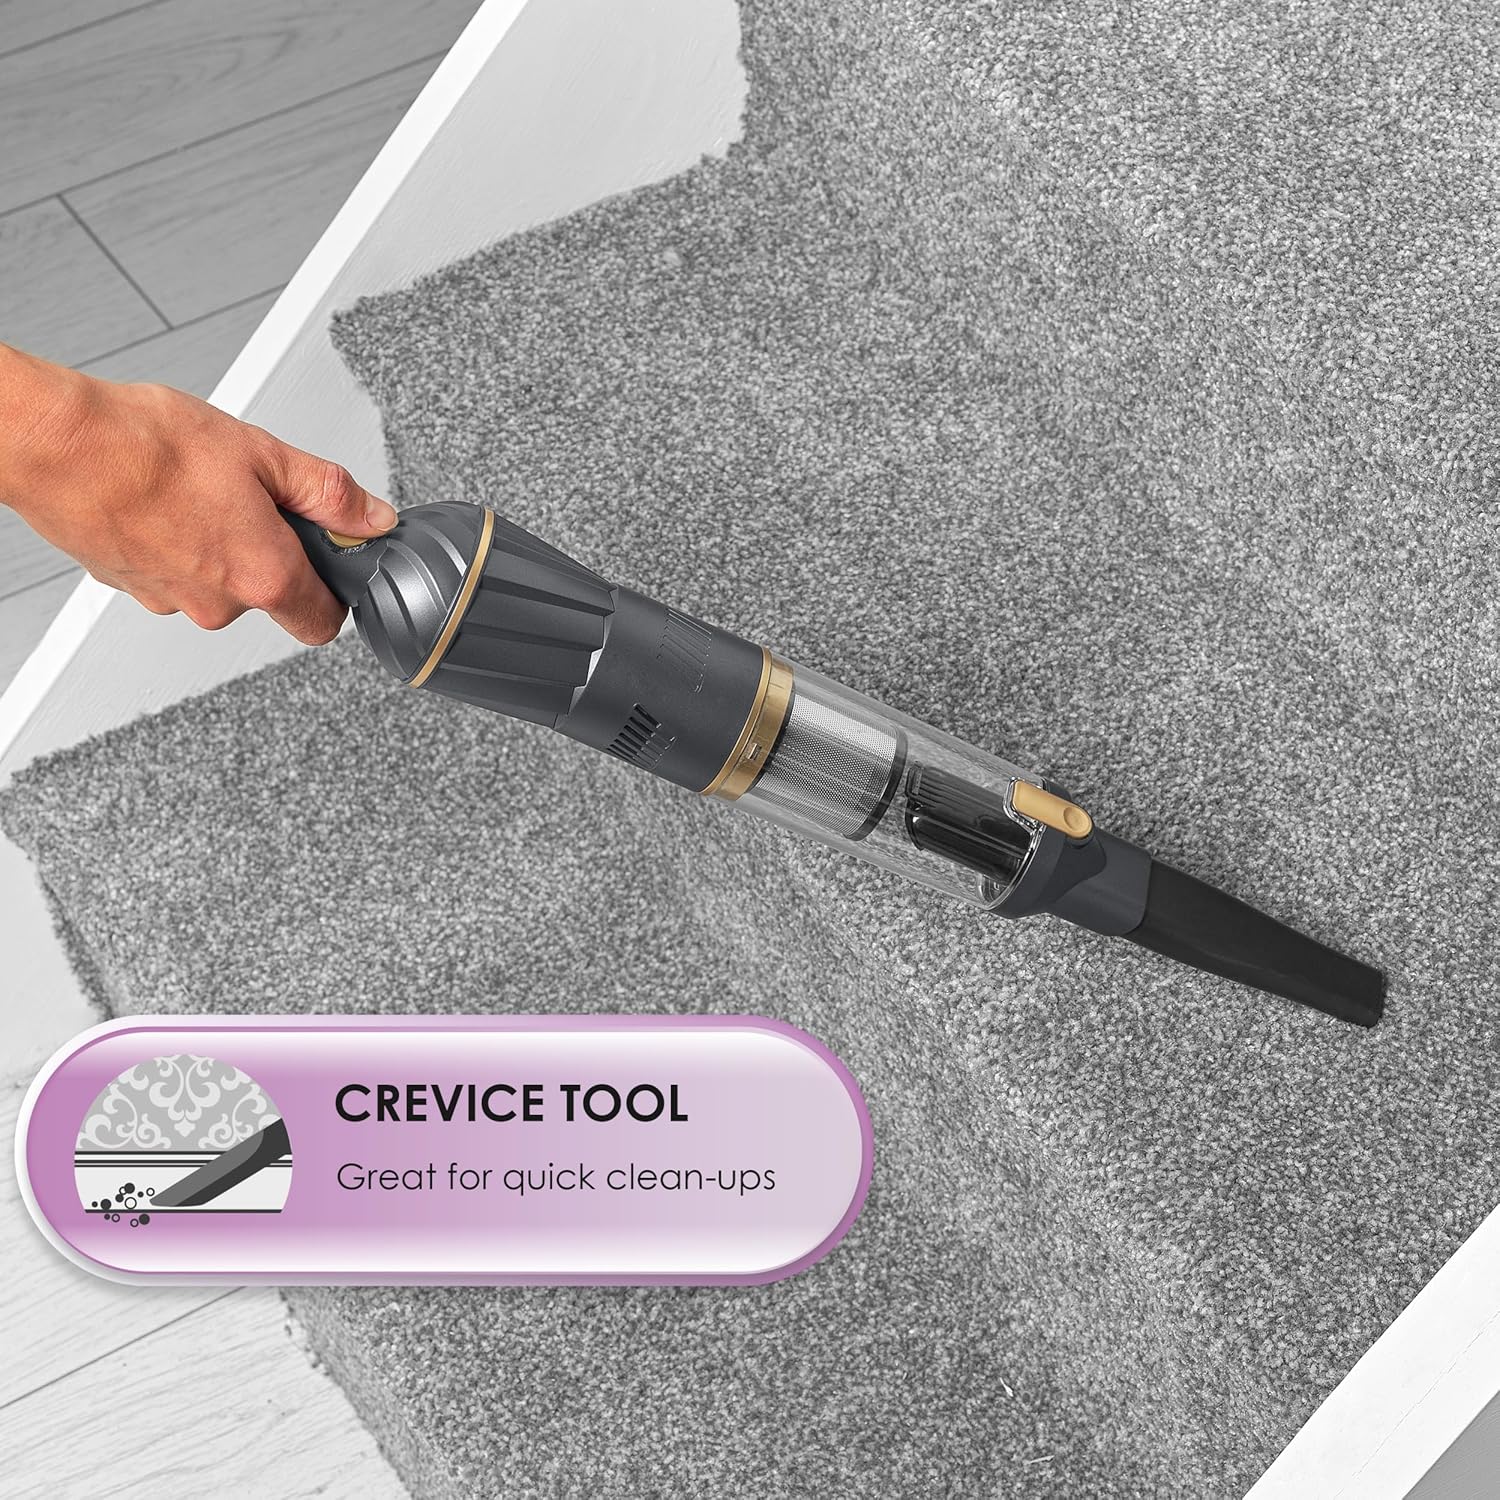
- Alat za pukotine: Ideal for cleaning tight corners, edges, and narrow gaps in furniture, car interiors, or between cushions.
- Alat za četkicu: Suitable for cleaning upholstery, curtains, and picking up pet hair from fabric surfaces.

Održavanje
Pražnjenje posude za prašinu
For optimal performance, empty the 100 ml dust container regularly, especially when it appears full.
- Uvjerite se da je usisivač isključen.
- Hold the vacuum over a waste bin.
- Locate the release button or latch for the dust container and press/slide it to detach the container from the main unit.
- Carefully empty the contents into the bin.
- Čvrsto pričvrstite posudu za prašinu dok ne klikne na svoje mjesto.

Čišćenje HEPA filtera
The HEPA filter should be cleaned approximately every two weeks, depending on usage, to maintain suction power.
- Uklonite posudu za prašinu kao što je gore opisano.
- Carefully remove the HEPA filter from inside the dust container.
- Gently tap out any excess dust and debris. Use the brush tool provided to help dislodge stubborn particles.
- Rinse the HEPA filter under running tap water until clean. Do not use detergents.
- Allow the filter to air dry completely for at least 24 hours before reinserting it. Do not use the vacuum with a wet filter.
- Once dry, reinsert the HEPA filter into the dust container and reattach the container to the vacuum.

Rješavanje problema
| Problem | Mogući uzrok | Rješenje |
|---|---|---|
| Vakuum se ne uključuje. | Baterija je prazna. | Potpuno napunite usisivač (4-5 sata). |
| Smanjena snaga usisavanja. | Spremnik za prašinu je pun. HEPA filter je začepljen. Nozzle/attachment is blocked. | Ispraznite posudu za prašinu. Očistite HEPA filter. Check and clear any blockages in the nozzle or attachments. |
| Indikator punjenja ne radi. | Adapter za napajanje nije pravilno priključen. Neispravna utičnica. | Ensure the adapter is securely plugged into the base and mains. Pokušajte s drugom utičnicom. |
Specifikacije
| Brand | Beldray |
| Broj modela | BEL01096 |
| Boja | Grafit |
| Dimenzije proizvoda | 7 x 7 x 40 cm |
| Težina artikla | 1.2 kg |
| Kapacitet posude za prašinu | 100 ml |
| Snaga/Wattage | 70 W |
| Voltage | 11.1 V (Li-ion battery) |
| Broj brzina | 2 |
| Run Time | 15-25 minuta |
| Vrijeme punjenja | 4-5 sata |
| Filter Type | HEPA filter |
| Posebne karakteristike | Cordless, Lightweight, Countertop Storage/Charging Base, 2-in-1 Crevice/Brush Tool |
Garancija i podrška
Beldray products are designed to meet high-quality standards. For information regarding warranty, returns, or technical support, please refer to the warranty card included with your purchase or visit the official Beldray webSačuvajte dokaz o kupovini za eventualne reklamacije.
Beldray Official Webstranica: www.beldray.com
Ask a question about this manual
Ask about setup, troubleshooting, compatibility, parts, safety, or missing instructions. Manuals+ will review the question and use this page’s manual context to help answer it.