
1. Uvod
The GameMax Expedition is a compact Micro ATX PC gaming case designed for efficient cooling and component compatibility. This manual provides instructions for the proper installation, operation, and maintenance of your PC case.

Figure 1.1: GameMax Expedition MATX PC Gaming Case, White.
2. Sigurnosne informacije
- Uvijek isključite napajanje sa svih komponenti prije instalacije ili održavanja.
- Nosite antistatičku narukvicu kako biste spriječili oštećenje komponenti usljed elektrostatičkog pražnjenja (ESD).
- Be cautious of sharp edges inside the chassis.
- Držite male dijelove i vijke dalje od djece.
- Ensure proper ventilation around the case during operation.
3. Sadržaj paketa
Provjerite da li su sve stavke prisutne u paketu:
- GameMax Expedition MATX PC Gaming Case
- Kutija s priborom (vijci, odstojnici, vezice za kablove)
- 1 x 120mm Blue LED Fan (pre-installed at rear)
- Korisnički priručnik (ovaj dokument)
4. Značajke proizvoda
- Micro Gaming Chassis: Compact design optimized for gaming components.
- I/O portovi: 1 x USB 3.0, 2 x USB 2.0, and HD Audio ports located on the top panel.
- hlađenje: Includes 1 x 120mm Blue LED fan. Supports additional fans for enhanced airflow.
- Bočni prozor: Full side window panel allows visibility of internal components.
- Magnetic Dust Filter: Removable dust filter on the top panel for easy cleaning and improved system longevity.
- Zagrada GPU-a: Integrated bracket provides support for graphics cards, preventing sag and accommodating larger cards.
5. Komponenta je završenaview
5.1 Spoljni Views

Figure 5.1: Front panel design with air intake and included 120mm fan illustration.

Figure 5.2: Top I/O panel featuring USB 3.0, USB 2.0, and audio ports.
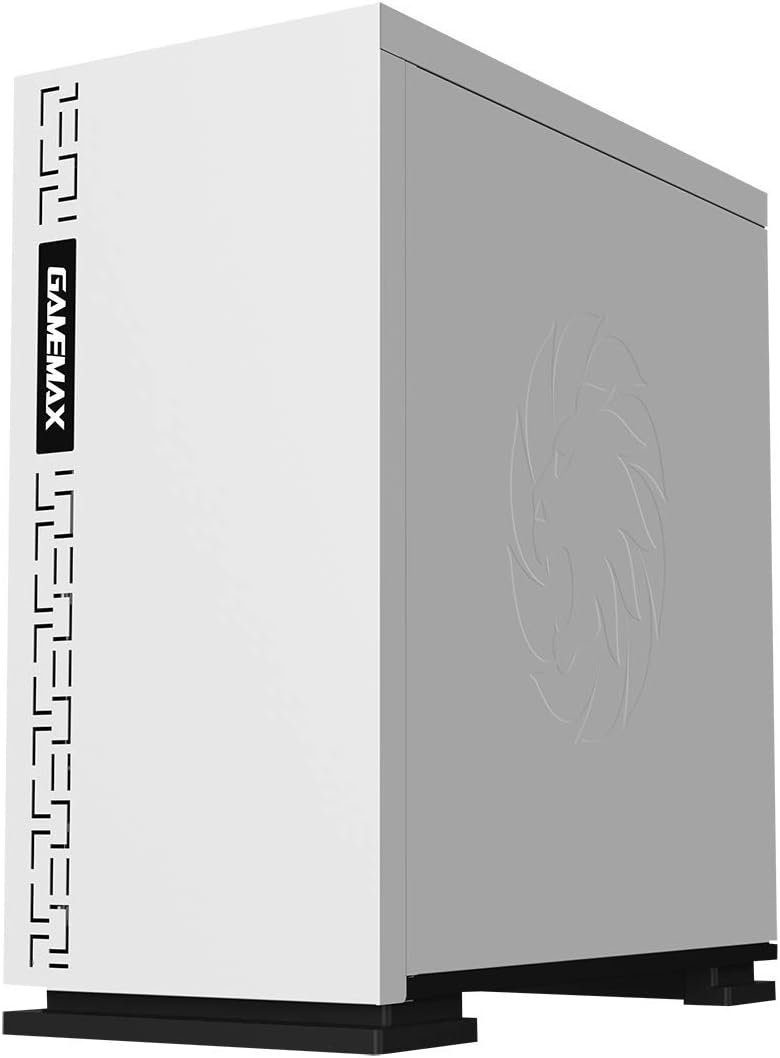
Slika 5.3: Vrh view showing the magnetic dust filter for fan ventilation.
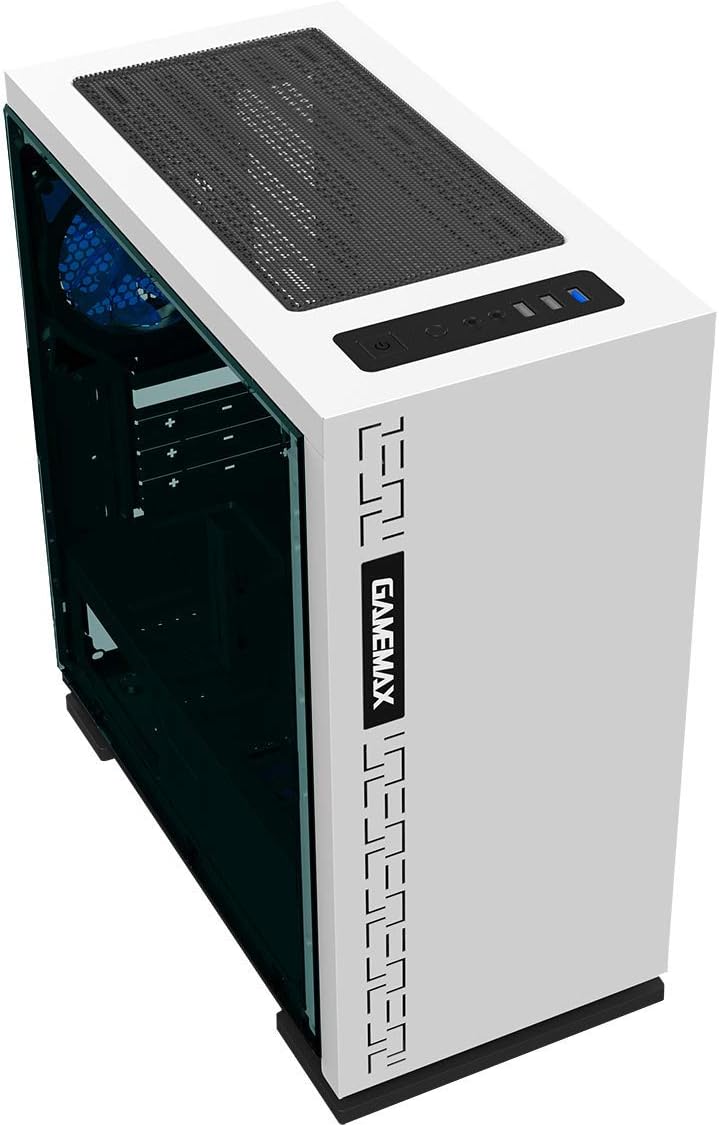
Slika 5.4: Pozadi view displaying expansion slots and the pre-installed 120mm fan.
5.2 Unutrašnji raspored

Slika 5.5: Interni view with the side panel removed, showing the motherboard tray and cable routing options.

Figure 5.6: Illustration of fan and radiator mounting points within the chassis.
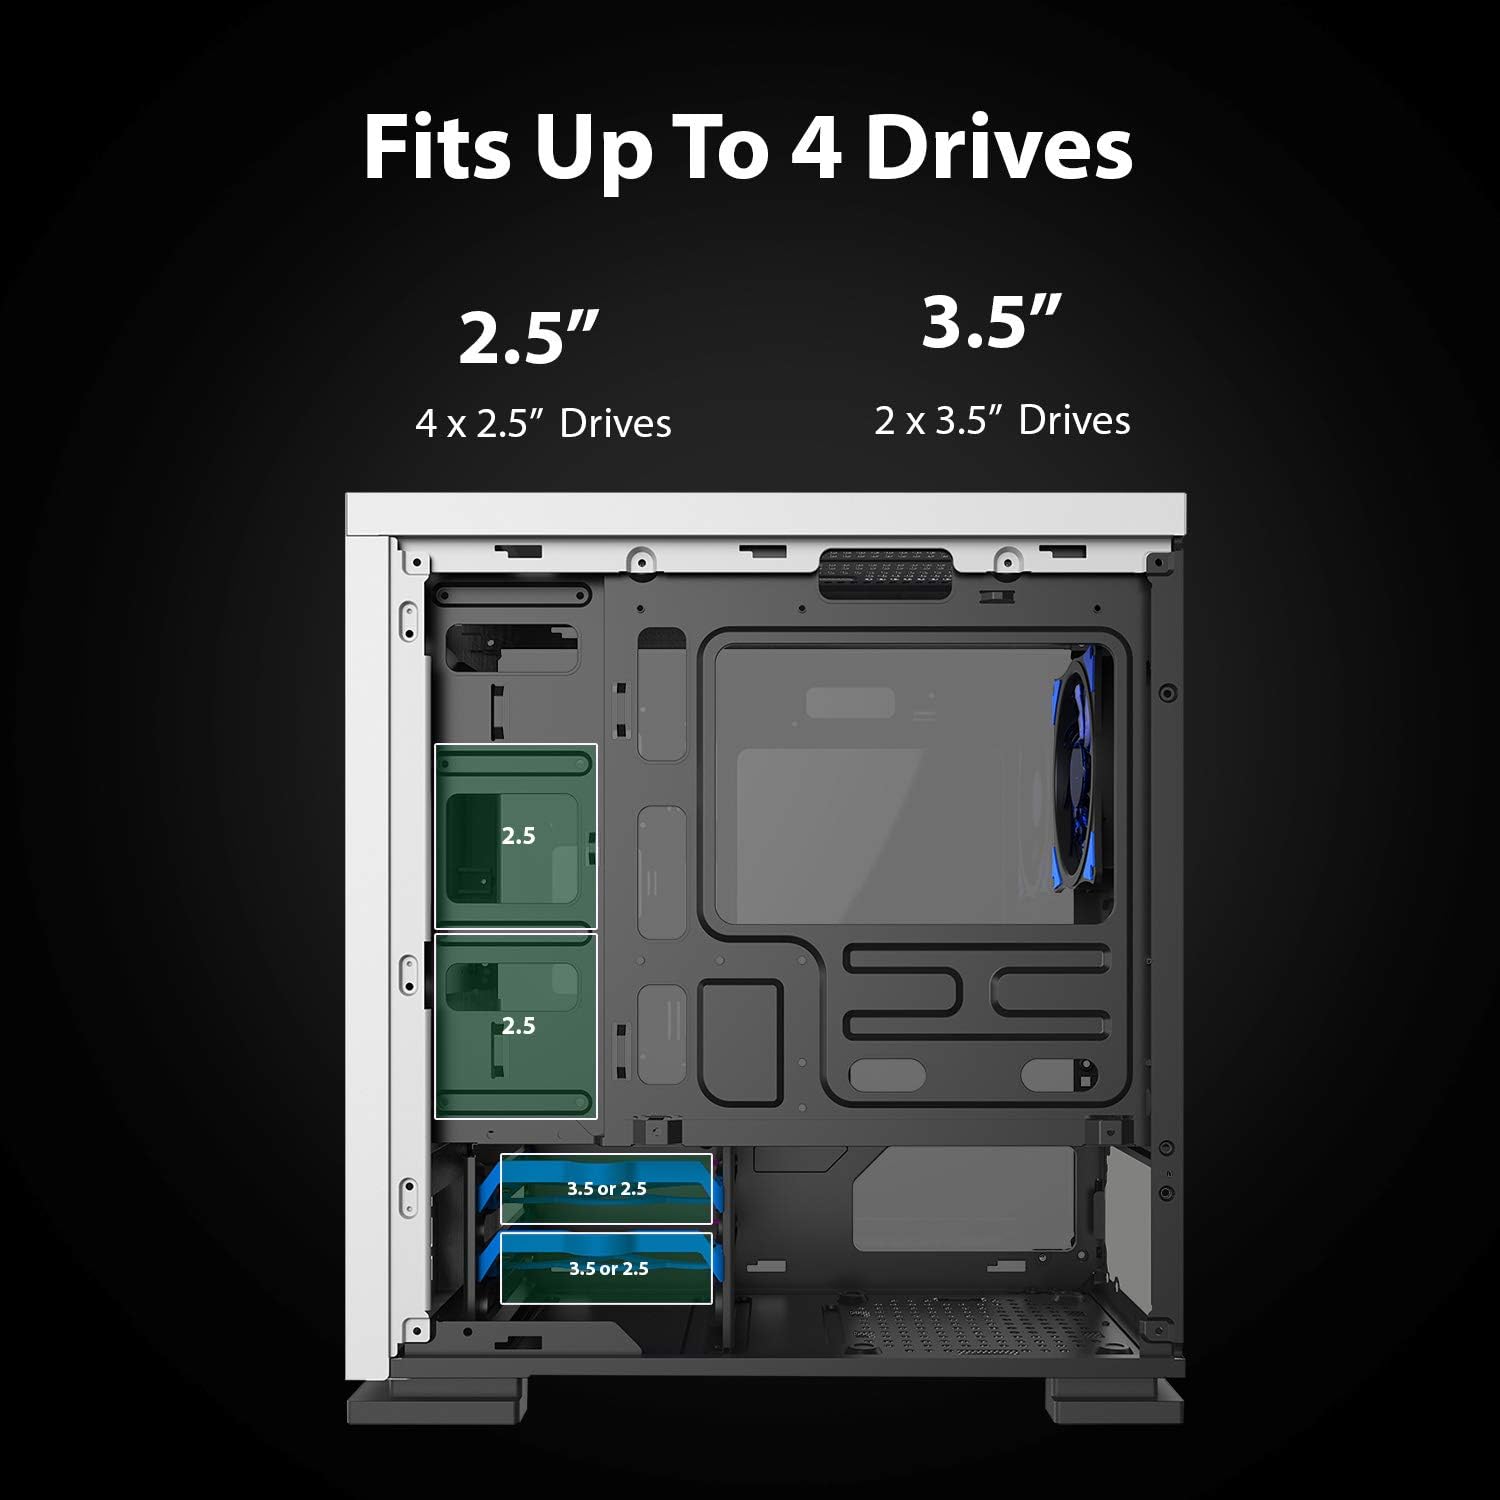
Figure 5.7: Drive bay locations supporting 2.5" and 3.5" storage devices.
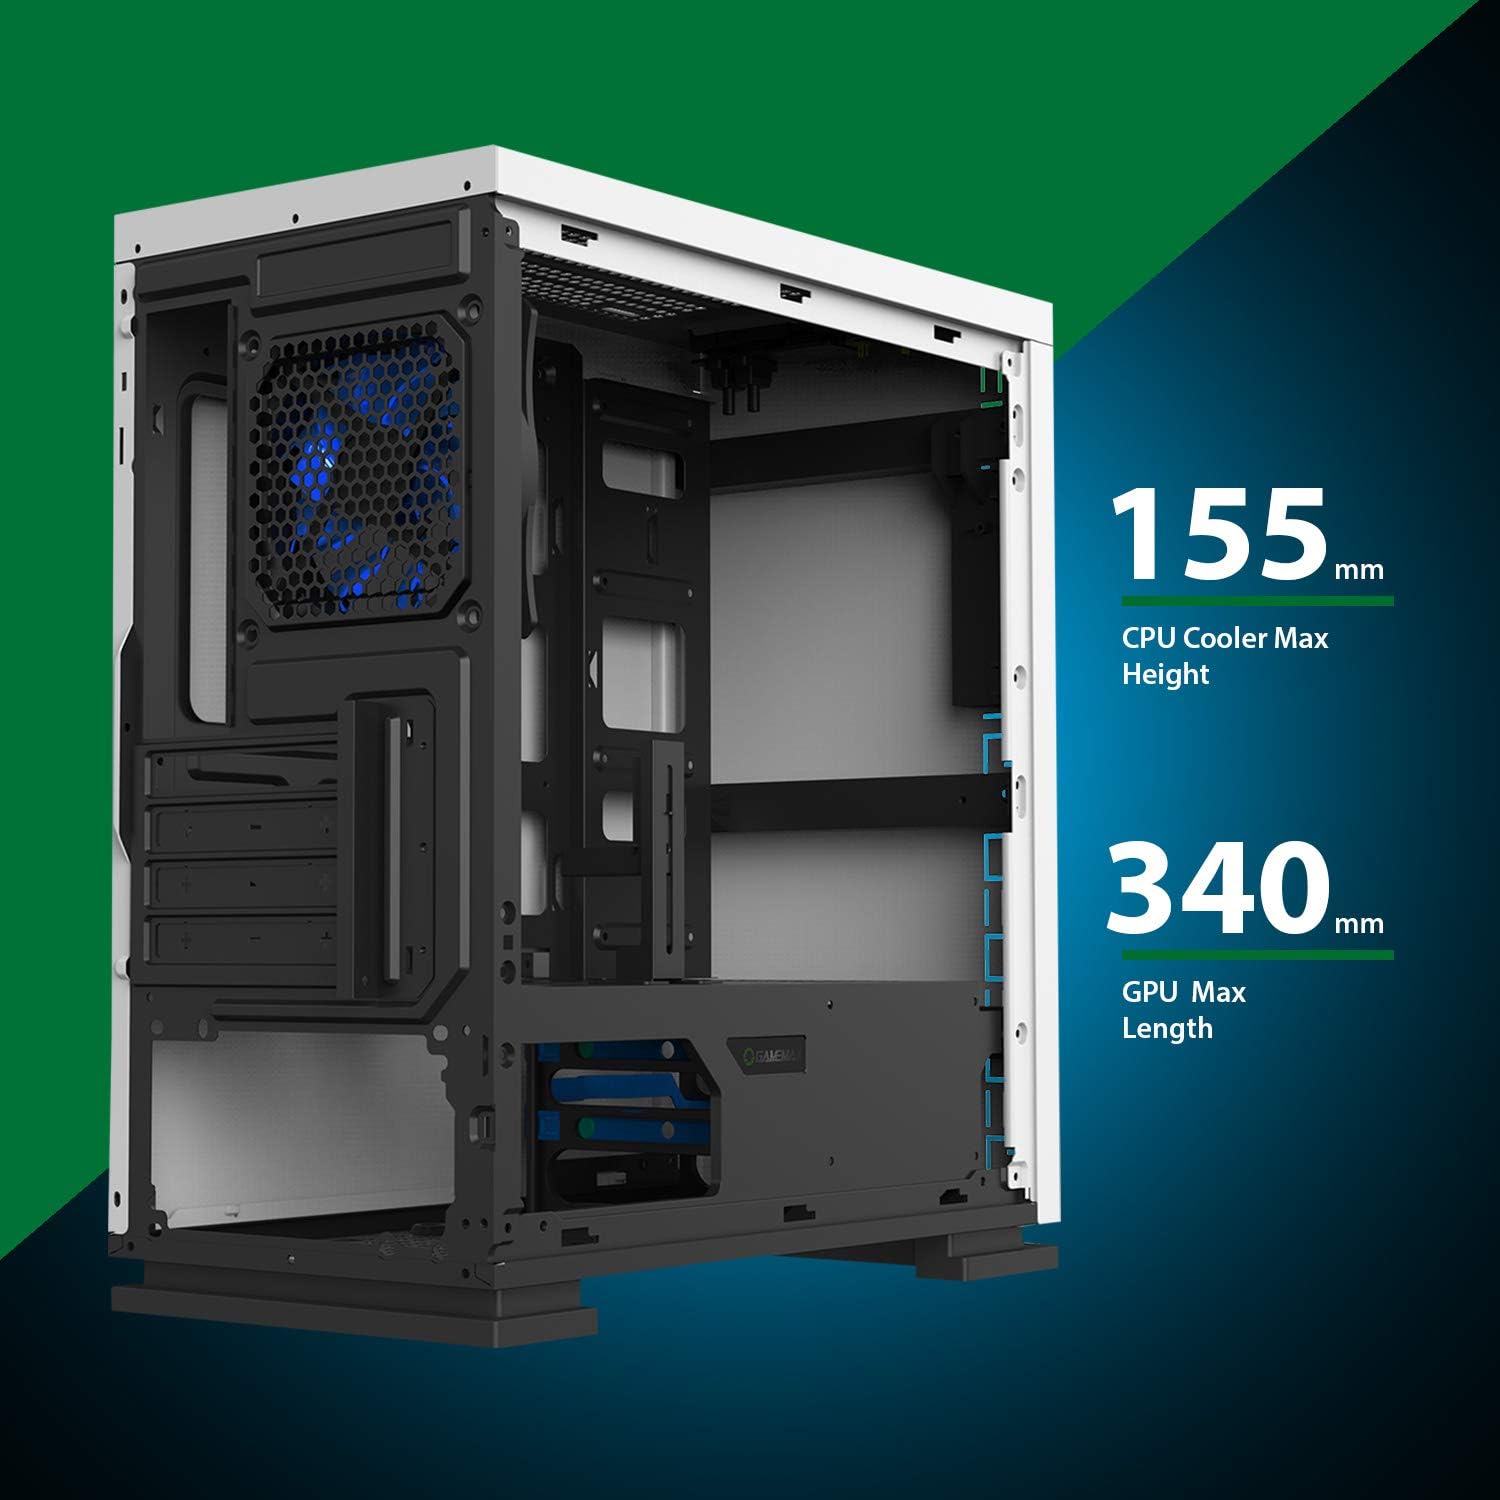
Figure 5.8: Maximum clearance for CPU coolers (155mm) and GPUs (340mm).
6. Postavljanje i instalacija
6.1 Priprema
- Unpack the chassis and remove all packaging materials.
- Remove the side panels by unscrewing the thumbscrews at the rear.
- Gather necessary tools: Phillips head screwdriver, cable ties.
6.2 Instalacija matične ploče
- Install the I/O shield into the rear opening of the chassis.
- Align the motherboard with the pre-installed standoffs. Ensure the standoffs match your Micro ATX motherboard's mounting holes.
- Pričvrstite matičnu ploču priloženim vijcima.
6.3 Instalacija napajanja
- Place the power supply unit (PSU) into the dedicated compartment at the bottom rear of the case.
- Align the PSU with the screw holes on the rear of the chassis.
- Secure the PSU with the provided screws.
6.4 Instalacija diska za pohranu podataka
- 2.5" diskovi: Mount 2.5" SSDs/HDDs to the dedicated mounting points on the motherboard tray or within the drive cage using the provided screws.
- 3.5" diskovi: Install 3.5" HDDs into the drive cage located beneath the PSU shroud. Slide the drive into the tray and secure it.
6.5 Expansion Card (GPU) Installation
- Uklonite potrebne poklopce utora za proširenje sa stražnje strane kućišta.
- Insert your graphics card or other expansion card into the appropriate PCIe slot on the motherboard.
- Pričvrstite karticu vijkom.
- Utilize the adjustable GPU bracket to provide additional support for heavier graphics cards.
6.6 Fan and Cooling Installation
- The case comes with one 120mm Blue LED fan pre-installed at the rear.
- Additional 120mm fans can be installed at the top and front positions as needed.
- Ensure fans are oriented correctly for optimal airflow (intake or exhaust).
6.7 Front Panel Connector Installation
Connect the front panel cables (USB 3.0, USB 2.0, HD Audio, Power SW, Reset SW, Power LED, HDD LED) to their corresponding headers on your motherboard. Refer to your motherboard manual for exact pin layouts.
7. Operativni
Once all components are installed and cables are connected, replace the side panels. Connect your monitor, keyboard, mouse, and power cable. Press the power button on the top panel to start your system. The pre-installed LED fan will illuminate upon power-on.
8. Održavanje
- Čišćenje filtera za prašinu: Regularly remove and clean the magnetic dust filter located on the top panel to maintain optimal airflow and prevent dust buildup inside the case.
- Generalno čišćenje: Koristite meku, damp cloth to clean the exterior surfaces of the case. Avoid abrasive cleaners.
- Uklanjanje unutrašnje prašine: Periodically use compressed air to clear dust from internal components and fans. Ensure the system is powered off and unplugged before performing internal cleaning.
9. Otkrivanje problema
- Sistem se ne uključuje: Check all power connections, including the PSU to the wall outlet, PSU to motherboard, and front panel power switch cable to the motherboard.
- Ventilatori se ne okreću: Verify fan cables are securely connected to the motherboard or fan controller.
- USB portovi ne rade: Ensure the front panel USB cables are correctly connected to the motherboard's USB headers.
- Nema izlaza za prikaz: Confirm the graphics card is properly seated and connected to power, and the monitor cable is connected to the graphics card, not the motherboard's integrated graphics port (unless using integrated graphics).
10. Specifikacije
| Feature | Specifikacija |
|---|---|
| Naziv modela | GMX EXPEDITION |
| Brand | GAMEMAX |
| Tip slučaja | Micro Tower (MATX) |
| Kompatibilnost matične ploče | Micro ATX |
| Boja | Expedition White |
| Materijal | Polikarbonat (PC) |
| Dimenzije proizvoda (DxŠxV) | 14.96 x 7.4 x 13.78 inča (380 x 188 x 350 mm) |
| Težina artikla | 8.58 funte (3.9 kg) |
| USB 3.0 portovi | 1 |
| USB 2.0 portovi | 2 |
| Metoda hlađenja | Zrak, Voda |
| Uključen ventilator | 1 x 120mm Blue LED (Rear) |
| Maksimalna visina CPU hladnjaka | 155mm |
| Maksimalna dužina GPU-a | 340mm |
11. Garancija i podrška
For warranty information and technical support, please visit the official GameMax webstranicu ili kontaktirajte lokalnog prodavača.
Službeno Webstranica: gamemaxpc.com