1. Uvod
The HyperX Cloud II Gaming Headset is engineered to deliver an optimal Hi-Fi gaming experience. It features a newly designed USB sound card audio control box that amplifies audio and voice, allowing users to discern subtle in-game details. This headset generates virtual 7.1 surround sound, enhancing gaming, movie, and music experiences with improved distance and depth perception. Independent audio and microphone volume controls, along with a toggle for 7.1 Surround Sound and microphone mute, provide comprehensive control over your audio environment.

Figure 1: HyperX Cloud II Gaming Headset, showcasinnjegov dizajn.
2. Ključne karakteristike
- Vrhunski kvalitet zvuka: Equipped with 53mm drivers for rich, clear audio and an immersive gaming experience.
- Odvojivi mikrofon za poništavanje buke: Ensures clear and effective communication by minimizing background noise.
- Udoban dizajn: Features HyperX's signature memory foam and premium leatherette material for extended comfort during long gaming sessions.
- Kompatibilnost sa više platformi: Compatible with PC, PS5, PS4, Xbox Series X|S, Xbox One, Nintendo Switch, and mobile gaming devices.
- Žičano povezivanje: Connects to gaming devices or computers using a physical cable for reliable and uninterrupted audio transmission.

Figure 2: Headset with the detachable microphone in place.
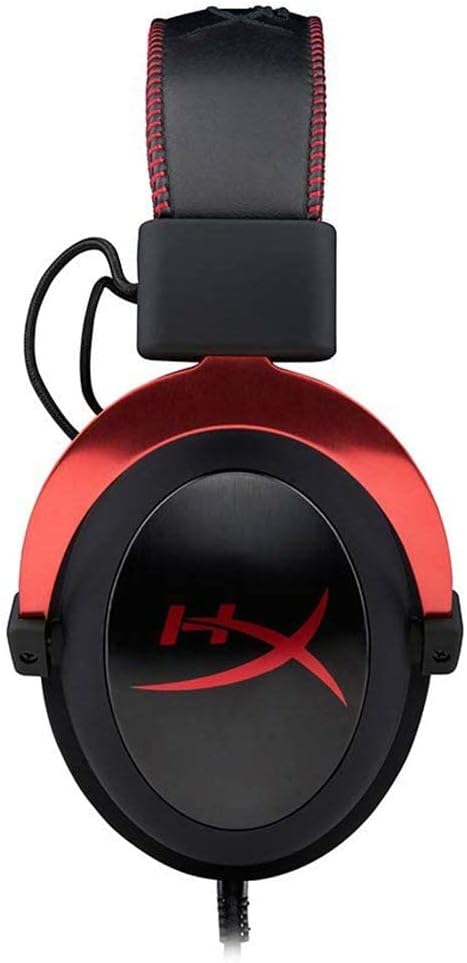
Figure 3: The USB audio control box for the HyperX Cloud II headset.
3. Podešavanje
3.1 Uključene komponente
- HyperX Cloud II slušalice za igre
- Odvojivi mikrofon za poništavanje buke
- USB audio kontrolna kutija
- Additional Velour Ear Cushions (for replacement)
- Travel Pouch

Figure 4: HyperX Cloud II headset and its included accessories.
3.2 Povezivanje slušalica
- Priključite mikrofon: Insert the detachable noise-cancelling microphone into the port on the left earcup until it clicks securely into place.
- PC Connection (USB Audio Control Box):
- Connect the headset's 3.5mm jack to the USB audio control box.
- Plug the USB connector of the audio control box into an available USB port on your PC.
- Your PC should automatically detect and install the necessary drivers.
- Console/Mobile Connection (3.5mm Jack):
- For PS4, Xbox One (with adapter, sold separately), Nintendo Switch, and mobile devices, connect the headset's 3.5mm jack directly to the controller or device's audio port. The USB audio control box is not used for these direct connections.

Figure 5: Multiplatform connection options for the headset.
4. Uputstvo za upotrebu
4.1 Using the USB Audio Control Box (PC Only)
The in-line USB audio control box provides convenient access to essential audio functions:
- Kontrola jačine zvuka slušalica: Use the '+' and '-' buttons on the left side to adjust the headset's audio output volume.
- Kontrola jačine zvuka mikrofona: Use the '+' and '-' buttons on the right side to adjust the microphone input level.
- 7.1 Surround Sound Toggle: Press the '7.1' button in the center to activate or deactivate virtual 7.1 surround sound. An LED indicator will confirm its status.
- Isključivanje mikrofona: Use the microphone mute switch on the side of the control box to quickly mute or unmute your microphone.
4.2 Using the Detachable Microphone
The flexible microphone can be positioned for optimal voice pickup. Ensure it is positioned close to your mouth but not directly in front to avoid plosives. When not needed, the microphone can be easily detached for a more streamlined headset profile.
5. Održavanje
- čišćenje: Use a soft, dry cloth to clean the headset. Avoid harsh chemicals or abrasive materials.
- Jastučići za uši: The ear cushions are replaceable. If they show signs of wear or damage, they can be replaced with the included velour ear cushions or new ones purchased separately. Gently remove the old cushions and carefully attach the new ones.
- Skladištenje: When not in use, store the headset in the provided travel pouch to protect it from dust and damage.

Figure 6: Detail of the headset's comfortable earcups.
6. Otkrivanje problema
- Nema zvuka/niska jačina zvuka:
- Uvjerite se da su sve veze sigurne.
- Check the volume levels on the in-line audio control box and your device.
- Provjerite jesu li slušalice odabrane kao zadani audio izlazni uređaj u postavkama sistema.
- Mikrofon ne radi:
- Ensure the microphone is securely attached and not muted on the in-line control box.
- Check microphone input levels in your device's sound settings.
- Verify that the headset microphone is selected as the default input device.
- 7.1 Surround Sound Issues:
- Ensure the 7.1 button on the USB audio control box is activated (LED illuminated).
- 7.1 surround sound functionality is primarily for PC via the USB audio control box.
7. Specifikacije
| Feature | Specifikacija |
|---|---|
| Naziv modela | oblak II |
| Broj modela | KHX-HSCP-RD |
| Tehnologija povezivanja | Wired (USB for PC, 3.5mm for consoles/mobile) |
| Priključak za slušalice | USB, 3.5 mm |
| Veličina audio drajvera | 53 milimetara |
| Funkcije kontrole buke | Noise-Cancelling Microphone, Active Noise Cancellation |
| Težina artikla | 318 grama (11.2 unci) |
| Dimenzije proizvoda | 6.69 x 4.72 x 2.76 inča |
| Materijal | Aluminum, Leatherette, Plastic |
| Uključene komponente | Headset, Detachable Microphone, USB Audio Control Box, Velour Ear Cushions, Travel Pouch |
| Podržava Bluetooth tehnologiju | br |
8. Kompatibilnost
The HyperX Cloud II Gaming Headset offers broad compatibility across various gaming platforms:
- PC (via USB Audio Control Box)
- PlayStation 5 (PS5)
- PlayStation 4 (PS4)
- Xbox Series X|S (via controller 3.5mm port)
- Xbox One (via controller 3.5mm port, adapter may be required for older controllers)
- Nintendo Switch
- Mobile Gaming Devices
9. Zvanični video proizvoda
Video 1: Overview of the HyperX Cloud II Gaming Headset, highlighting its 53mm drivers and noise-cancelling microphone. This video is provided by the seller, Renew4Me.
10. Garancija i podrška
For warranty information, technical support, or service inquiries regarding your HyperX Cloud II Gaming Headset, please refer to the official HyperX webweb-mjesto ili direktno kontaktirajte njihovu korisničku podršku. Sačuvajte dokaz o kupovini za bilo kakve reklamacije u vezi s garancijom.