
Uvod
This manual provides detailed instructions for the installation, operation, and maintenance of your WAC Lighting H-LED201-30-WT Contemporary Summit ACLED 15W Beamshift Line Voltage Cone H-Track Head. This track head is designed for use with 120V track systems and features Beamshift technology for adjustable beam angles.
Sigurnosne informacije
UPOZORENJE: Ovaj proizvod sadrži hemikalije za koje je u državi Kaliforniji poznato da uzrokuju rak i urođene mane ili druge reproduktivne štete. Za više informacija posjetite www.P65Warnings.ca.gov.
- Prije instalacije pažljivo pročitajte sva uputstva.
- Prije instalacije ili servisiranja provjerite je li napajanje isključeno na prekidaču.
- Instalaciju treba izvršiti kvalificirani električar ako niste sigurni.
- This fixture is UL & CUL listed for dry locations. Do not use in wet or damp okruženja.
- Ne pokušavajte modificirati uređaj. Bilo kakve modifikacije mogu poništiti garanciju i stvoriti sigurnosne rizike.
Sadržaj paketa
- 1 x WAC Lighting H-LED201-30-WT Summit ACLED Track Head
Specifikacije
| Feature | Detalj |
|---|---|
| Broj modela | H-LED201-30-WT |
| Brand | WAC rasvjeta |
| Materijal | Die-cast Aluminum, Glass Shade |
| Boja | Bijelo |
| Izvor svjetlosti | Integrated AC LED Module (no lamp potrebno) |
| Wattage | 15W (comparable to 50W MR16) |
| Voltage | 120V |
| Temperatura boje | 3000K (topla bijela) |
| Indeks prikazivanja boja (CRI) | 90+ |
| Rated Hours | 50,000 sati |
| Zatamnjenje | Smooth and continuous dimming to 10% with an electronic low voltage dimmer |
| Ugao snopa | In-field changeable between 20 and 40 degrees (Beamshift Technology) |
| Kompatibilnost numera | H-Track (also available for J/J2 and L track configurations) |
| Dimenzije (D x Š x V) | 3.25 x 3.88 x 6.75 inča |
| Težina artikla | 1 funta |
| Certifikati | UL & CUL Listed for dry locations, Energy Star Rated |
Postavljanje i instalacija
This track head is designed for easy installation onto a 120V H-Track system. Ensure the track system is properly installed and powered off before proceeding.
Koraci instalacije:
- Isključite napajanje: Locate the circuit breaker controlling the track lighting system and turn off the power. Verify that the power is off before beginning installation.
- Identify Track Type: Ensure your track system is an H-Track. This fixture is specifically designed for H-Track configurations.
- Insert Track Head: Align the track head's adapter with the track slot. Push the adapter firmly into the track and rotate it 90 degrees to lock it into place. Ensure the electrical contacts are properly engaged with the track conductors.
- Sigurna pozicija: Once inserted, slide the track head to the desired position along the track. Some track heads may have a locking mechanism (e.g., a screw) to secure their position; tighten if applicable.
- Podesite smjer: The track head can be swiveled and tilted to direct light as needed.
- Vrati snagu: Once the track head is securely installed and positioned, restore power at the circuit breaker.
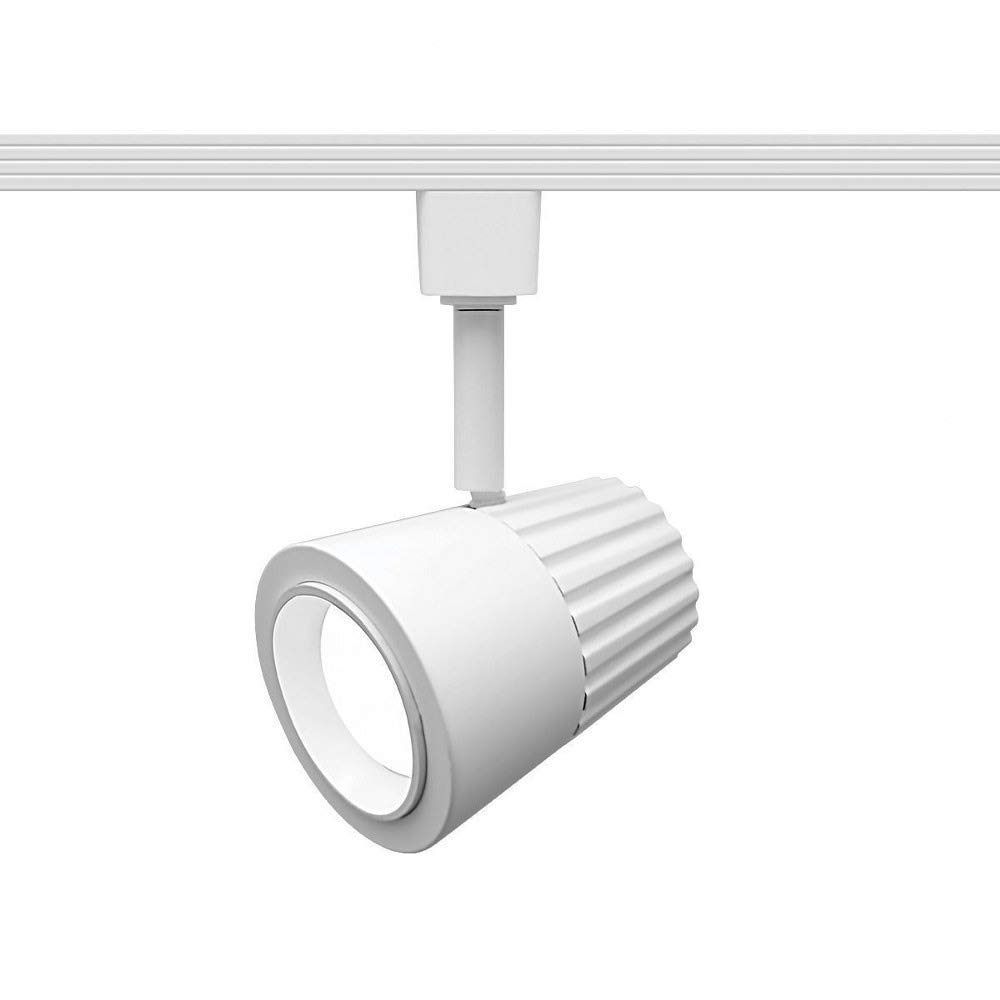
Image: WAC Lighting H-LED201-30-WT Summit ACLED Track Head, showcasing its cone shape and white finish.

Image: Technical drawing illustrating the dimensions of the WAC Lighting H-LED201-30-WT track head, including its overall height of 6 3/4 inches, and cone dimensions.
Uputstvo za upotrebu
Beamshift Technology:
The Summit track head features Beamshift Technology, allowing you to modify the beam angle in the field without additional tools or accessories. This is achieved by changing the location of the lens within the fixture. The beam angle can be adjusted between 20 and 40 degrees to suit your lighting needs.
- To adjust the beam angle, gently rotate or slide the lens assembly within the fixture until the desired beam spread is achieved. Refer to the product's internal markings or visual cues for specific adjustment points.
Dimming:
This fixture is designed for smooth and continuous dimming down to 10% when used with a compatible elektronski niski voltage (ELV) dimmer. Ensure your dimmer switch is an ELV type for optimal performance.
- Operate the dimmer switch as you would any standard light switch to control the light output.
Održavanje
The WAC Lighting Summit ACLED Track Head requires minimal maintenance.
- čišćenje: Prije čišćenja provjerite je li napajanje isključeno. Koristite meku, suhu ili blago natopljenu krpu.amp cloth to wipe the exterior of the fixture. Avoid abrasive cleaners, solvents, or harsh chemicals, as these can damage the finish.
- Životni vijek LED-a: The integrated LED module has a rated life of 50,000 hours and does not require lamp zamjena.
Rješavanje problema
If your track head is not functioning correctly, consider the following:
- bez svjetla:
- Provjerite je li napajanje uključeno na prekidaču.
- Ensure the track head is properly seated and making good electrical contact with the track.
- Verify that the track system itself is receiving power.
- Treperenje ili nekonzistentno zatamnjenje:
- Confirm that an electronic low voltage (ELV) dimmer is being used. Incompatible dimmers can cause performance issues.
- Ensure the dimmer is rated for the total wattage of all fixtures on the circuit.
- Ako problemi i dalje postoje nakon provjere ovih tačaka, obratite se korisničkoj podršci.
Informacije o garanciji
WAC Lighting provides a 5 godine garancije on this product. Additionally, a 2 godine garancije is provided specifically for the finish of the fixture. Please retain your proof of purchase for warranty claims.
Podrška
For further assistance, technical support, or warranty inquiries, please contact WAC Lighting customer service. Refer to the official WAC Lighting webstranicu za ažurne kontakt informacije.
WAC rasvjeta Webstranica: www.waclighting.com